

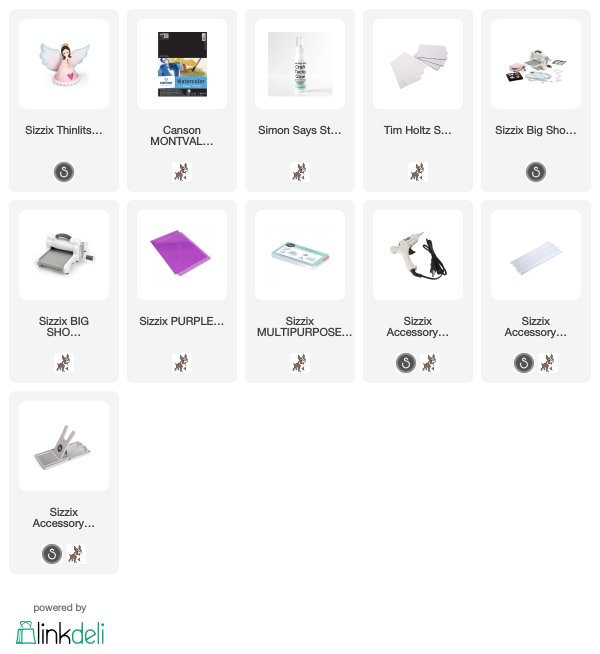
I colored my angel with watercolors, but you can also use Distress Ink, or die cut the angel from patterned paper, for an even quicker version. Like yesterday's Light Trees, it is also a great Christmas craft for kids. The angel can stand on its own, or it can hang from a tree. She was made with a single die set, namely the 3-D Angel, from the Holiday Blessings collection by Jen Long.
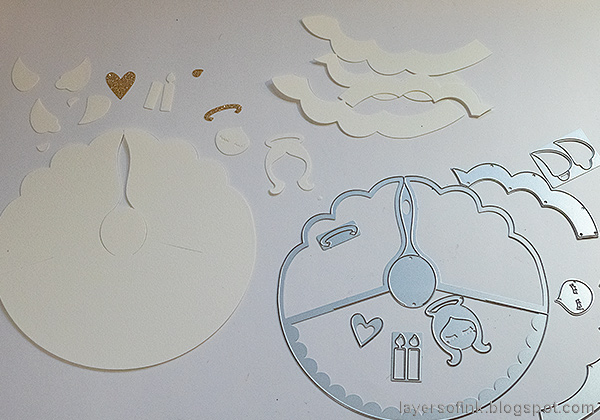
Start by die cutting the angel pieces from watercolor paper. I die cut the heart, gloria and candle from gold deco sheet.
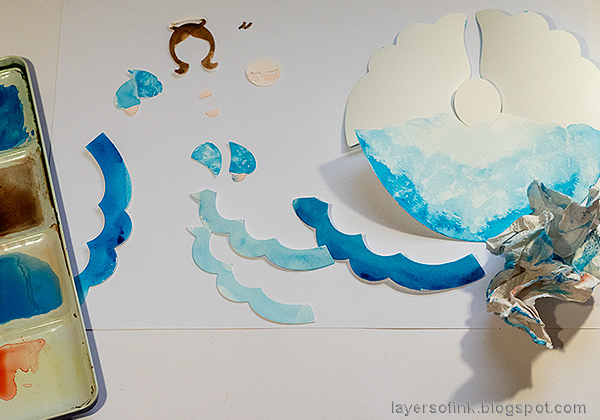
Paint with watercolors or Distress Inks. You need to paint the back of the wings, since they will become the front as the angel is assembled. To get the texture on the angel, I pressed with a scrunched up paper towel. The paper towel picks up some of the paint and leaves a soft texture. I ended up not using the scalloped pieces, since I liked the soft texture so much, but if you want to use them, they fit perfectly on the wings, and would also look great die cut from a pearlescent or glittery paper.

Assemble the angel by twisting the wings to the back, so that the two slots can join. As you can see, the unpainted wings are now at the back.

And here's the front, with the painted side of the wings.
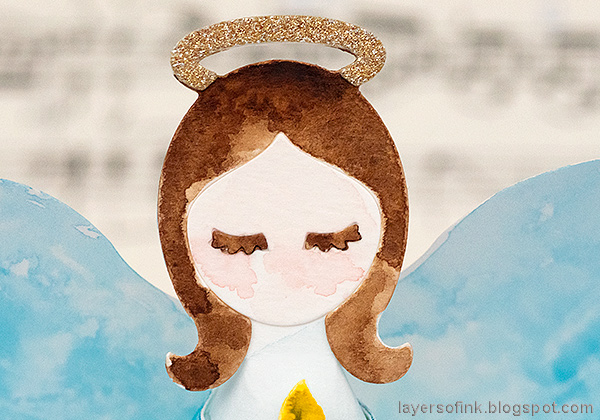
Glue the hair, gloria, and face details in place.

The sleeves were layered, and I left the ends lose, so that they look more dimensional. I used the Sizzix glue gun to glue the arms to the body, but you can also use a different adhesive. Always take care when using a glue gun so that you don't burn yourself. There is a piece of foam tape behind the candle, to bring it out from the body. I ended up not using the gold candle, but instead painted it.
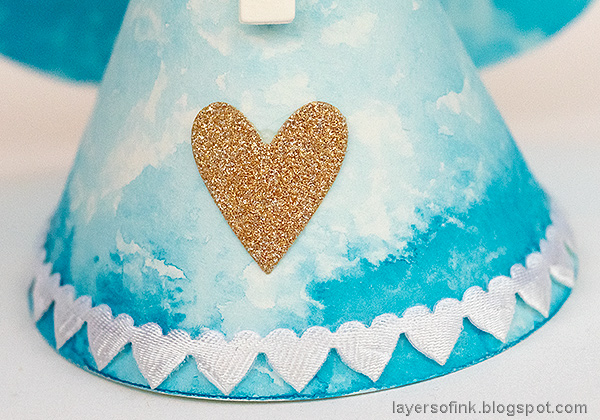
At the base, I glued a piece of heart ribbon that I found in a drawer, and there is also the deco sheet heart.

The angel is quick to make and you can easily make a whole bunch. Here you can see the dimensions from the top.
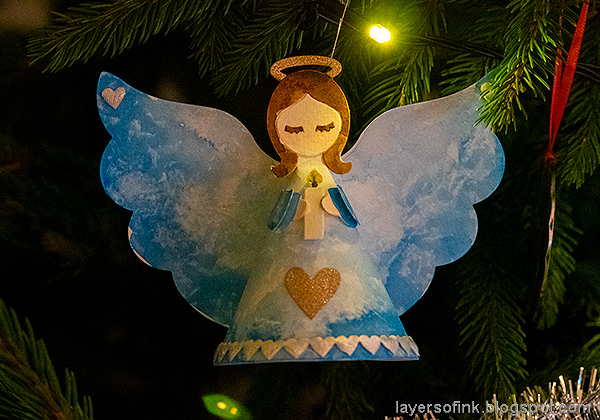
The angel also looks great hanging in a tree, especially if you make more than one. I don't know why our tree lights look green here, they are white in real life.
Happy Christmas Crafting!
Anna-Karin
* Please note: the links are affiliate links, for which I receive a small percentage of sales generated by the link, at no extra cost to you.
No comments:
Post a Comment
Thank you so much for leaving a comment! Happy Crafting!