
Hi friends! Today I have an art journal page tutorial to share, using collage paper and lots of stamps.
Please note: this post has affiliate links, for which I receive a small percentage of sales generated by the link, at no extra cost to you.


Start by coating the page with gesso and when dry, add gloss medium where you want the collage paper to be. Place the collage paper into the medium and add another layer on top. When dry, paint around the collage paper with Lost Shadow.

Repat the process for the images from the Photographic Collage Paper. Tear around the images instead of cutting, since a torn edge disappears better on the background.

I wanted a large title since the page is large and die cut squares from watercolor paper with Tim's Stacked Squares set. Smear Distress Ink on a non-stick craft sheet, mist with water and press the squares into the ink.

Die cut the squares one more time from black paper. Die cut the letters with Tim's Alphabetic Emporium set. I held the die in place with Simon Says Stamp Very Very Low Tack Tape.

Off-set the black squares and glue the little pieces to the 'O' and 'R', and you have colorful alphabet tiles.

Stamp sentiments from Tim Holtz and Simon Says Stamp with black ink. I also stamped Simon Says Stamp Old Letter Background here and there with Watering Can ink.

Stamp a background stamp from Tim Holtz Ultimate Grunge with Cobalt ink.

The Simon Says Stamp Circle Loops were die cut from left over inky papers.

These birds are a favorite stamp from Tim's Mini Ornates.

The wind mill made me think of South Africa, since they are common there on the country side.

Such a great photo. The stamped trees help to unify the images with the background. I used them in a similar way on my Architecture canvas.

Most of the images on the Photographic Collage Paper come from old postcards and I like the dates, place names and postal images here and there.

To make the stamped title stand out better, I framed it with a Circle Loop.

The alpha tiles fit well with the color chart in the background.

I also doodled a border around the page.


Thank you so much for stopping by here today! See you soon again.
Happy crafting!
Anna-Karin
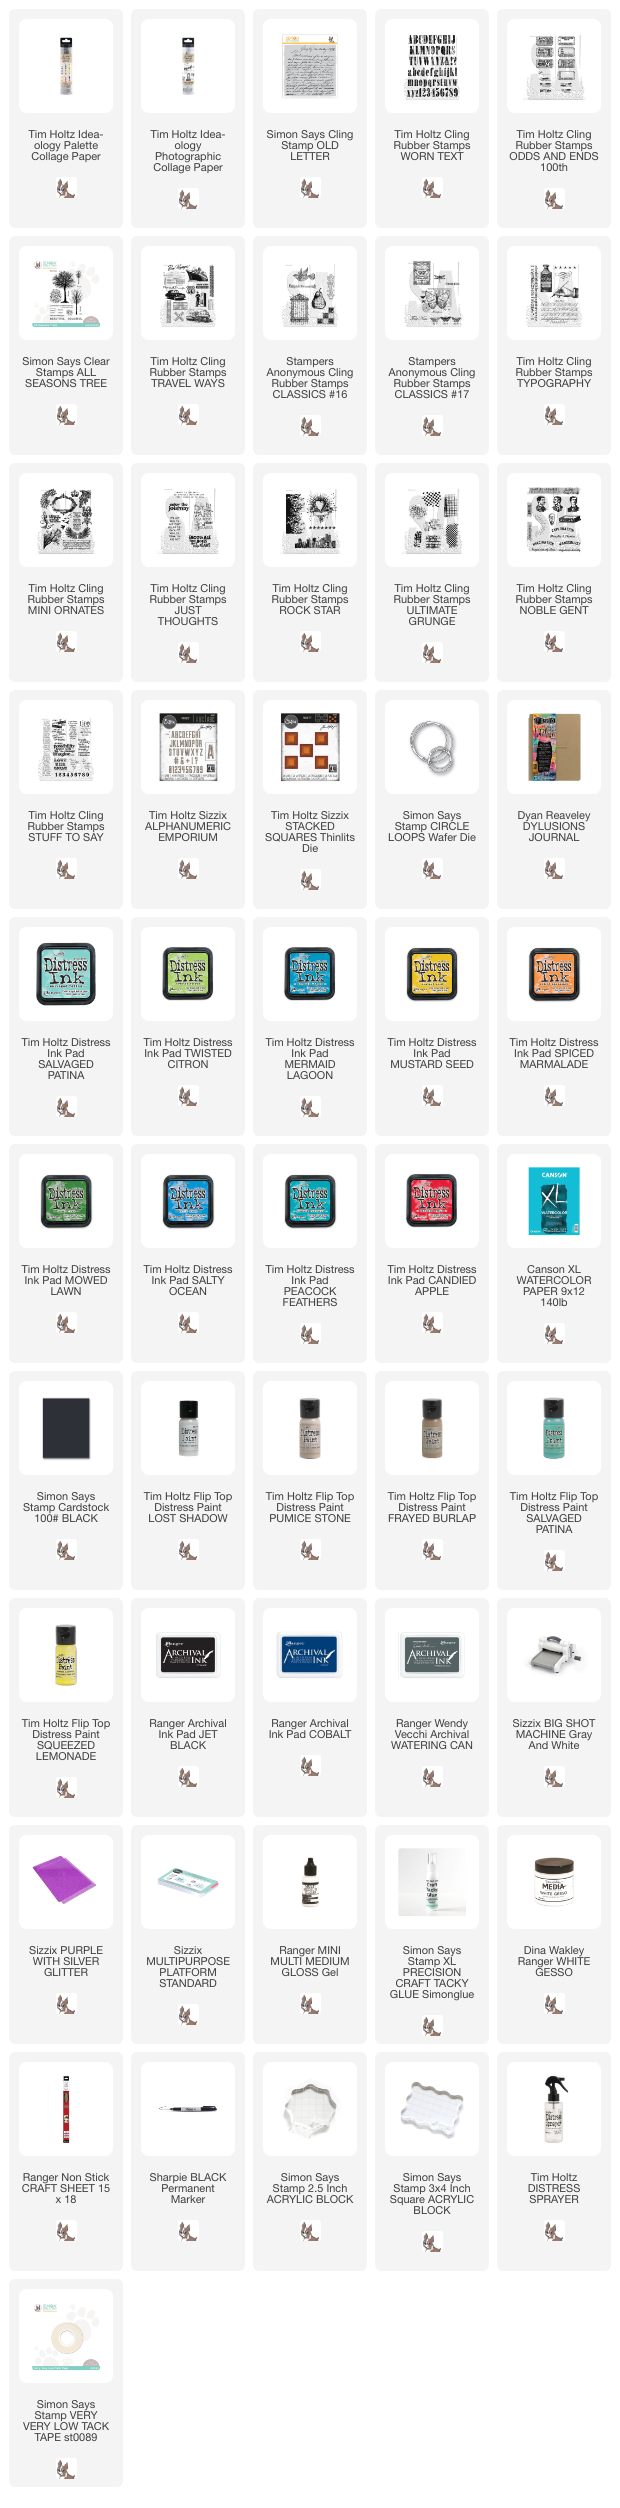
Supplies:
* Please note: the links are affiliate links, for which I receive a small percentage of sales generated by the link, at no extra cost to you.
* Please note: the links are affiliate links, for which I receive a small percentage of sales generated by the link, at no extra cost to you.
No comments:
Post a Comment
Thank you so much for leaving a comment! Happy Crafting!