Hi friends! I have an art journal tutorial to share today, but it can also easily be turned into a card instead.
Please note: this post has affiliate links, for which I receive a small percentage of sales generated by the link, at no extra cost to you.
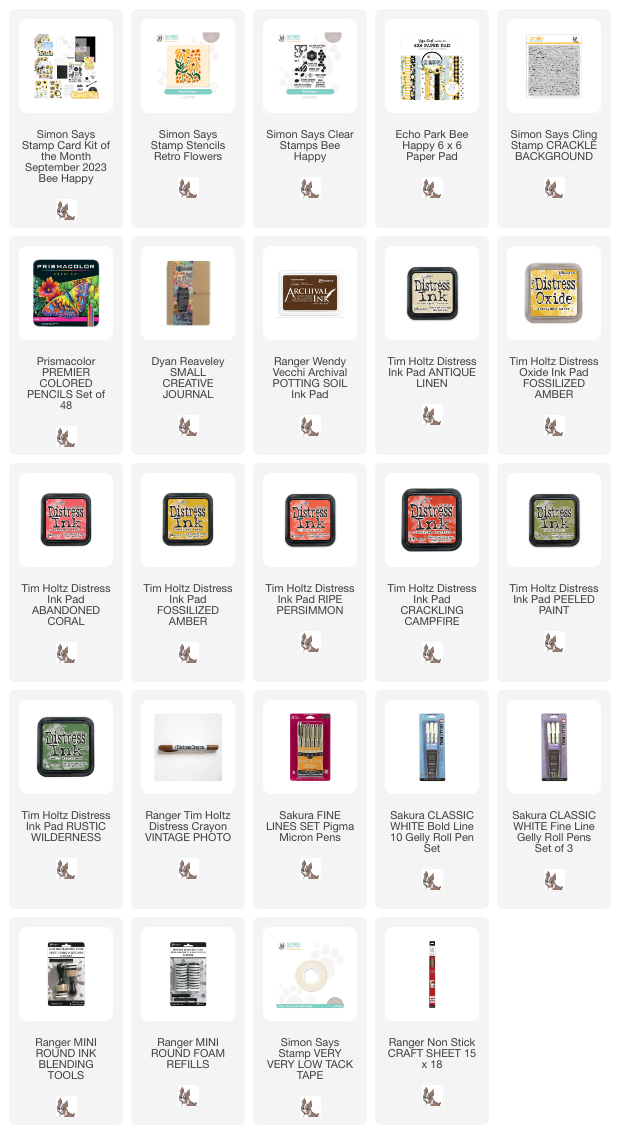
I used the Simon Says Stamp Bee Happy Card Kit for this art journal page, working in my Small Creative Journal. Apart from the ink and the crackle stamp, everything else comes from the kit. If the kit has sold out, you can get the products separately. You can also do the same technique with other stencils.
Ink the page with Antique Linen.
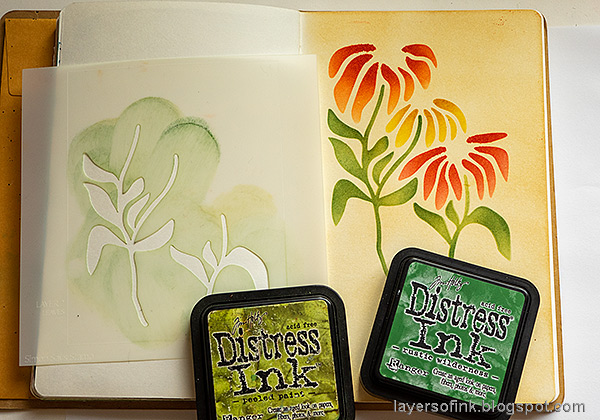
Ink through the first Retro Flowers layering stencil using Distress Inks and an ink-blending tool.
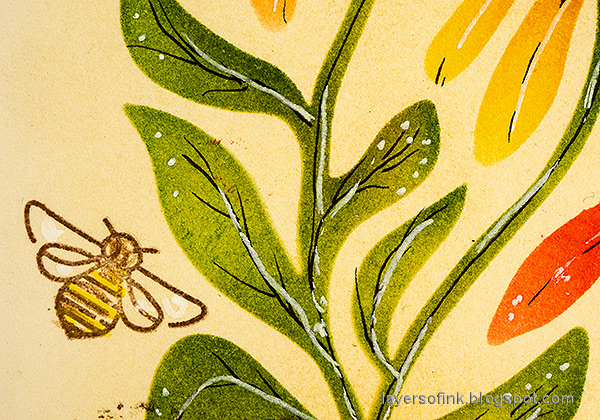
Ink the stems with green ink.
Apply Vintage Photo Distress Crayon through the fourth stencil. I didn't use the third stencil.
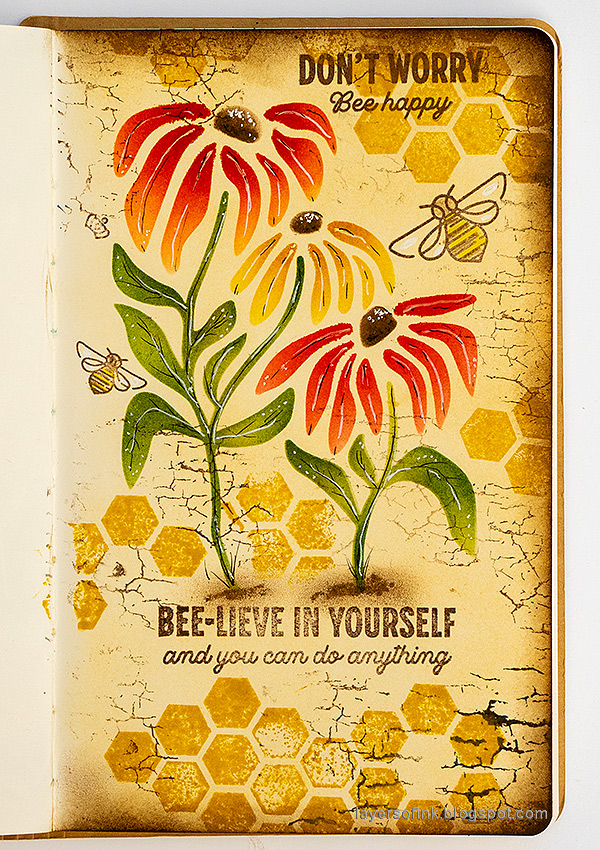
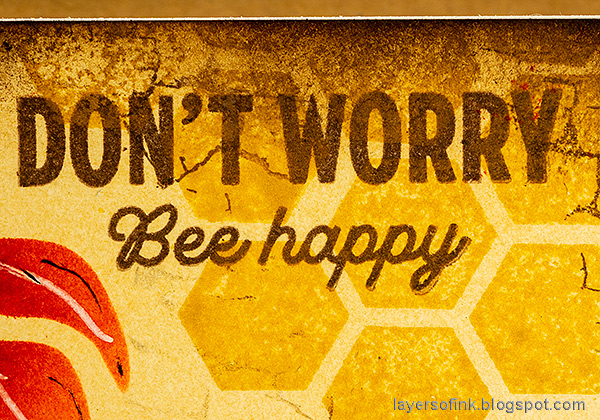
Stamp the honeycomb from Simon Says Stamp Bee Happy with oxide ink.
Stamp sentiments and bees with Potting Soil ink.
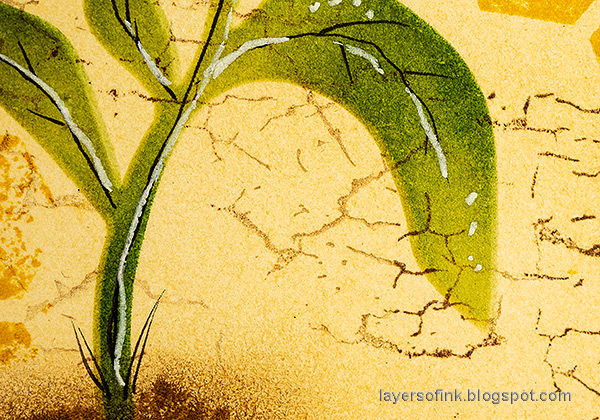
Add texture with Simon Says Stamp Crackle Background and Potting Soil ink. I had stamped the main sentiment on a piece of patterned paper from the kit too, but decided to keep the stamping that was done on the page, even though it wasn't perfect. I had planned to cover it up with the sentiment stamped on the paper strip.
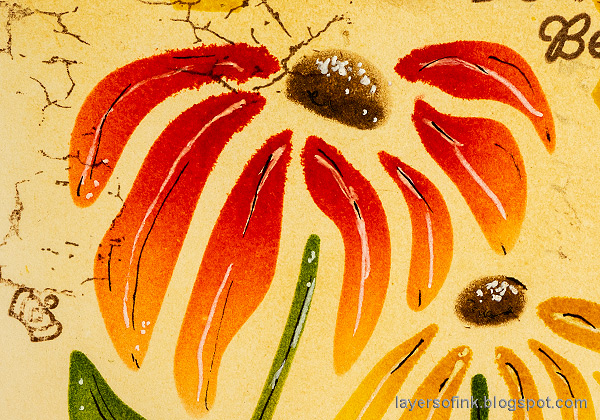
Add highlights and details with a black and a white pen, ink around the edges with brown ink and add soil with the brown crayon.
You can skip the pen marks on the flowers if you want to.
This Retro Flower Layering Stencil is great and I love the look of these coneflowers.
I added just a bit of the white gel pen on the wings of the bees and colored their bodies with pencils.
The crackles add just a bit of texture.
Even though I missed up the stamping of this sentiment, it fitted better on the page than the cover-up stamping that I did on a paper strip. I also like the texture in the honeycombs.








Thank you. Love the style. I'll have to give it a try.
ReplyDelete