Monday, February 12, 2024

Bird Nest Tag Tutorial

Hi stampers! We had a nice and quiet weekend here, lots of crafting and walking. My eldest baked a blueberry cheesecake which was delicious. 

Please note: this post has affiliate links, for which I receive a small percentage of sales generated by the link, at no extra cost to you.


This week we have a Tie it Up theme at the Simon Says Stamp Monday Challenge Blog. Use twine, fibers, ribbons and more. Don't miss the gorgeous project by our February guest designer Cassie Lynch.

Layers of ink - Bird Nest Tag Tutorial by Anna-Karin Evaldsson.

I used twine to make a circular frame / bird nest on this tag. I like the texture of twine and reach for it pretty often. A family of blue tits live in the nest. The mixed media background has a burlap texture created with paint, a stencil, paste and gold wax.

Layers of ink - Bird Nest Tag Tutorial by Anna-Karin Evaldsson. Paint the tag with acrylic paint.

Coat a tag with gesso and when dry, paint with Distress Paint. Mist with plenty of water. I used Antique Linen and a tiny bit of Frayed Burlap.

Layers of ink - Bird Nest Tag Tutorial by Anna-Karin Evaldsson. Add texture paste through stencil.


Layers of ink - Bird Nest Tag Tutorial by Anna-Karin Evaldsson. Paint with Distress Paint.

Paint with Distress Paint and mist with water.

Layers of ink - Bird Nest Tag Tutorial by Anna-Karin Evaldsson. Stamp with Tim Holtz School Desk.

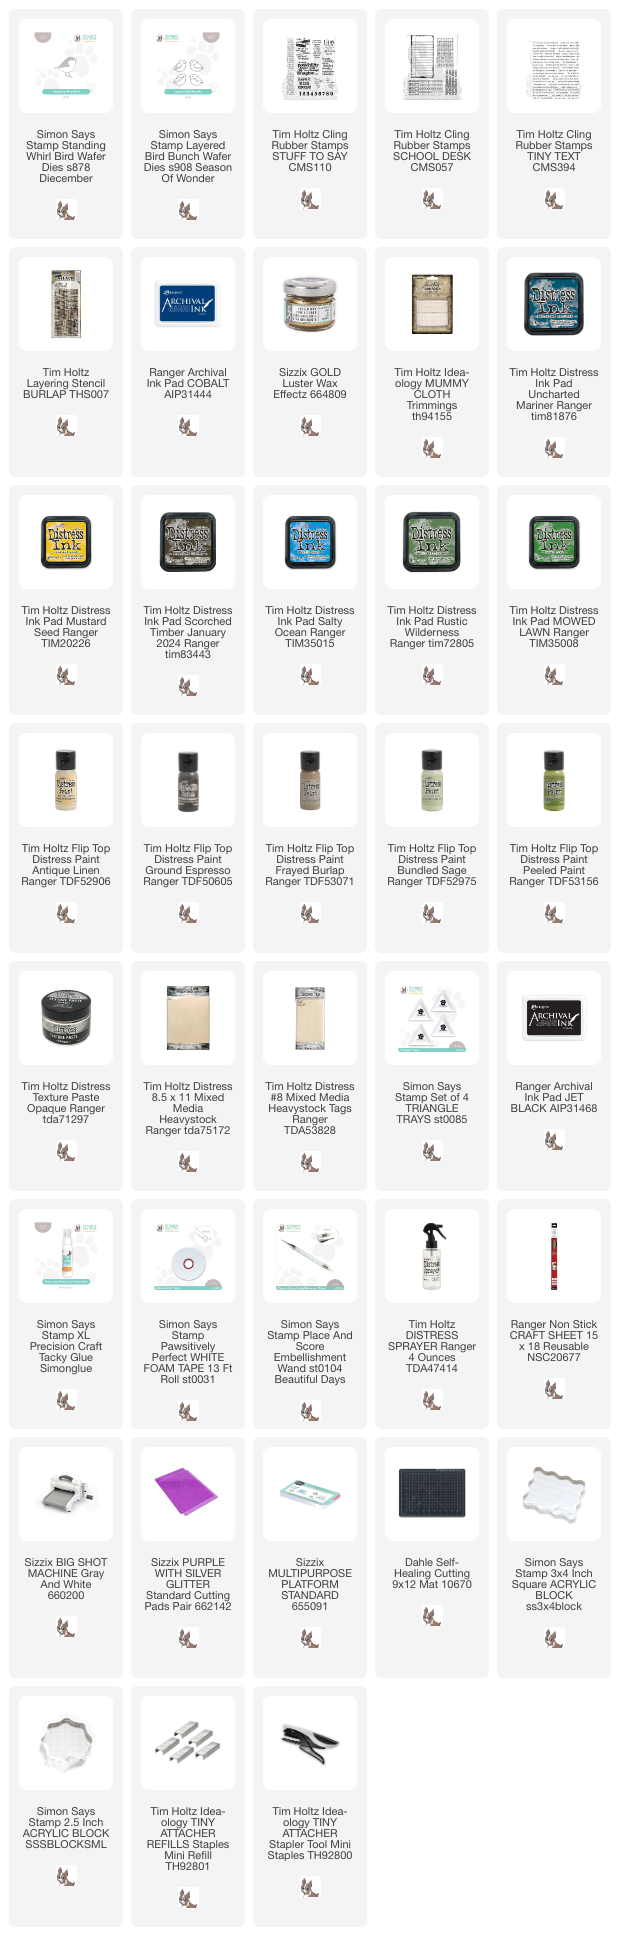
Stamp with the alphabet stamp from Tim Holtz School Desk. 

Layers of ink - Bird Nest Tag Tutorial by Anna-Karin Evaldsson. Apply Sizzix Gold Luster Wax.

Apply Sizzix Gold Luster Wax.

Layers of ink - Bird Nest Tag Tutorial by Anna-Karin Evaldsson. Make a bird nest from twine.

Make a circle with Simon Says Stamp craft glue and start winding twine around it. Add more glue as needed, but you want the twine to be a bit wild. Don't glue it down everywhere. I added a few staples here and there.

Layers of ink - Bird Nest Tag Tutorial by Anna-Karin Evaldsson.

Die cut Simon Says Stamp Standing Whirl Bird and Layered Bird Bunch from Ranger Heavystock paper.

Layers of ink - Bird Nest Tag Tutorial by Anna-Karin Evaldsson. Paint the birds with Distress Ink.

Smear Distress Inks on a non-stick craft sheet. Mist with water and pick up with a paint brush. Watercolor the birds.

Layers of ink - Bird Nest Tag Tutorial by Anna-Karin Evaldsson.

I stamped sentiments using Tim's Tiny Text set.

Layers of ink - Bird Nest Tag Tutorial by Anna-Karin Evaldsson. Blue Tit Birds.

The birds also got a little bit of mummy cloth / cheese cloth to make the nest cozier. They were adhered with both Simon Says Stamp Pawsitively Perfect foam tape and glue. 

Layers of ink - Bird Nest Tag Tutorial by Anna-Karin Evaldsson. Watercolor bird.

The blue tit is one of my favorite birds and you might have spottet it in my projects before. I often use a bird book when coloring, but don't worry about getting all the details right.

Layers of ink - Bird Nest Tag Tutorial by Anna-Karin Evaldsson.

Add a small dot to the eye with a white gel pen to make the birds look more alive.

Layers of ink - Bird Nest Tag Tutorial by Anna-Karin Evaldsson. Add pearls.

I also glued a few pearls among the twine. 

Layers of ink - Bird Nest Tag Tutorial by Anna-Karin Evaldsson.

Dream was stamped with Archival Ink Cobalt blue and comes from Tim's Stuff to Say set. The Archival Ink Cobalt was one of the very first inks that I bought, a long time ago.

Layers of ink - Bird Nest Tag Tutorial by Anna-Karin Evaldsson.

Here you see the effect of the gold wax better.

Layers of ink - Bird Nest Tag Tutorial by Anna-Karin Evaldsson.


I hope you will join us this week in our Tie It Up challenge. You have a chance to win a $25 gift voucher to do some fun shopping at Simon Says Stamp. You have until Monday 8am Ohio time. 1pm UK time, 2 pm CET to join in.


Do you use Instagram? If so please add #sssmchallenge so we can see your entries there too.


Thank you so much for stopping by here today! 

Happy crafting!

Anna-Karin

Supplies:

* Please note: the links are affiliate links, for which I receive a small percentage of sales generated by the link, at no extra cost to you.


No comments:

Post a Comment

Thank you so much for leaving a comment! Happy Crafting!