Wednesday, June 30, 2021

Embossed Grid Background

Hi stampers! Today I have a tutorial to share with a fun embossed background. 

Please note: this post has affiliate links, for which I receive a small percentage of sales generated by the link, at no extra cost to you.
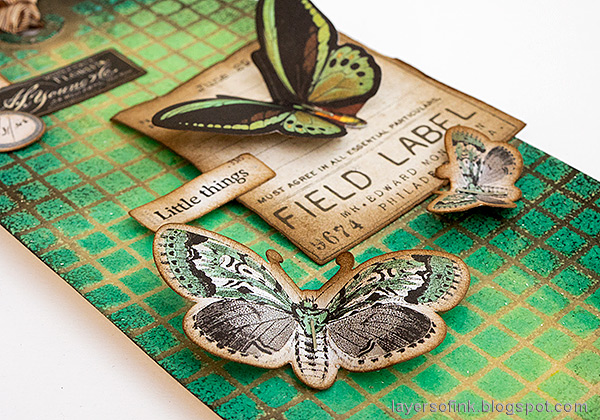
Layers of ink - Embossed Grid Background Tutorial by Anna-Karin Evaldsson. With Simon Says Stamp Solid Grid Background.

I really like the textured, yet completely shiny, background here. It creates almost the look of mosaic tiles, with grout in between. I didn't even want to cover too much of it up, so the tag is only embellished with a few pieces of ephemera.

Layers of ink - Embossed Grid Background Tutorial by Anna-Karin Evaldsson. With Simon Says Stamp Solid Grid Background.

Start by inking the Simon Says Stamp Solid Grid Background stamp with two shades of Distress Oxide Ink. Emboss it with clear embossing powder. Be very careful when using a heat tool and never touch the melted powder until it has cooled down completely.

Layers of ink - Embossed Grid Background Tutorial by Anna-Karin Evaldsson. With Simon Says Stamp Solid Grid Background.

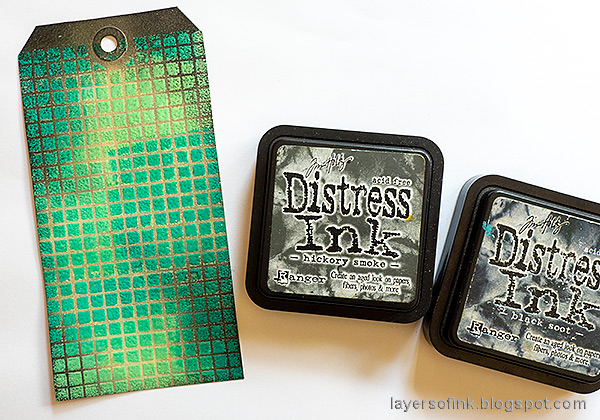
Ink the tag with Hickory Smoke and Black Soot. The embossing will resist the ink and look like grout. 

Layers of ink - Embossed Grid Background Tutorial by Anna-Karin Evaldsson. With Simon Says Stamp Solid Grid Background.

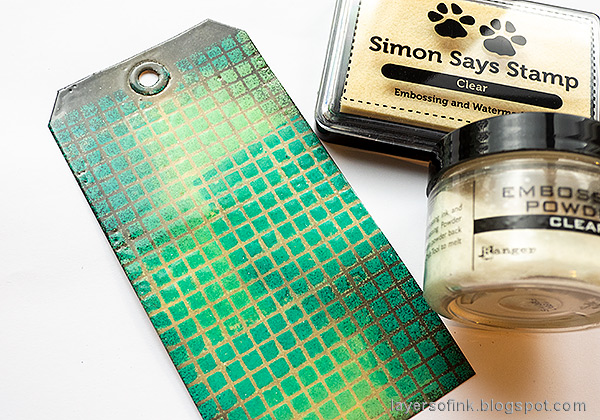
Cover the tag with clear embossing ink and emboss it with about two to three layers of clear powder. Again, be very careful and do not touch the melted powder until it has cooled down completely.

Layers of ink - Embossed Grid Background Tutorial by Anna-Karin Evaldsson. With Simon Says Stamp Solid Grid Background.

The effect with the multicolored tiles, the texture, grout and then the clear embossing gives a very interesting looking background. It is hard to see on the photo, but the background is textured to the touch too, since the stamped squares have one additional layer of embossing powder and therefore stand out slightly.

Layers of ink - Embossed Grid Background Tutorial by Anna-Karin Evaldsson. With Simon Says Stamp Solid Grid Background.

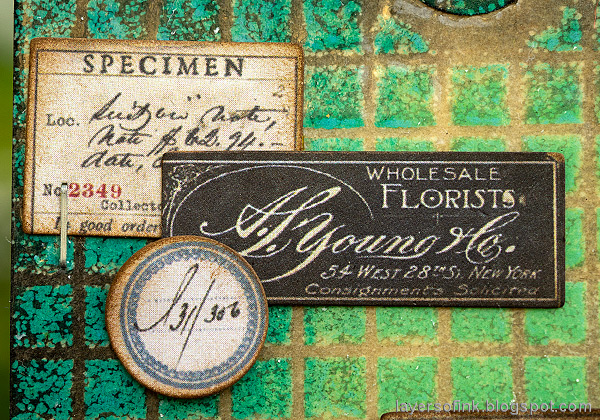
I used ephemera from Tim Holtz Field Notes and Field Notes Snippets. Ink the edges.

Layers of ink - Embossed Grid Background Tutorial by Anna-Karin Evaldsson. With Simon Says Stamp Solid Grid Background.

'Little things' was stamped with one of the sentiment stamps from Anna's Flowers on one of the labels. 

Layers of ink - Embossed Grid Background Tutorial by Anna-Karin Evaldsson. With Simon Says Stamp Solid Grid Background.

I added only a little grey ink to the center of the tag, which makes the grout look lighter there, almost like it is shining.

Layers of ink - Embossed Grid Background Tutorial by Anna-Karin Evaldsson. With Simon Says Stamp Solid Grid Background.

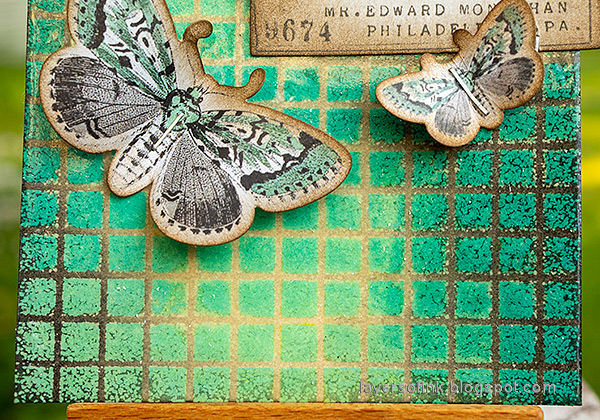
Fold the wings up and staple the butterflies in the center.

Layers of ink - Embossed Grid Background Tutorial by Anna-Karin Evaldsson. With Simon Says Stamp Solid Grid Background.

You can try this technique with different background stamps. It will work best with stamps that have at least some solid areas, since that will give a more textured look.


Thank you so much for taking the time to stop by here today! 

Happy crafting!

Anna-Karin

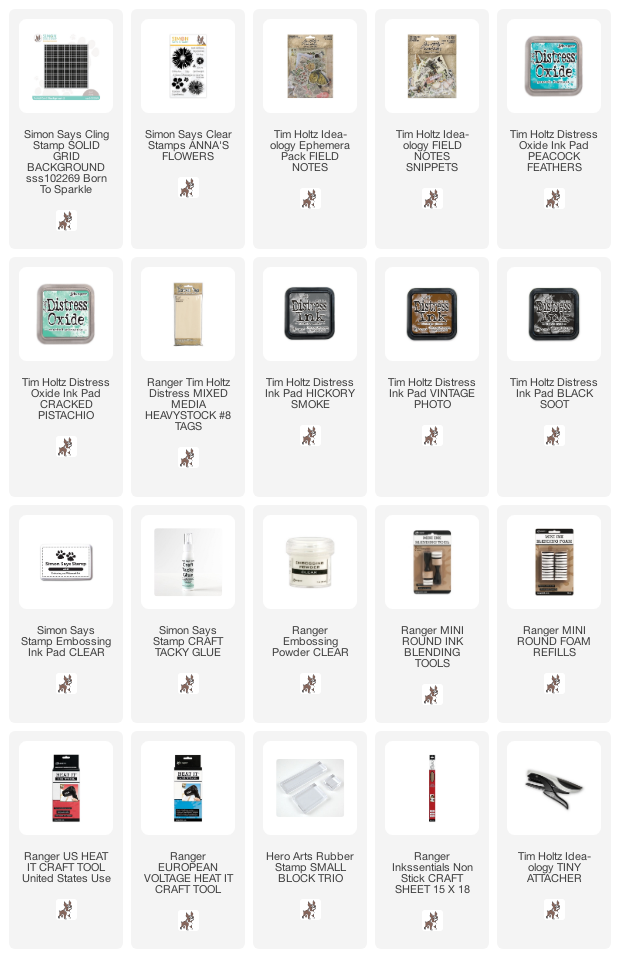
Supplies:

* Please note: the links are affiliate links, for which I receive a small percentage of sales generated by the link, at no extra cost to you.

1 comment:

Thank you so much for leaving a comment! Happy Crafting!