Hello stampers! I hope you had a great weekend with lots of crafty time. I started working on my December Daily project, which will be up here on the blog as soon as it is finished.
Please note: this post has affiliate links, for which I receive a small percentage of sales generated by the link, at no extra cost to you.
We are back with a new Simon Says Stamp Monday Challenge and this week our theme is Not a card. Lots of options with this one!
Don't miss the stunning project by our November guest designer Thom Santilla.
I made a very shiny, glittery and shimmery tag with baubles. I really like baubles, especially older ones. Here I used the new
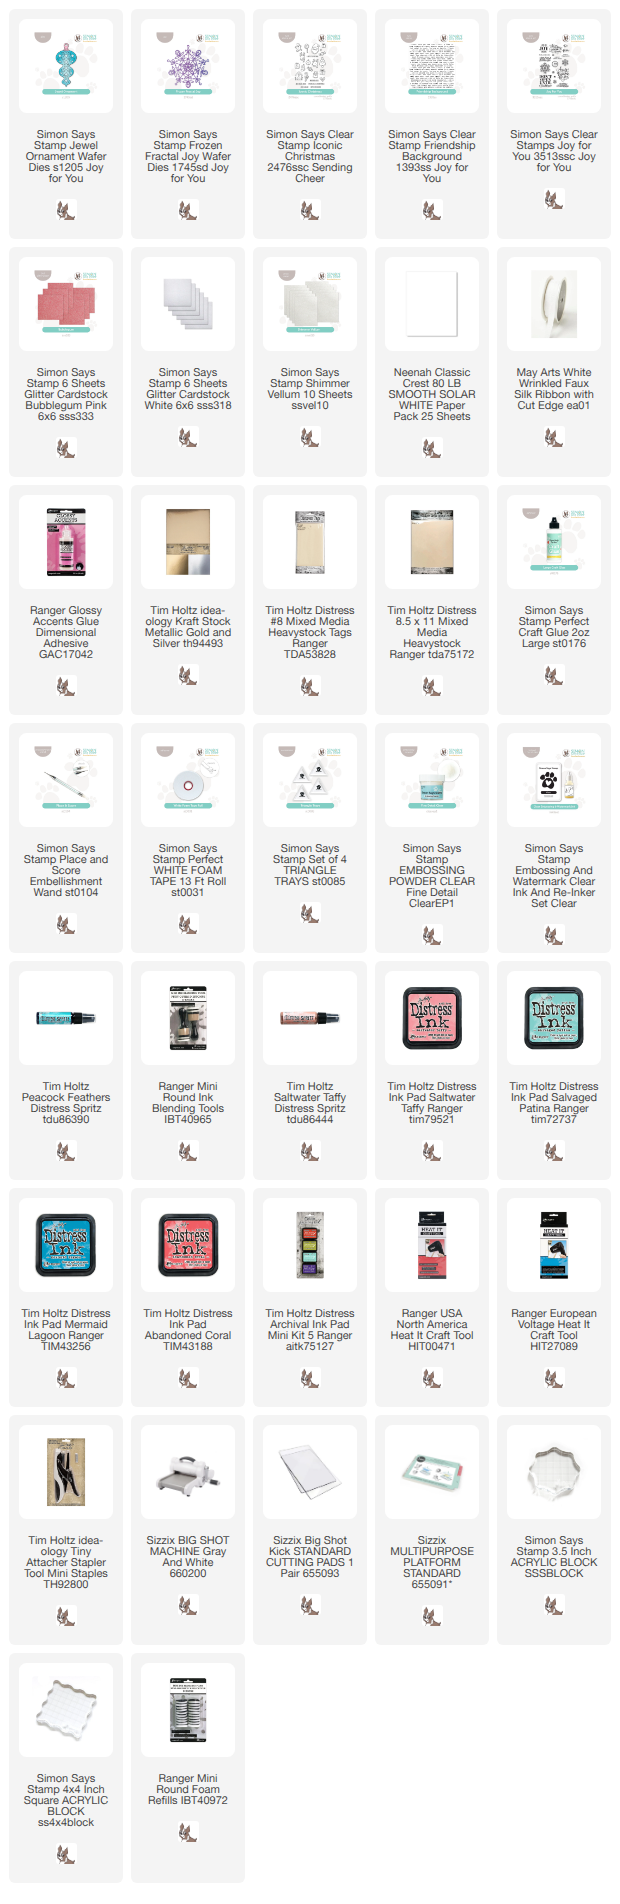
Simon Says Stamp Jewel Ornament die set from the Joy for You release. There is Glossy Accents, glitter cardstock and shimmery Distress Spritz. Let start.
Start by die cutting the
Simon Says Stamp Jewel Ornament from heavystock cardstock and
silver cardstock. You will notice that I turned the baubles up-side-down on all photos. I planned to have them in this orientation at first, but later changed my mind.
Ink with Distress Ink.
Ink with Distress Ink and then mist with Distress Spritz, to create inky shimmery goodness.
I dyed two pieces of May Arts Faux Wrinkled Silk Ribbon with Distress Ink and used to organza ribbons.
The pink bauble was adhered with Simon Says Stamp Pawsitively Perfect Foam Tape, the other two were glued to the background. I die cut six silver pieces and sandwiched them together. The baubles were adhere with thin organza ribbon, stapled at the top of the tag.
This sentiment also comes from Simon Says Stamp Joy for You and was adhered with foam tape. I forgot to take a photo of the step where I die cut the new
Simon Says Stamp Frozen Fractal Joy snowflake from
Shimmer Vellum. You can see it behind the bauble.
The baubles are very shiny because of the Glossy Accents, with sparkles of glitter in the die cut areas.
Join us this week in our Not a Card challenge! You have a chance to win a $25 gift voucher to do some fun shopping at Simon Says Stamp. You have until Monday 8am Ohio time. 1pm UK time, 2 pm CET to join in.
Do you use Instagram? If so please add #sssmchallenge so we can see your entries there too.
Thank you so much for visiting today!
Happy crafting!
Anna-Karin
Supplies:
* Please note: the links are affiliate links, for which I receive a small percentage of sales generated by the link, at no extra cost to you.



No comments:
Post a Comment
Thank you so much for leaving a comment! Happy Crafting!