
Hello friends! Another warm summer week is almost over, and tomorrow Sweden is playing in the quarter finals in the FIFA soccer World Cup for the first time since 1994. I watch very little sport on TV, but now and then, when it is big occasions, it is fun to watch and tomorrow we will definitely be watching.
Today, I have a card to share, made for the Eileen Hull Inspiration Team. During July, the team is showing projects made with Eileen's new Book Club Chapter 2 dies from Sizzix and her Clearsnap ColorBox Blends inks.

I had such fun using Eileen's new Book Club 2 dies and her ColorBox Blends inks on this card. I used the inks mainly together with stencils, and to cover entire surfaces, for which they work wonderfully. The Blends inks are pigment inks and there are many shades of color, and they all look nice together. You can read more about the inks here.

For the fun tag pocket, I used Eileen's Credit Card, Sleeve & Tags set. Start by die cutting the pocket itself, with one of the scalloped slots. I used the Magnetic Platform, so that the die would stay in place. You could also use a piece of tape.
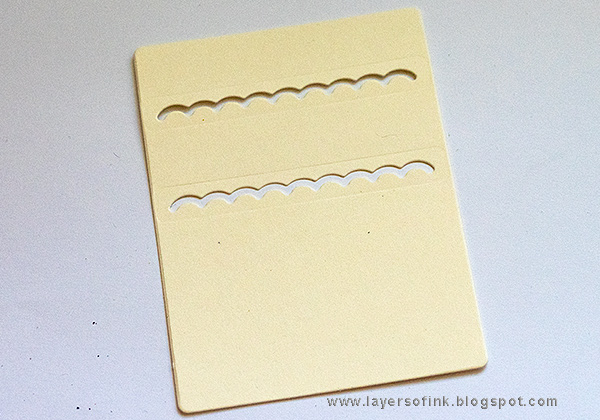
Move the scalloped slot down and die cut again.
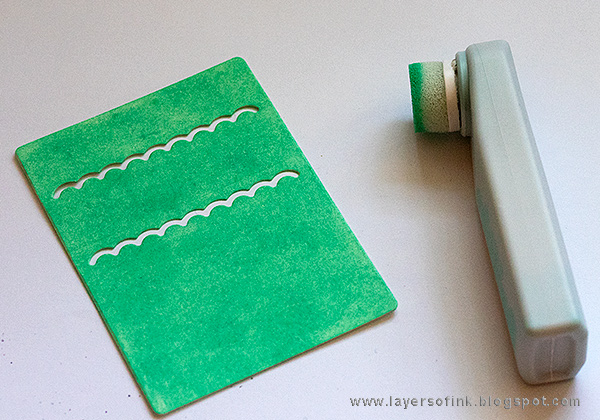
Cover the whole piece with Bay ink. As you can see, the ink is dispensed through a sponge at the front of the holder. It is very easy to get an even layer, and quick too. Work in a circular motion, while pressing the sponge down.

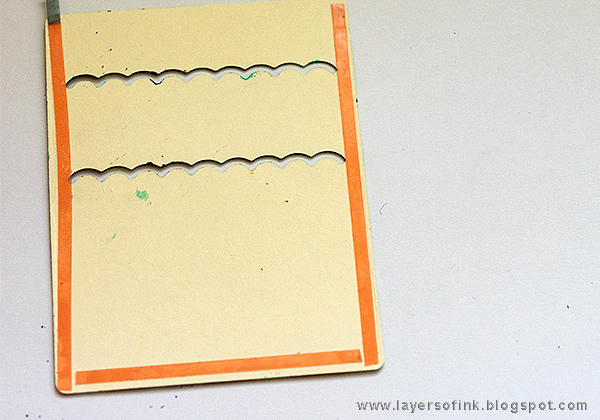
Place a stencil on top and go over with Uniform ink. This is a pigment ink so it works great for embossing. Cover the whole pocket with clear embossing powder and melt. Be careful not to burn yourself.

For the cardbase I used kraft cardstock and die cut the edge with the Scallop Border Movers & Shapers die. It works best together with the Movers & Shapers Shuttle. Use this sandwich: Movers & Shapers Shuttle, die facing up, paper, Cutting Pad.

I used a Bubble stencil and Nutmeg ink on the cardbase. You could emboss this too if you want to.

Die cut four tags with the Credit Card, Sleeve & Tags set. Aren't they cute?

Ink with ColorBox Blends and add stenciling in a different shade of ink. Here I used: Sunshine, Golden, Nutmeg, Flagstone, Leaf, Beach and Uniform inks.
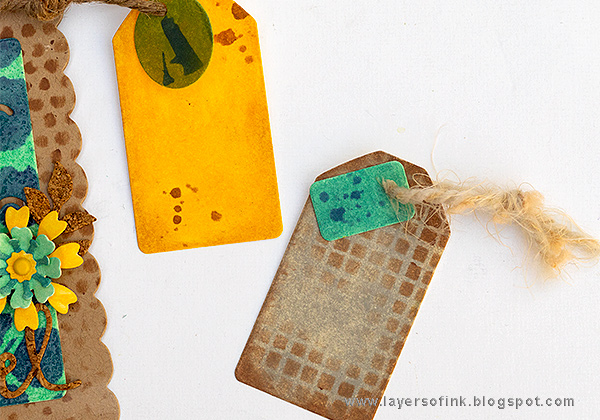
I punched holes in the larger tags and added a small one to each tag. I haven't written anything on the tags yet, I want to wait with that until I know who the card will be sent to.
I used Wonder Tape to attach the pocket. You can add a strip at the top too, but I hadn't yet decided whether I wanted to add a third tag there or not.

Die cut flowers with the beautiful Flowers & Leaves Journaling Cards. The flower one has so many different flowers, and you get them all in one go. Ink with Blends.

I used one of the flowers as a star.

Shape the flowers a little and layer them with a brad in the middle. Leaves were die cut from cork.
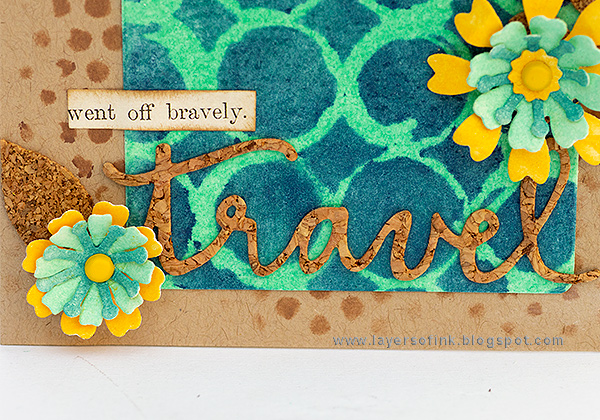
The title was die cut from cork with the Journaling Words set. I also added a Clippings Sticker.

It is difficult to capture the shiny effect of the clear embossing powder, but I think you see it a little better here.
Don't miss all the projects by the Eileen Hull Inspiration team during July, with projects using Book Club Chapter 2 and Eileen's ColorBox Blends inks.
Thank you so much for stopping by today and have a lovely weekend!
Happy Crafting!
Anna-Karin
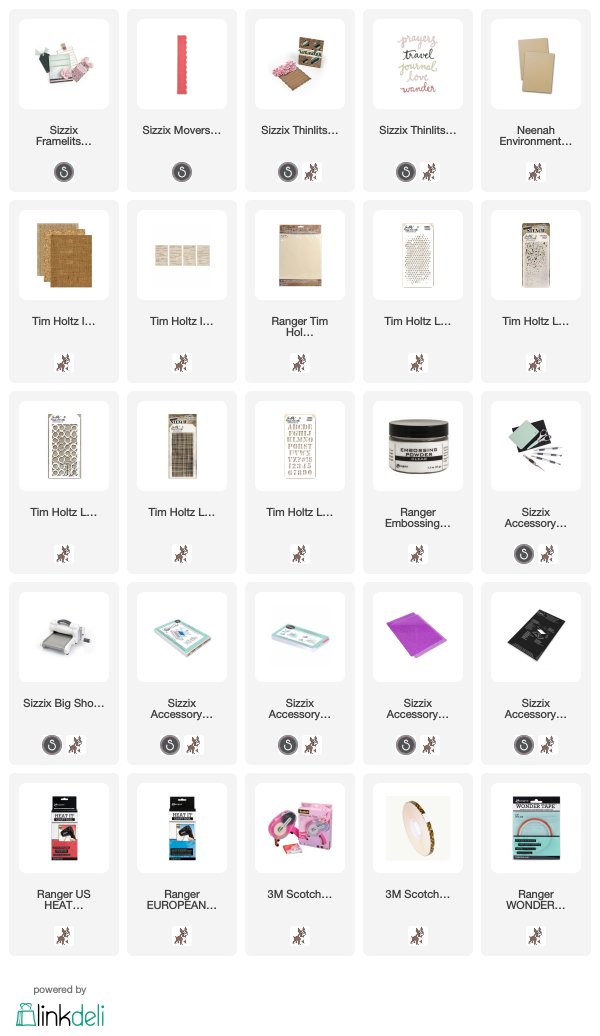
Supplies:
* Please note: the links are affiliate links, for which I receive a small percentage of sales generated by the link, at no extra cost to you.
Inks: Eileen Hull Clearsnap ColorBox Blends: Bay, Sunshine, Uniform, Leaf, Golden, Beach, Nutmeg, Flagstone
You can find the inks in Eileen's Etsy store.
This is such a lovely way to use the new dies and these amazing inks. The scalloped edge looks beautiful and I love all the little tags you added to the credit card holder.
ReplyDeleteI am definitely not a football fan, more of a cycling fan, but I guess I will have to watch today too after getting 'hooked' on a few matches in this tournament.... it has certainly been eventful so far! Hugs, Anne xx