
Hello friends! I hope you are well and had a good weekend! Our thin layer of snow disappeared yesterday and it isn't as cold as it was last week.
Please note: this post has affiliate links, for which I receive a small percentage of sales generated by the link, at no extra cost to you.

This week we have a 'Cold as ice' theme at the Simon Says Stamp Monday Challenge Blog. I hope you can join us! And don't miss the project by our December guest designer Susan Babcock aka SusanBCards.

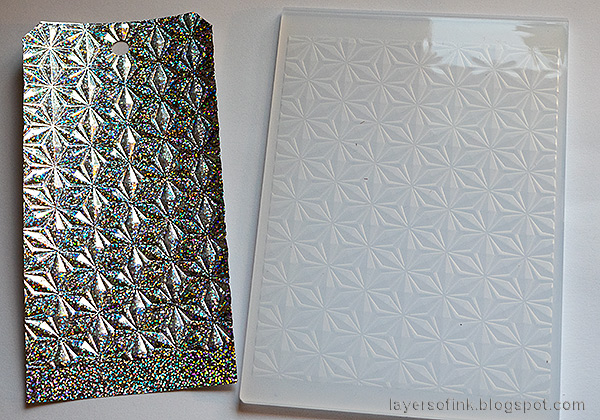
I am very fond of depicting ice and snow with different techniques and here I combined a whole bunch of quick and easy techniques to create an icy and sparkling tag.
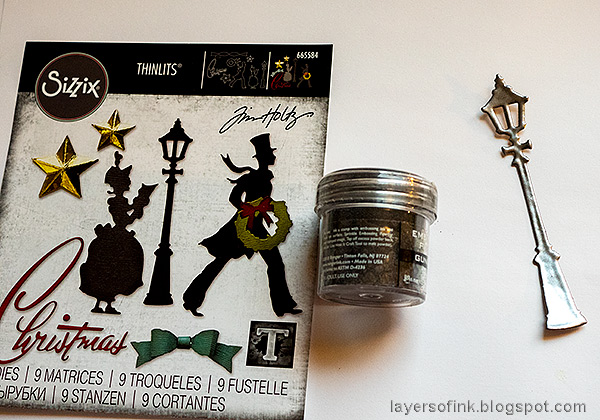
Die cut the lamp post from Tim Holtz Christmas 2021 Vault Series and emboss with several layers of Ranger Gunmetal powder. Always be very careful when using a heat tool and never touch the melted powder until it has cooled down completely.
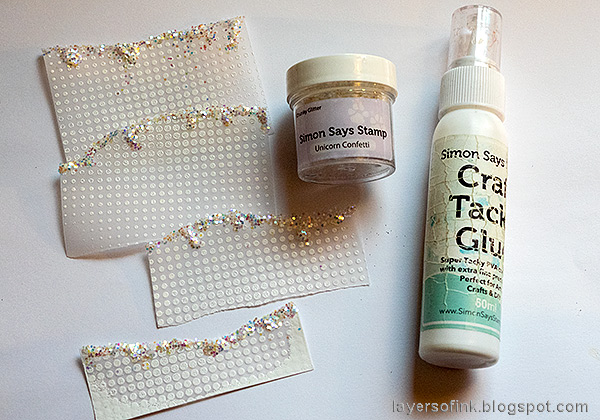
Apply glue along the top edge of the vellum pieces, dragging some of it down to create icicles. Sprinkle with Unicorn Confetti.
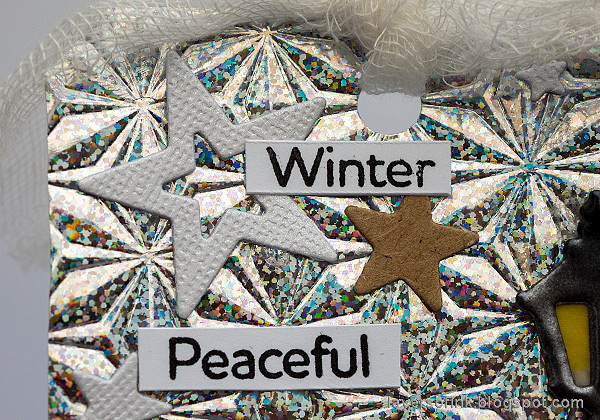
The stars were die cut with the Simon Says Stamp Stars from white glimmery cardstock and kraft paper. The words come from the Simon Says Stamp Forest Scenery set.
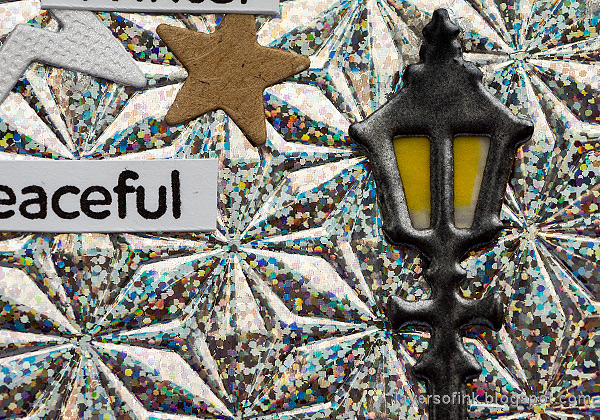
I colored a piece of vellum with a yellow pencil on the back and glued to the lamp post.
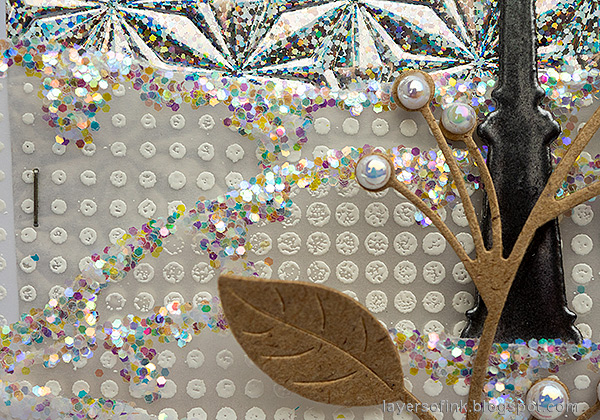
Layer the vellum snow together to create snowy hills. Tuck the lamp post and a die cut Simon Says Stamp Etched Berry Branch in between the vellum pieces.
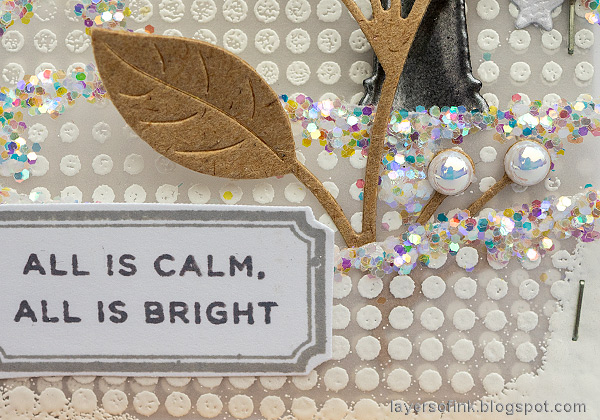
The label comes from the Simon Says Stamp Mixed Labels set and was stamped with Smoke ink, while the sentiment was stamped with Slate ink.


Thank you so much for visiting my blog today!
* Please note: the links are affiliate links, for which I receive a small percentage of sales generated by the link, at no extra cost to you.
No comments:
Post a Comment
Thank you so much for leaving a comment! Happy Crafting!