Hello stampers! I hope you had a good weekend and got some (or a lot!) of crafty time.
Please note: this post has affiliate links, for which I receive a small percentage of sales generated by the link, at no extra cost to you.
This week we have a Fun with Foil theme at the Simon Says Stamp Monday challenge blog. I hope you will join us! Our January guest, Pauline C has made another gorgeous project with a great technique, don't miss it.
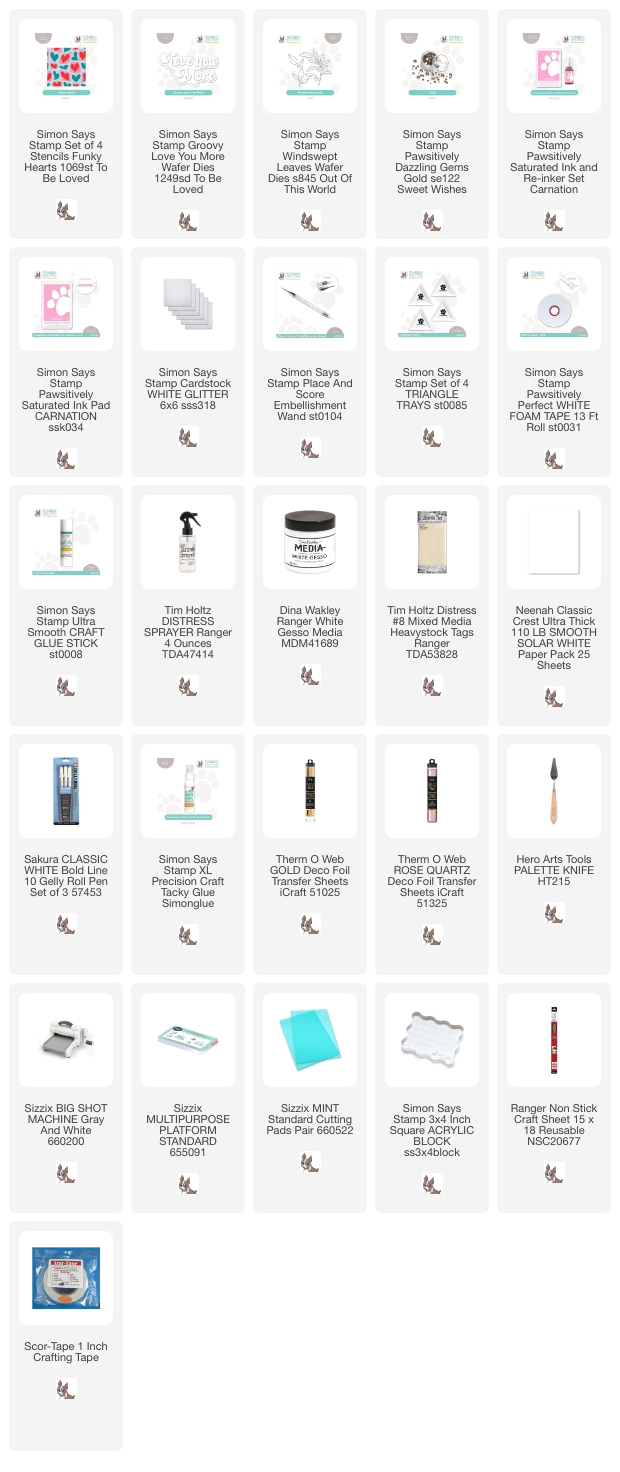
I made a Valentine's tag this week using products from Simon Says Stamp new To Be Loved release. I used foil around the edges of the tag and for the sentiment and leaf die cuts.
Start with a tag coated with gesso. When the gesso is dry, apply texture paste through one of the four stencils of the Simon Says Stamp Funky Hearts stencil set. The set comes with four stencils.
Let dry and then do the same through the second heart stencil on the set. Repeat to complete the two hearts at the bottom of the tag.
Use one of the two wonky rectangles and apply pink paint through the stencil with a sponge.
When dry, repeat with the second wonky rectangle stencil. I really like these rectangles, with the thin border in between them.
Paint the hearts white.
Paint the hearts with the same colors that you used on the background.
When the paint is dry, draw a border around the hearts with a white gel pen. I almost didn't want to cover this background up.
Apply glue with a glue stick around the edges. Wait a short while and then place the foil sheet on top. Rub and remove. I used Therm O Web Gold Deco Foil.
Apply tape to cardstock and then place the foil on top. Die cut with the Simon Says Stamp Groovy Love You More die. Die cut once more from white glitter cardstock.
Place the foil words into the glitter die cut. Die cut one more time from white cardstock and glue behind the glitter die cut, off-setting slightly. Repeat for Simon Says Stamp Windswept Leaves, but this time with Rose Quartz foil.
Tie with different organza ribbons and twine.
The sentiment comes from Simon Says Stamp Pixie Dust and was stamped with Pawsitively Saturated Carnation ink.
I also glued Simon Says Stamp Pawsitively Dazzling Gold Gems to the tag.
Join us this week in our Fun with Foil challenge! You have a chance to win a $25 gift voucher to do some fun shopping at Simon Says Stamp. You have until Monday 8am Ohio time. 1pm UK time, 2 pm CET to join in.
Do you use Instagram? If so please add #sssmchallenge so we can see your entries there too.
Thank you so much for visiting today!
Happy crafting!
Anna-Karin
Supplies:
* Please note: the links are affiliate links, for which I receive a small percentage of sales generated by the link, at no extra cost to you.
* Please note: the links are affiliate links, for which I receive a small percentage of sales generated by the link, at no extra cost to you.


%20(1).jpg)


Stunning funky tag Anna-Karin showcasing so many fabulous mixed media techniques, and the gold foiling just adds that perfect extra touch xx
ReplyDelete