Hi stampers! I hope you are well! Today I have a card tutorial to share with stamped and watercolored flowers.
Please note: this post has affiliate links, for which I receive a small percentage of sales generated by the link, at no extra cost to you.
Watercoloring flowers is one of my favorite things and for this card I used Simon Says Stamp Anemone Wreath from the To Love release. These flowers are so pretty and the center of the stamp is a perfect place for a sentiment.
Stamp the Anemone Wreath on watercolor paper with Ranger Archival Ink Jet Black.
Watercolor the flowers loosely, leaving areas white for highlights.
Add another layer of watercolor paint, darkening some areas of the flowers and leaves.
Paint the background with a light brown mix.
When dry, ink the edges and splatter some Distress Ink on the paper here and there, for a bit of texture.
Simon Says Stamp Simple Hello was die cut from gold kraft-stock and black paper. Stamp a sentiment and cut into a strip.
I also added some lines and dots with a white gel pen to the flowers. You can also use the gel pen to whiten areas where you might have forgotten to leave a highlight.
I stitched around the panel with embroidery floss.
By varying the amount of water, you can get many shades from one color. I used just one color red here and in one mix I added a tiny bit of yellow.
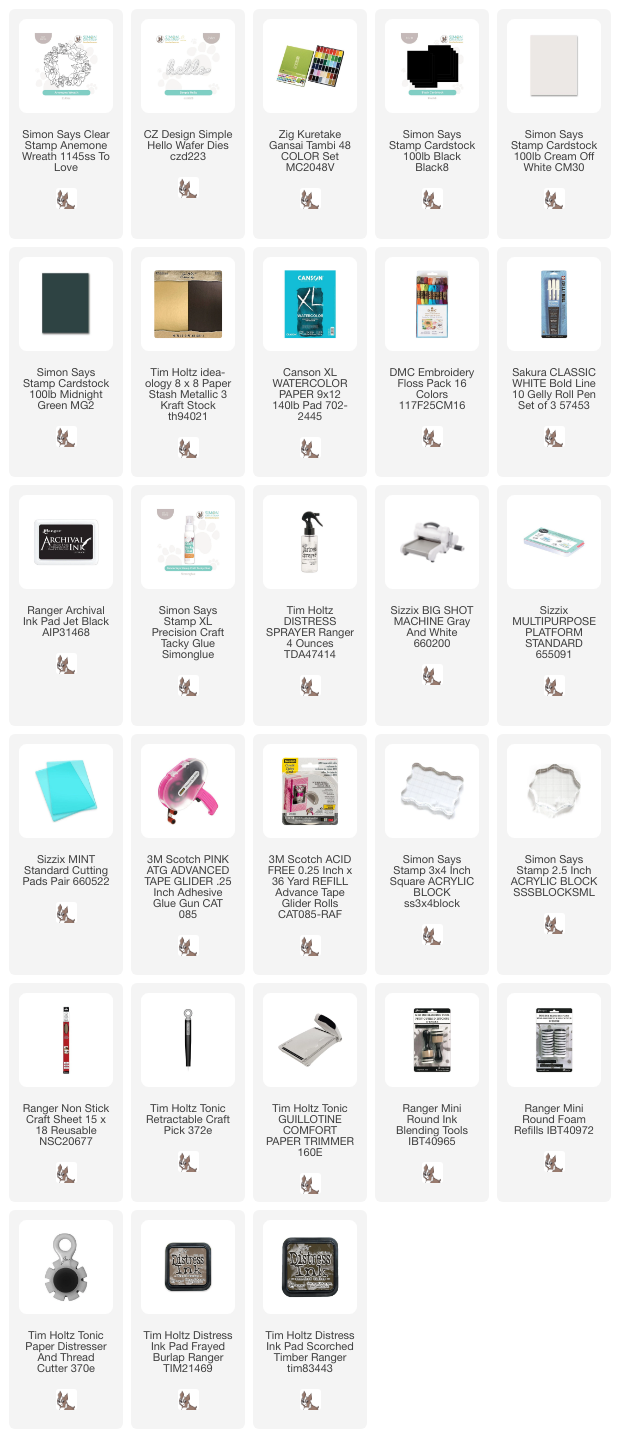
Supplies:
* Please note: the links are affiliate links, for which I receive a small percentage of sales generated by the link, at no extra cost to you.
* Please note: the links are affiliate links, for which I receive a small percentage of sales generated by the link, at no extra cost to you.


No comments:
Post a Comment
Thank you so much for leaving a comment! Happy Crafting!