Hello crafters! I hope you are well and had a good weekend! We have a lot of snow at the moment, which also inspired my card for today's post.
Please note: this post has affiliate links, for which I receive a small percentage of sales generated by the link, at no extra cost to you.
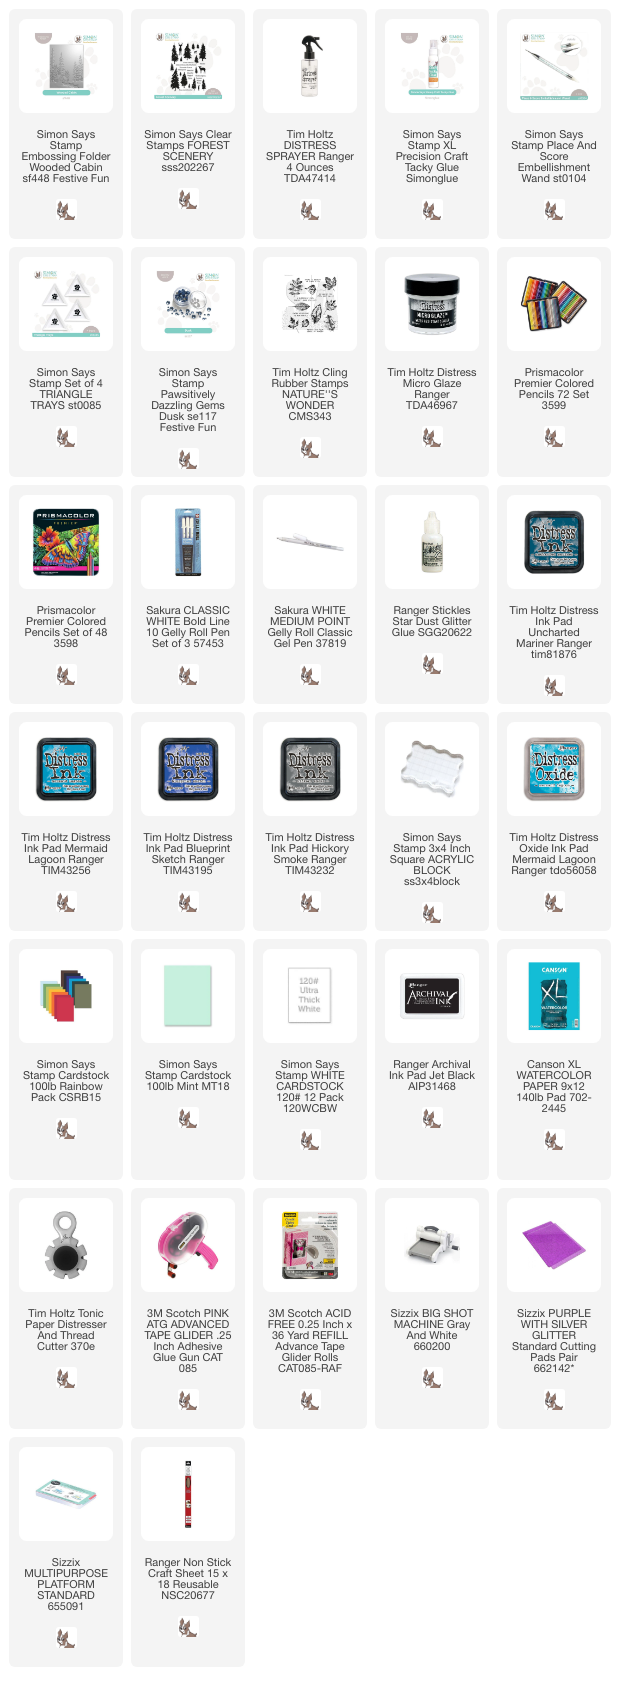
I made a card where I added texture in different ways: dry embossing, inky resist, a gel pen and some glitter. Simon Says Stamp Wooded Cabin 3-D embossing folder was used for the card, in combination with Distress Ink, colored pencils, Stickles and Micro Glaze. The technique is fun and easy!
Start by dry embossing watercolor paper in the Simon Says Stamp Wooded Cabin folder. Mist the paper with water before embossing.
Color the trees and the cabin with colored pencils. I used Prismacolors. I also added some shading to the path and the snow. I left some of the white showing on the pine trees, as snow. Next, cover the embossed areas with Distress Micro Glaze. I forgot to add the Micro Glaze jar to this photo. Apply it with your finger. This will protect the colored areas, and the white areas from the ink in the following steps.
Smear Distress Ink to a non-stick craft sheet and mist with water. Press the paper into the ink. Let Dry.
Repeat the previous step again, also adding some Hickory Smoke. Let dry and repeat again if you want even more texture.
I added a final layer of ink, namely Mermaid Lagoon Distress Oxide ink. Smear on a non-stick craft sheet, mist with water and just lightly touch the paper to the ink here and there. Don't overdo it.
Wipe off ink from the Distress Glazed areas. Add snow to the sky with a Sakura Classic White Bold Line Gelly Roll pen. Use the pen to add more snow to the pine trees too.
Add dots of Star Dust Stickles to the sky and cover the snow in front of the cabin with the glitter gel. Don't apply it to the path.
Stamp sentiments on white paper and cut into strips. This is a favorite sentiment of mine and comes from Tim Holtz Nature's Wonder. Here you can also see all the layers of ink in sky.
I glued Simon Says Stamp Pawsitively Dazzling Dusk Gems here and there, for even more sparkle.
The white gel pen work might look a little messy up close, but it looks great from a distance.
My favorite part of this resist technique is that the Distress Micro Glaze will not cover every little bit of paper, but there will be spots without the glaze. In this areas, the ink will stick, adding texture and interest. You can see it clearly on the cabin.
Distress the edges of the watercolor paper before mounting on cardstock. 'Winter' comes from Simon Says Stamp Forest Scenery.
I didn't quite capture the glittery effect of the Star Dust Stickles on the photos.
Join us this week in our Add Some Texture challenge! You have a chance to win a $25 gift voucher to do some fun shopping at Simon Says Stamp. You have until Monday 8am Ohio time. 1pm UK time, 2 pm CET to join in.
Do you use Instagram? If so please add #sssmchallenge so we can see your entries there too.


%20(1).jpg)


No comments:
Post a Comment
Thank you so much for leaving a comment! Happy Crafting!