
Hi friends! We have another cold day here of -18 Celsius (-0,4 Fahrenheit). It is beautiful, but quite chilly. I have an art journal page to share, using sunny colors.
Please note: this post has affiliate links, for which I receive a small percentage of sales generated by the link, at no extra cost to you.

When I was little, clementines or mandarins were only available in the shops during the cold months. Nowadays, you can get them most of the time, but they still taste best at winter-time. The Simon Says Stamp Citrus Slice Background die inspired me to do a citrus-themed art journal page. I spelled the word 'clementine' in Swedish, partly since the 'e' at the end didn't fit on the page.

Die cut the Citrus Slice Background from watercolor paper. Add Distress Micro Glaze with your finger on the slices.

Ink with yellow shades of Distress Ink. The Micro Glaze will resist the ink. Mist with homemade glimmer mist. Add a scoop of Perfect Pearls to water in a Mini Mister and shake.

I asked my youngest, who also loves clementines, what color the slices are. His reply was: 'orange and yellow with a little bit of white, and shiny'. I used Simon Says Stamp Acetate to get the shiny part and colored it with alcohol ink. I used mainly Valencia, but also Butterscotch. Apply Blending Fluid to felt and pounce on the background to create the splotchy pattern.

I wanted a neutral background with just a little texture, since I didn't want to change the colors of the acetate by placing it on something dark or colorful. Add gesso. I worked in my Dylusions Small Creative Journal. When dry, glue torn book paper to the background with matte medium. Add a layer of matte medium on top.

When dry, apply gesso on top, but don't cover all the text.

Paint with Distress Paint, but only around the edges and at the bottom, not where you plan to place the citrus panel.

Glue the acetate to the citrus panel and then glue it to the background.

Stamp sentiment with Simon Says Stamp Pawsitively Sherbet Ink and cut into strips.

The title was die cut from Simon Says Stamp Tangerine Glitter Cardstock, using Tim Holtz Emporium Alphanumeric dies.

The Micro Glaze resists the ink, but still leaves some texture where there was no glaze. Here you can also see the shine caused by the glimmer mist.

Thank you so much for stopping by here today!
Anna-Karin
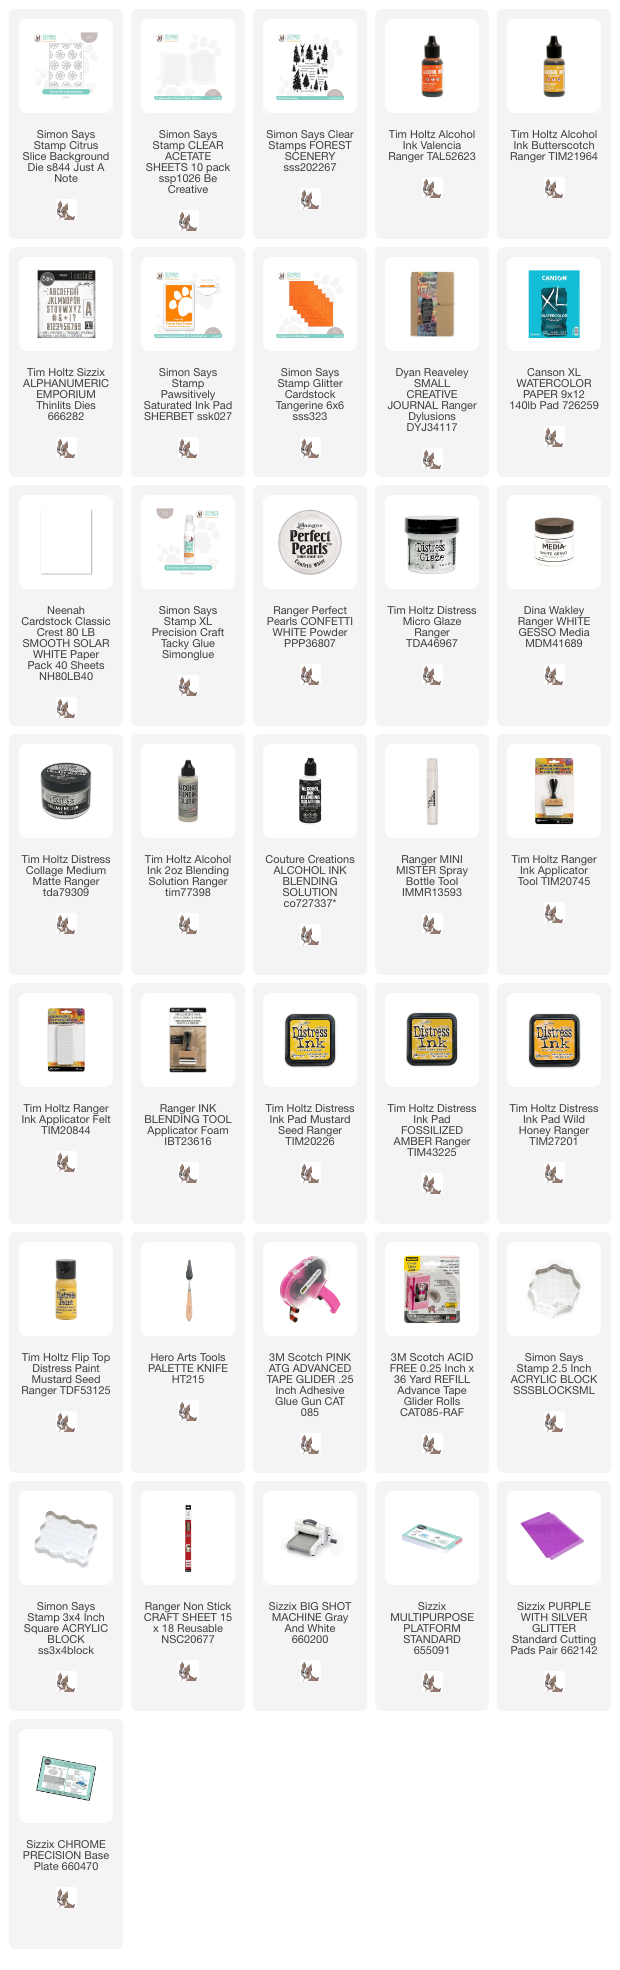
Supplies:
* Please note: the links are affiliate links, for which I receive a small percentage of sales generated by the link, at no extra cost to you.
* Please note: the links are affiliate links, for which I receive a small percentage of sales generated by the link, at no extra cost to you.
No comments:
Post a Comment
Thank you so much for leaving a comment! Happy Crafting!