
Hi friends! It is a new week and it is beautiful and very cold outdoors.
Please note: this post has affiliate links, for which I receive a small percentage of sales generated by the link, at no extra cost to you.

We are back with a new Simon Says Stamp Monday Challenge. This week our theme is Things With Wheels. I hope you will join us! Don't miss the project by our guest designer Rox.


I used the MISTI to help align the stamped impressions, but you can also use an ordinary stamp positioner. Start by stamping the car from Tim's Road Trips set with Red Geranium Archival Ink. I wiped some of the ink off from the shadow area. I worked on Ranger's Heavystock cardstock.

Next, wipe the stamp to remove most of the the red ink. Ink the shadow area and the outline of the car with Jet Black ink. No need for perfection. Stamp and repeat until you are happy with the look.

Ink the background with Distress Ink using an ink-blending tool. Make it darker towards the edges.

Add rays with Tim's Shifter Rays stencil and Faded Jeans ink.

Stamp Simon Says Stamp Crackle Background on the ground, for texture. Stamp a title, sentiment, ticket and the sentiment inside the ticket with black ink. Stamp stars with Red Geranium ink and a compass with black ink. Distress the edges.

Mat the panel on fawn cardstock and then on two shades of blue-grey cardstock, with the darker one being the folded card. Distress the edges. Tim's Odds & Ends set is an old favorite of mine. It has tickets and sentiments. There is an empty ticket in which the sentiments fit. The number is an idea-ology Numeric number.

The rays add a subtle pattern to the background and doesn't distract from the stamping on top.

You can of course make your car into any color. This car stamp also comes in a smaller version, on Tim's Travel Ways set.

I added a Game Spinner to this compass.

I hope you will join us this week in our Things With Wheels challenge. You have a chance to win a $25 gift voucher to do some fun shopping at Simon Says Stamp. You have until Monday 8am Ohio time. 1pm UK time, 2 pm CET to join in.


Do you use Instagram? If so please add #sssmchallenge so we can see your entries there too.

Thank you so much for stopping by here today!
Happy crafting!
Anna-Karin
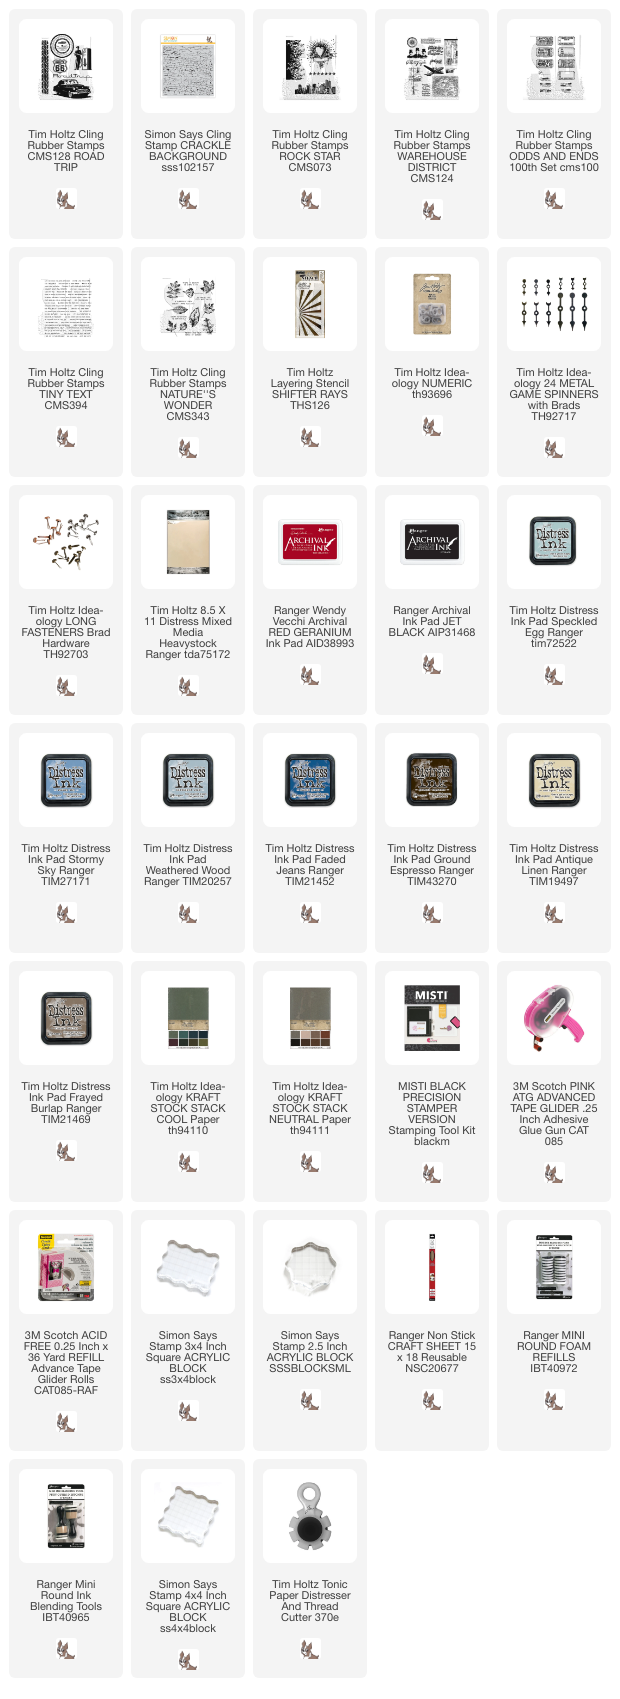
Supplies:
* Please note: the links are affiliate links, for which I receive a small percentage of sales generated by the link, at no extra cost to you.
* Please note: the links are affiliate links, for which I receive a small percentage of sales generated by the link, at no extra cost to you.
So cool!!
ReplyDeleteWow, what a stunning card. You did a great job building this card, I thought it was a picture.
ReplyDeleteGreetings Miranda