Saturday, January 27, 2024

Rosette Tag Tutorial

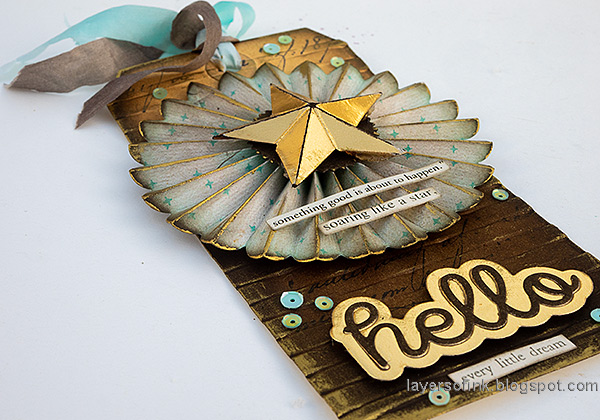
Hello crafters! Today I have a rosette tag to share, using the newest shade of Distress Ink and some fun techniques.

Please note: this post has affiliate links, for which I receive a small percentage of sales generated by the link, at no extra cost to you.


Layers of ink - Rosette Tag Tutorial by Anna-Karin Evaldsson.

I made a tag, but you can of course make a card instead. It was fun to make a rosette since it has been a while and also to use the newest member of the Distress family, Scorched Timber. Such a great shade of brown! I also added some gold details and a little bit of turquoise.

Layers of ink - Rosette Tag Tutorial by Anna-Karin Evaldsson. Ink with Distress Ink.

Start by inking a tag with brown shades of Distress Ink, in an ombre manner.

Layers of ink - Rosette Tag Tutorial by Anna-Karin Evaldsson. Stamp with Simon Says Stamp Old Letter.

Stamp here and there with Simon Says Stamp Old Letter and black ink.

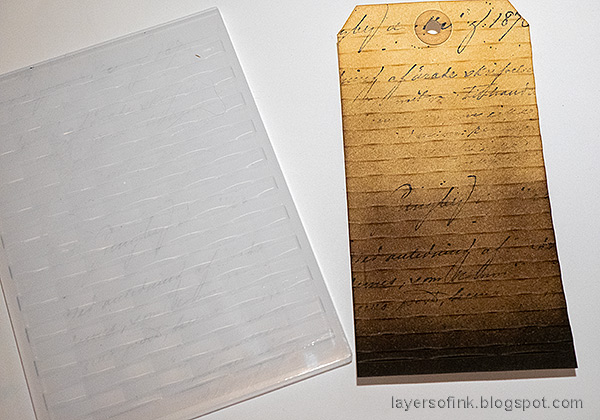
Layers of ink - Rosette Tag Tutorial by Anna-Karin Evaldsson. Dry emboss.


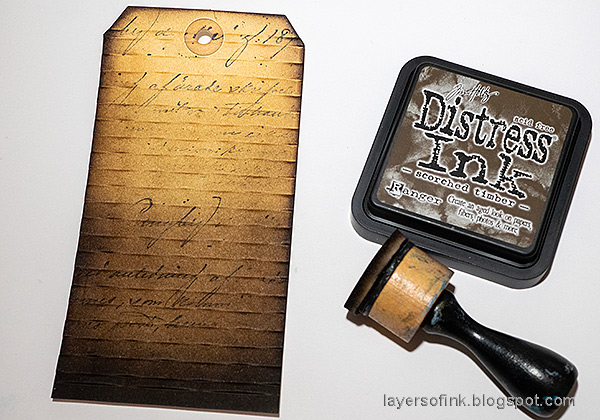
Layers of ink - Rosette Tag Tutorial by Anna-Karin Evaldsson. Ink with Distress Ink Scorched Timber.

Add more Scorched Timber to the tag, especially at the bottom, but also around the edges. It will accentuate the texture.

Layers of ink - Rosette Tag Tutorial by Anna-Karin Evaldsson. Die cut with Tim Holtz Rosette.

Die cut the rosette from Tim Holtz Vault Rosette three times from Tim's Backdrops vol. 4 paper.

Layers of ink - Rosette Tag Tutorial by Anna-Karin Evaldsson.

Stamp with Simon Says Stamp Not Quite a Dot and turquoise ink.

Layers of ink - Rosette Tag Tutorial by Anna-Karin Evaldsson.

Ink the edges with Salvaged Patina and Mermaid Lagoon.

Layers of ink - Rosette Tag Tutorial by Anna-Karin Evaldsson. Assemble the rosette.

Glue the flaps together to form a strip. Ink with Scorched Timber.

Layers of ink - Rosette Tag Tutorial by Anna-Karin Evaldsson.

Fold into an accordion. Use a bone folder for a crisp edge.

Layers of ink - Rosette Tag Tutorial by Anna-Karin Evaldsson. Assemble the rosette.

Glue the last flap to form a circle.

Layers of ink - Rosette Tag Tutorial by Anna-Karin Evaldsson.

Press in the center.

Layers of ink - Rosette Tag Tutorial by Anna-Karin Evaldsson.

Die cut two of the deckle-edged circles from Vault Rosette. Ink one of them with Scorched Timber. Glue one to the bottom and one to the top of the rosette.

Layers of ink - Rosette Tag Tutorial by Anna-Karin Evaldsson. Add a gold star.

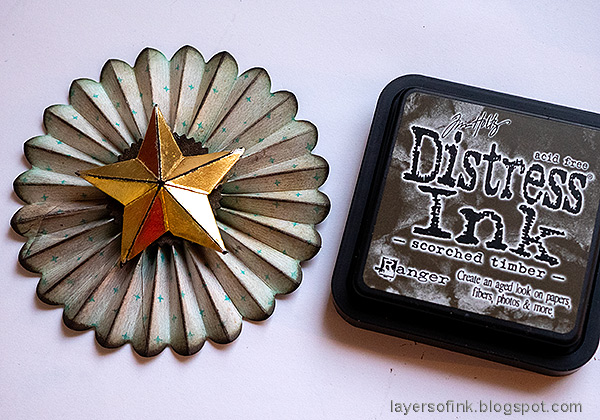
Die cut the star from gold kraft stock paper. Fold and sand the edges. Ink with Scorched Timber.

Layers of ink - Rosette Tag Tutorial by Anna-Karin Evaldsson. Glue the star to the rosette.

Glue the star to the rosette. Ink the folded edges of the rosette.

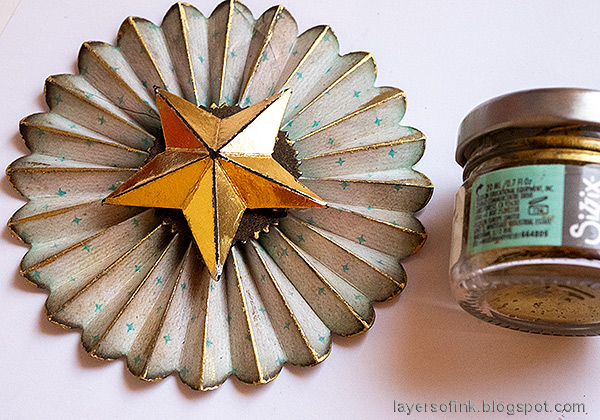
Layers of ink - Rosette Tag Tutorial by Anna-Karin Evaldsson. Add Sizzix Gold Luster Wax.

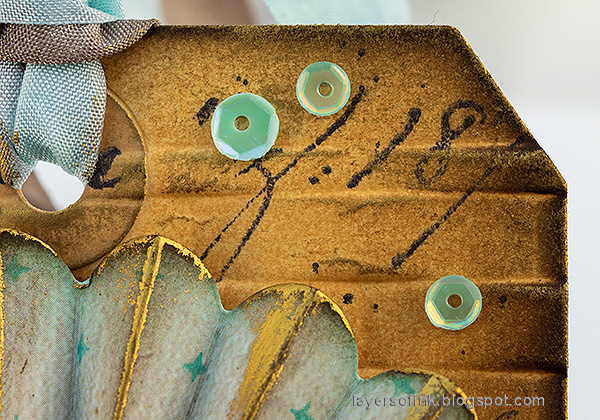
Apply Sizzix Gold Luster Wax around the edges and on the folded edges.

Layers of ink - Rosette Tag Tutorial by Anna-Karin Evaldsson.

Die May Arts Wrinkled Faux Silk ribbon with Distress Ink.

Layers of ink - Rosette Tag Tutorial by Anna-Karin Evaldsson.

This star design is great and I really like the size of the star.

Layers of ink - Rosette Tag Tutorial by Anna-Karin Evaldsson.

The gold wax adds a nice touch to the tag.

Layers of ink - Rosette Tag Tutorial by Anna-Karin Evaldsson.

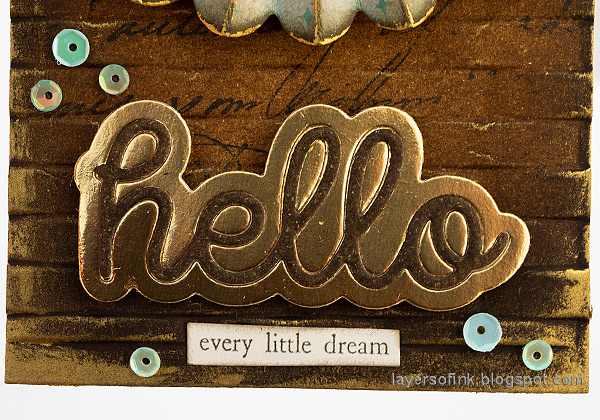
I also applied wax around the edges of the tag. Die cut Simon Says Stamp Scripty Hello from Tim's Gold Metallic Kraft Stock and from heavystock paper. Ink the latter with Scorched Timber.

Layers of ink - Rosette Tag Tutorial by Anna-Karin Evaldsson. Add sequins.

I also added some sequins to the tag, for a little extra turquoise.
Layers of ink - Rosette Tag Tutorial by Anna-Karin Evaldsson.

The smaller sentiments comes from Tim's Clippings Stickers.

Layers of ink - Rosette Tag Tutorial by Anna-Karin Evaldsson.

Both the rosette and the sentiment are adhered with Simon Says Stamp Pawsitively Perfect White Foam tape.


Thank you so much for stopping by here today! 


Anna-Karin

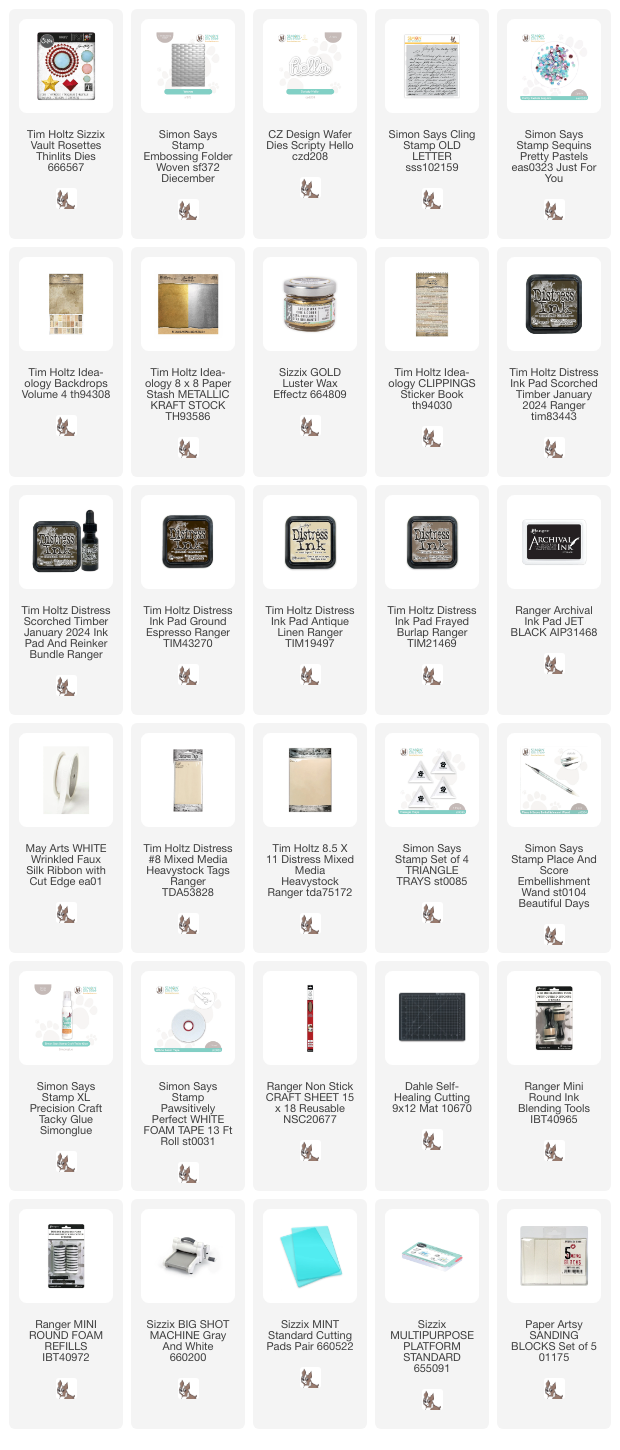
Supplies:

* Please note: the links are affiliate links, for which I receive a small percentage of sales generated by the link, at no extra cost to you.


No comments:

Post a Comment

Thank you so much for leaving a comment! Happy Crafting!