Hello friends! I hope you had a good weekend! Today I have a winter house easel card to share with you, which also doubles as Christmas decor, even though it folds flat.
At the Simon Says Stamp Monday Challenge Blog we have a Happy Holidays theme. Perfect for this time of the year. I think I did my last autumn project this weekend and will now move on to more wintery projects. Don't miss our November guest designer's beautiful project, at Laura Cassina aka elaborando on instagram.

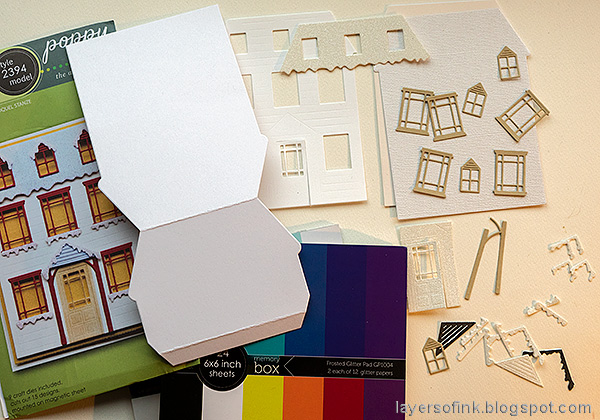
I love interactive and dimensional cards and this winter house easel pop up was so fun to make. Another thing which is a favorite of mine is to create snow in different ways and here I used glitter paper, glitter gel, sequins and texture paste. The base for the house is the wonderful Poppy Stamps Winter House Pop Up Easel set.
I placed the house back into the die and an
embossing ball tool to define and increase the dry embossed pattern. I did the same on the larger window. The windows were very lightly inked around the edges.
I wanted a warm welcoming light in some of the windows and cut a piece of modeling film. It was colored with Butterscotch and Latte alcohol ink.
Glue all the details to the house and then adhere the modeling film to the back. Adhere with
foam tape to the glimmery cardstock solid house, which had already been taped to the cream solid house, for stability. The roof was adhered with another layer of foam tape and so were the snowmen and the small roof above the door. The door is left slightly ajar.
Add double-sided tape (I used
Scor-Tape) to the flap of the base piece and then adhere the house to the flap, so that it can fold up as you see here.
The sentiment was glued to a piece of the brown cardstock, with glimmery white paper underneath. It functions as a stopper for the easel, to hold it open.
This is the way the card looks open and there is space for a handwritten message too.
The card folds flat and you can make it even flatter if you want too, by skipping the foam tape.
The colored dots you see here come from the Moon Dust Stickles. I added some of it to the glitter paper. The combination of glitter paper, Stickles,
shiny sequins and the matte texture paste is nice and adds interest. You don't need to stick to one way of creating snow.
If light comes from the side of the house, the windows look like they shine.
I thought there was a little too much Latte ink on some of the windows and removed it with Alcohol Blending Solution.
The
Frosted Glitter Paper is beautiful and perfect for winter projects. It die cuts beautiful and doesn't shed any glitter at all. I saw that the snowman's nose fell off while I photographed the card. I will give him a new one.
The door is left ajar to give a friendly and inviting look to the house.
I added tiny dots with a pen to the eyes of the snowmen, to make them look like the little pebbles we usually use as eyes. There is a left-over snow piece from the windows at the top of the hat.
I like the little details, like the plank lines on the roof die cut. The number comes from a Clippings Sticker book.
I hope you will
join us this week in our
Happy Holidays challenge. You have a chance to win a $25 gift voucher to do some fun shopping at
Simon Says Stamp. You have until next Monday 8am Ohio time. 1pm UK time, 2 pm CET to join in.
Do you use Instagram? If so please add #sssmchallenge so we can see your entries there too.
Thank you so much for stopping by here today!
Happy crafting!
Anna-Karin
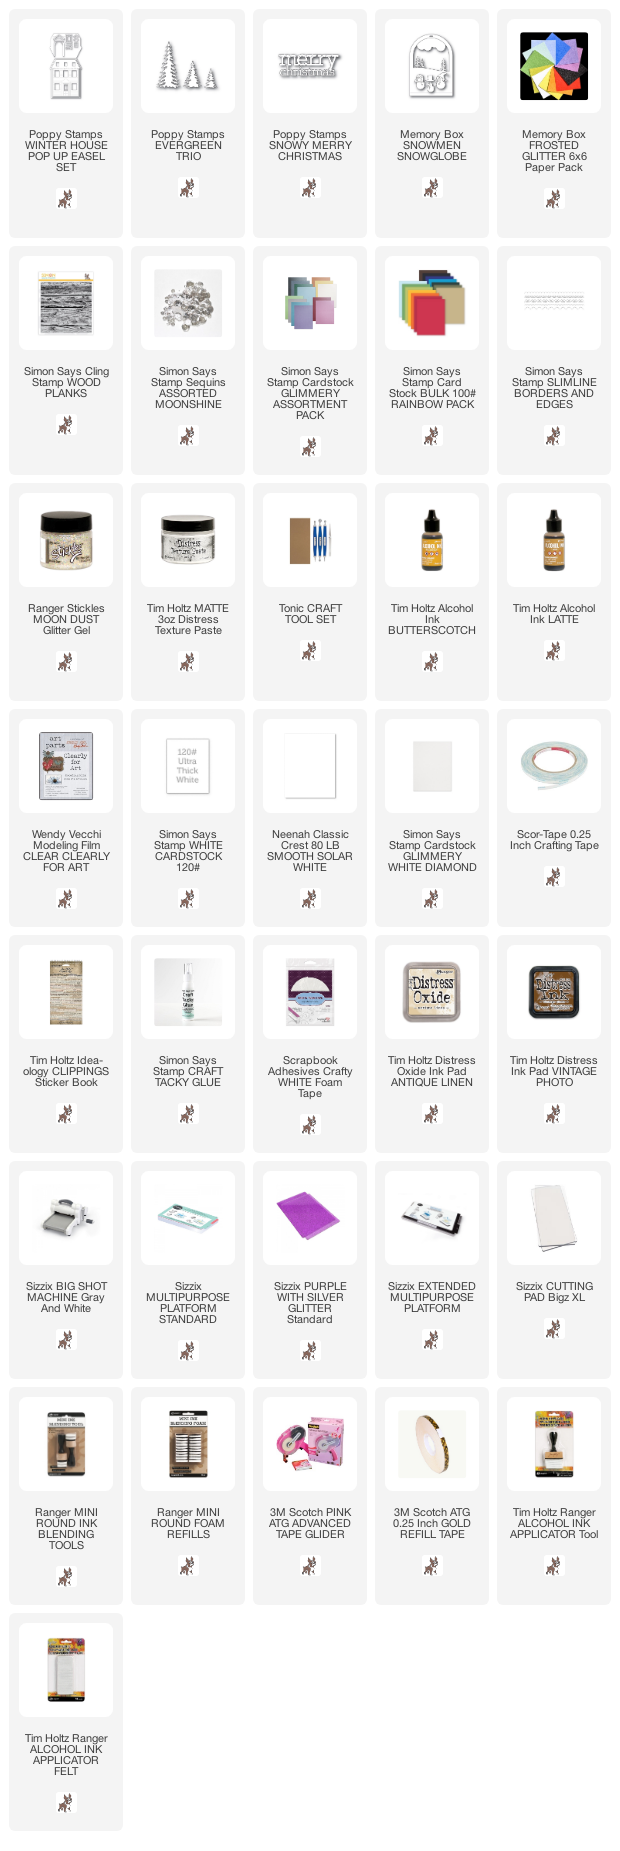
Supplies:
* Please note: the links are affiliate links, for which I receive a small percentage of sales generated by the link, at no extra cost to you.


Wow, Anna-Karin, such an intricate and pretty card. The person who will receive is sure to love it. TFS.
ReplyDeleteAbsolutely gorgeous card Anna-Karin! I need these die sets!!! The whole design of this is stunning, love the colours and sparkle :-)
ReplyDeletehope you have a great week!
luv
Lols x x x