
Hello friends! Today, I am sharing one of my favorite projects each year, my December journal. It's a Sizzix tutorial. I really like Ali Edwards' concept of a December Daily and this will be my seventh year of documenting our month of December in a journal. I do a kind of a mini version, where I focus on the words, and only add a couple of photos here and there.

I was very happy with last year's Narnia themed journal, and had no plan when I sat down to start with this year's journal. Then my eyes fell on Tim Holtz Sizzix new Branched Birch die, and I knew I wanted to make a winter birch forest. I love birch trees, and even more so when there are many of them in one place. The combination of their interesting bark and snow is also very pretty. This mixed media journal cover is much easier to make than what it might look like.
You can also use the techniques on a canvas, card or journaling page. It would make a great gift as a canvas.

Most of my December Journals have been made using Tim Holtz Worn Covers, which make them look really nice together on the shelf in the living room where I keep them. Start by coating the journal with a couple of layers of gesso.

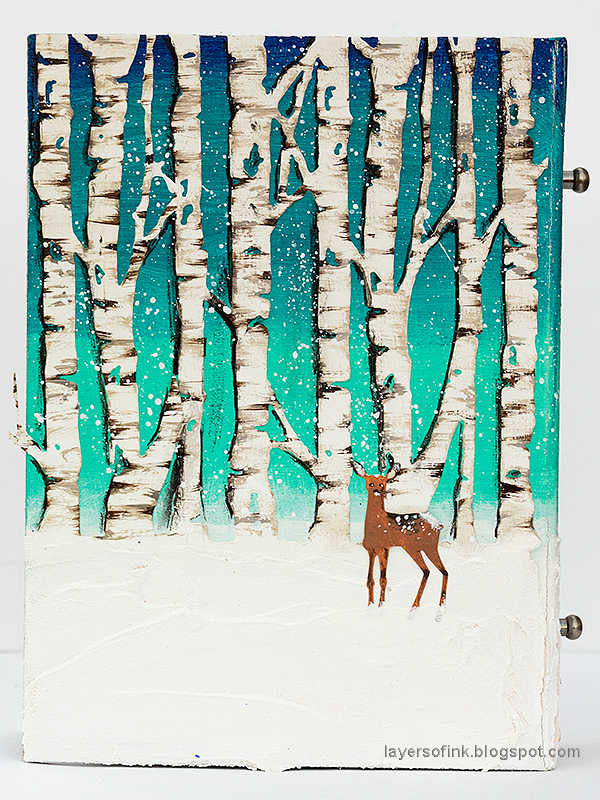
When dry, paint with acrylic paints. I used Dina Wakley's paints and felt like having a deep turquoise sky. A more light blue version will also look really nice. My journal didn't come with a ring binder, while the new ones usually have one attached already. If your journal has a ring binder attached, place a book under each side to stabilize it, so that you have an even surface to work on.

Die cut the Branched Birch die from watercolor paper and coat them with gesso.
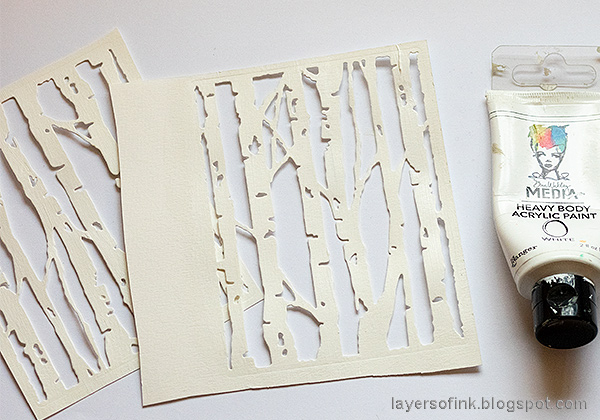
Paint them white. You can skip this step if you think your trees are white enough after the gesso, but I wanted mine whiter.

Dry brush the trees with Pumice Stone to get the characteristic Birch bark. Use a larger brush first, and then add more detailed lines with a smaller brush.

I also used Ground Espresso with fine paint brush, to give the trees more definition.

Tear the bottom edge of the tree die cuts, and glue them to the background. Make sure that the edge at the top, hangs off the cover, so that it will look like the trees are stretching towards the sky. When dry, cut it off with a craft knife.

Decide where the light is coming from and use black paint to add a shadow on one side of the trees. This step adds depth.

Smear embossing paste at the front as snow. I didn't make it too thick, since the cover will be handled a lot, but tried to create the look of hills of snow.

When dry, paint the paste with white paint. This makes the snow even whiter.

Finally, splatter some white paint on the background, to create the look of falling snow.

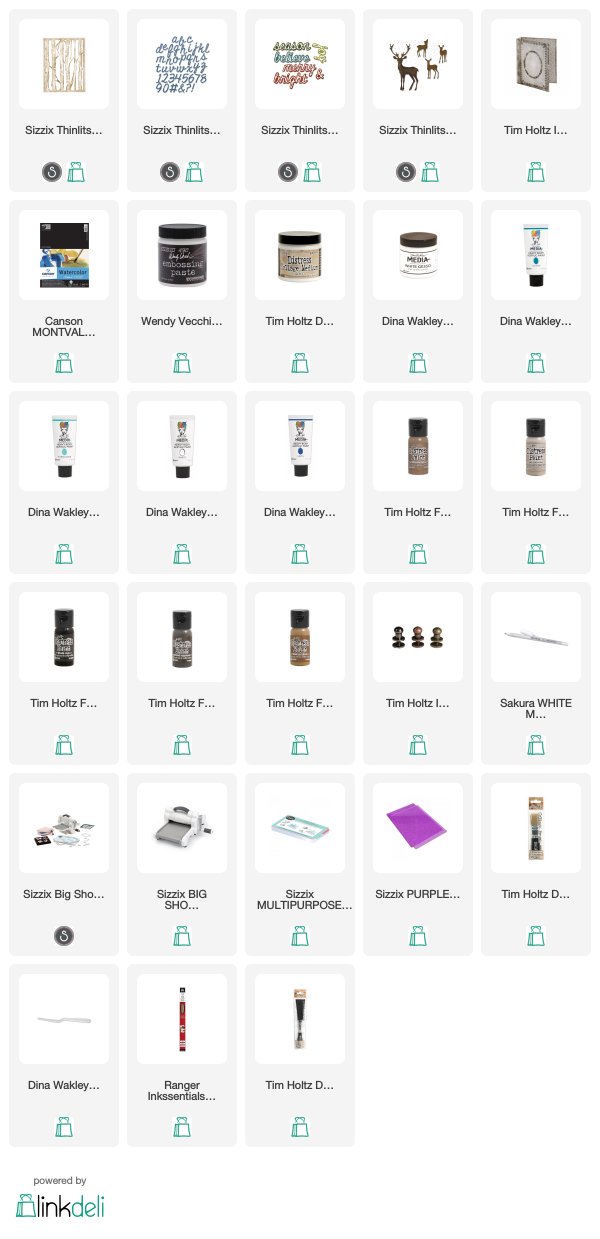
Die cut deer, a sentiment and the year from watercolor paper using the following die sets: Winter Wonderland, Shadow Script Christmas, Cutout Script (the numbers) Coat the shapes with gesso. I die cut everything with my new Sizzix Big Shot Foldaway machine.

Paint with Distress Paint and with Dina's paint.

Add details with a fine paint brush. I later used a white gel pen to add more dots and highlights to the eyes.

Glue the deer to the cover, and add the sentiment and year. I also added some paste over the feet of the deer, to make it look like they were standing in, and not on top of, the snow. I wish I could walk right into this forest, and it reminds me of an area in one of my childhood forests.
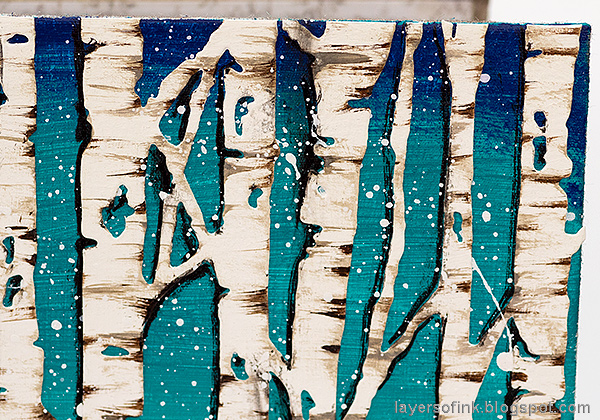
Here's a closer look at the trunks and their textures.

I also added some snow to the antlers and back of the deer. Don't worry about getting the facial features perfect, just a hint of eyes and a nose will be enough.

The small deer as so cute. I placed two on the front cover and one on the back.

I added a Small Talk sticker to the title.

I used ring binders to bind my journal. If your worn cover comes with a ring binder attached, you don't need to do anything. All those page pockets are for my journaling tags, which I will share with you next week.

The binder were attached with Hitch Fasteners. You can also tie it with a ribbon or use brads.

The journal has a nice chunky look to it.
If you want more inspiration, check out my previous December Daily journals:
2017 - Narnia December Daily
2015 - Believe December Daily
2014 - December Daily
2013 - Christmas Daily
2012 - December Mini-book
I hope you enjoyed this post! Thank you so much for stopping by today and Happy Thanksgiving to those who celebrate it.
Happy Christmas crafting!
Anna-Karin
* Please note: the links are affiliate links, for which I receive a small percentage of sales generated by the link, at no extra cost to you.
I often come to your blog that helps me reconcile with my life and I thank you immensely for this.
ReplyDeleteI am ashamed not to leave almost never comments, but a little fear and laziness to write in English makes me desist in this.
But today I could not go and that's it, I'm madly in love with all your projects, I love the covers (but not only) of all your journals and albums,
I love the shades and the combination of colors with the various techniques.
I thank you for the generosity of sharing your knowledge, I really admire you!
Thank you so much for your sweet comment Stefania! I really appreciate your kind words about my work. And your English is excellent. Happy crafting!! / Anna-Karin
DeleteGorgeous!
ReplyDelete