
Hello crafters! I hope you had a good weekend! I was happy to take the Christmas photo of the boys, even though it involved two different sessions, due the smallest legs wanting to run around in the garden instead. Sometimes, I have a hard time picking the best photo, but this year, it was easy, since there really was only one alternative. Some of the others will be printed and scrapbooked, since they tell a pretty funny story.

This week we have a Let It Snow theme at the Simon Says Stamp Monday Challenge Blog, and I am looking forward to seeing all the projects. Snowy projects are my favorite Christmas/winter projects. Our guest designer for November is Jo, aka Let's Art Journal, and I hope you won't miss her lovely post.

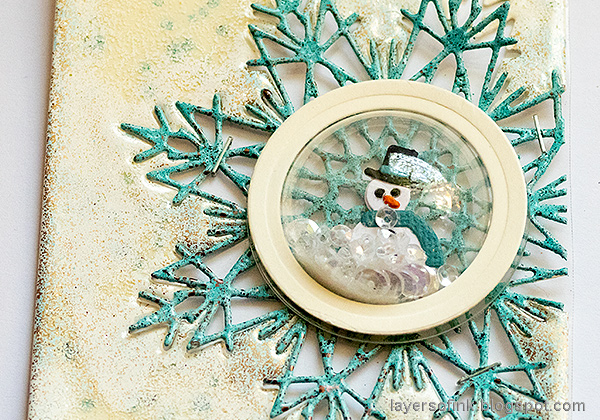
This tag started out with not much of a plan, but ended up being such a joy to make. I used lots and lots of embossing powders and the thick, layered, glossy effect is a little hard to see on the photos. It looks like enamel. As you can see, there is also a transparent part of the tag, since I die cut a snowflake out of the tag, removed all the inside pieces and put it back again. And of course, the very cute little Tim Holtz Sizzix Dimensional Dome.

Start by die cutting a tag from Heavystock paper, using the new Tim Holtz Stacked Tags set. I used the largest tag in the set. Also die cut a tag from acetate, or Clearly For Art Modeling film. I ended up not using the two circles to the right, and you will soon see why. Die cut the Tim Holtz Sizzix Flurry 3 out of the Heavystock tag.

Stamp the Flurry background with embossing ink twice on the background, altering the direction. Emboss with Ranger's Sea Mixed Media powder. By stamping it twice, you get more of a snow effect. Punch a hole at the top of the tag.

Cover the entire tag with an Emboss It Dabber and emboss with Ultra Thick Embossing Powder. Repeat once or twice. Be very careful not to burn yourself - and DO NOT touch the melted powder, until you are completely sure that it has cooled down completely all the way through.

I used the Emboss It Dabber again, but only around the edges and around the edges of the snowflake. Sprinkle with Simon Says Stamp White Embossing powder, and don't worry about if some of it sticks to the other parts too, since it adds to the effect. Repeat with a tiny bit of WOW Atlantic Seaspray.

Emboss the snowflake with Sea powder. I used two layers. Again, be careful not to burn yourself.

The Dimensional Dome coordinates with the Snowglobes set, and all the cute shapes in the latter fits into the dome. You can of course also put other items into the dome. Instead of using a solid circle as a background, I die cut a background from Modeling Film, so that the dome would be clear all the way through. For this, I used on of the dies from Sizzix Framlits Circle set, which is just the right size. Then I die cut a Heavystock circle with the same die, and placed the circle die from the Snowglobes set inside to run it through my Big Shot again and create the outline circle you see above. Die cut the snowman from various papers.

Assemble the snowman. It is easiest to use the Sizzix Adhesive Sheets when you die cut the pieces, but I forgot and assembled him with SSS glue instead. You might have spotted that I didn't use the black snowman background shown on the previous photo, but instead die cut one from white paper and cut off only the hat from the black die cut.

Sprinkle Simon Says Stamp sequins, clear beads and a little bit of Rock Candy Glitter into the dome, and glue the snowman to the clear circle.

Remove the adhesive sheet on the dome and place the clear circle on top, before turning it around.

Attach the embossed tag to the clear one with doublesided tape and then staple the snowflake and dome to the tag.
Glue the circle on top. It is just the right size. Or you could skip it. I almost did, but Anton liked it better with the circle.

I tied a sheer and a lace ribbon to the tag and attached a Christmas Adornment to it with a jump ring.

The tag has a really lovely glossy look to it, like thick enamel.

The dots look embedded into layers. The surface might crack a little, as you can see here, but that just makes it look like ice. If you want it to crack more, place it in a freezer for a couple of minutes, and then crack it on purpose.

I stamped a sentiment on a strip of paper and added some cheese cloth and a piece of pompom ribbon I found on my desk.

It is hard to photograph the dome, because of all the shiny parts, but I hope you can see it here. Since the background is transparent behind the both the dome and the snowflake you can see all the way through the tag. The kids love to shake this tag to see the snow in the dome move. The dome is very sturdy, I pressed it pretty hard to test if it would cave in, but it didn't.

Here's another look at the tag again, but on a white paper. You can try the technique with any embossing powders you have at home. If you don't have the Ultra Thick powder, ordinary clear powder works just as well, but you will need to do more layers to get the same effect.
I hope you will join us this week in our Let It Snow challenge. As always, you have a chance to win a $50 gift voucher to do some fun shopping at Simon Says Stamp. You have until next Monday 8am Ohio time. 1pm UK time, 2 pm CET to join in.


Do you use Instagram? If so please add #sssmchallenge so we can see your entries there too.


Thank you so much for taking the time to visit my blog today! I will be back later this week with my December journal.
Happy crafting!
Anna-Karin
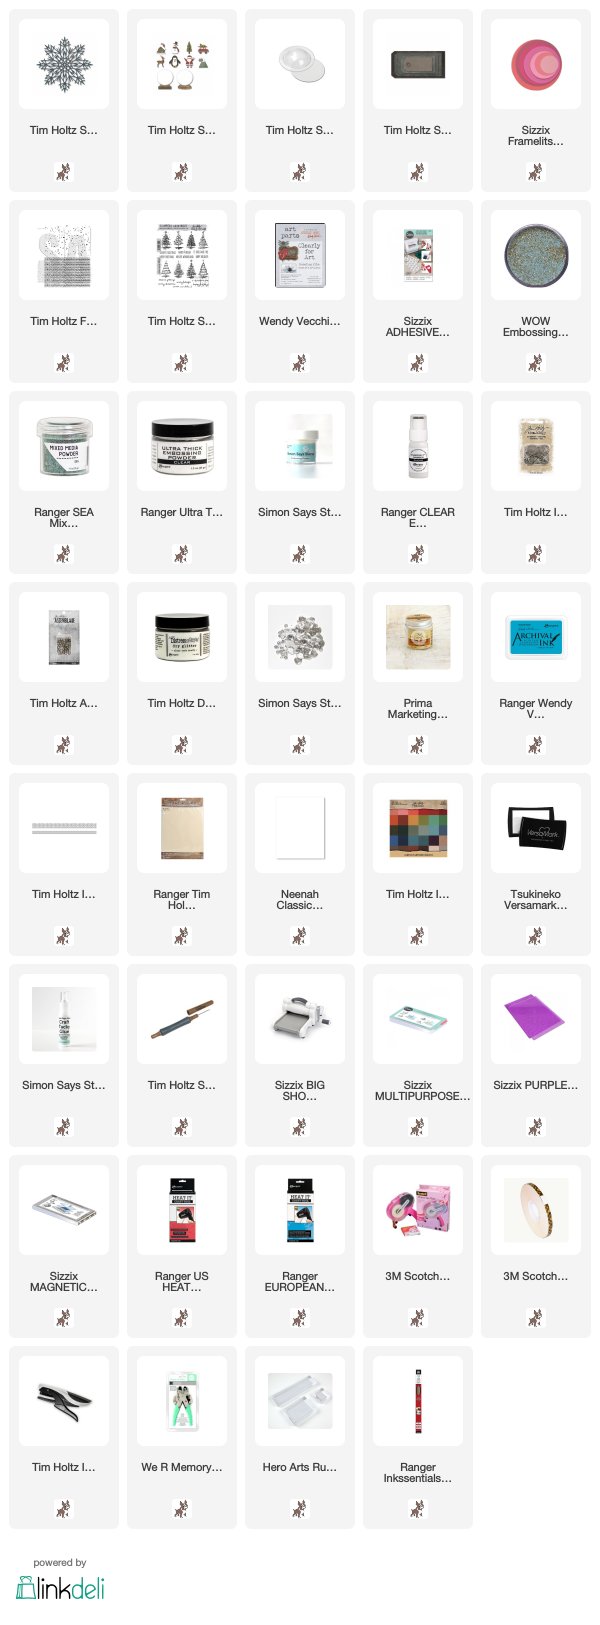
Supplies:
* Please note: the links are affiliate links, for which I receive a small percentage of sales generated by the link, at no extra cost to you.
* Please note: the links are affiliate links, for which I receive a small percentage of sales generated by the link, at no extra cost to you.
Oh my goodness Anna Karin! what a gorgeous tag! I love the little domed snowglobe, how cuts is that! and the snowflake and acetate backround are fabulous! I want to get all of the products so that I an copy/case this!! Absolutely STUNNING! :-)
ReplyDeletehope you have a great week!
Luv
Lols x x x
I love this tag! The embossing is pretty and it was very clever to use the dome as the center of the snowflake.
ReplyDeleteAnna-Karin, what a great story about your photo shoot - looking forward to seeing those scrapbook pages! This tag - oh my!!! So GORGEOUS! I love how you have that beautiful blue snowflake over the open space on the tag, and your little snowman in the globe is a delight! Love this!! hugs, Maura
ReplyDeleteGreat minds think alike Anna-Karin, I had the same idea but I love your tag idea so much better, now I want to try it too! Your tag really is gorgeous! Hugs, Anne xx
ReplyDeleteWow, wow, wow! This is really pretty and your techniques are wonderful.
ReplyDeleteWOW!!!!! STUNNING!!! So creative and impressive tag, thanks for sharing all the process!!
ReplyDeleteWow, what a fabulous tag! I love all the detail that you created - the way that you built up the embossing powders and made the snowflake is amazing, and oh, how cute is that snowman 😁. I can see why your kids like to shake it to see the snow move, I think I would be doing that too ...lol 😉. Glad you got your Christmas photo sorted and wishing you a wonderful week! J 😊 x
ReplyDeleteToo too clever! LOVE the die cutting of the snowflake into the tag...so gorgeous too, and then the snow globe is so cute.
ReplyDeleteDear Anna-Karin, I love this tag, so cute and well-thought as always!!!!!
ReplyDeleteA wonderful Christmas make. Wishing now buying all the needed stuff to do the same haha :-)
Seriously, thank you SO MUCH for your kindness, and lovely words on FB about my loss... you didn't or couldn't know, I'm sorry... don't be sorry yourself. And yes, right, you have a wonderful and cherished name for me, forever the most beautiful one :)
Sending hugs back to you, thank you so much again!
Corinne
PS: writing here instead of FB, just because I'm in a rush and pressure each and every minute at the moment!!
This is such an amazing idea and the result is stunning! Bravo! Hugs, Autumn
ReplyDeleteThis tag is so stunning, Anna-Karin. The whole design and all the details are fabulous! Such a great inspiration! :)
ReplyDeleteThe show man in his snow globe is so cute and I love the way the snowflake is cut out and inlaid in the tag. Lovely
ReplyDeleteadorable, love the embossed background and that snowman is so cute in his little dome, hugs kath xxx
ReplyDeleteAbsolutely stunning!
ReplyDelete