
Hello crafters! It is a new month, and I can hardly believe it is November already. We had a fun evening trick or treating yesterday, as a friendly pumpkin and your friendly neighborhood Spider-Man. The kids handed out paper pumpkins die cut with one Tim Holtz dies. Today, I have a Sizzix tutorial to share with you, for a fun and easy interactive spinner card.

I have always liked interactive cards and cards with interesting shapes, which can also double up as a home decor piece in the recipient's home. This card might look complicated, but it is very simple to do, with the help of a great Sizzix die set by Lori Whitlock called Snowflake Card.
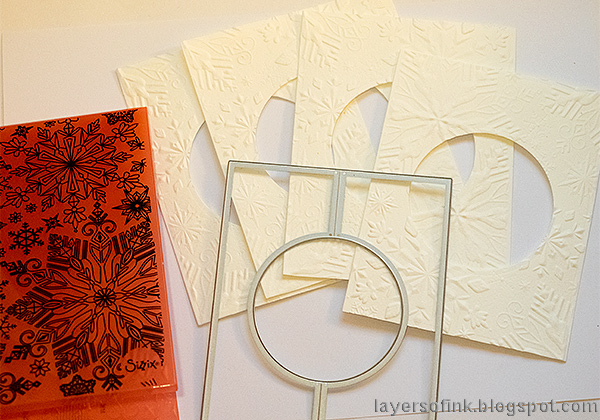
Start by die cutting four panels from the Snowflake Card set, and emboss in the Winter Snowflakes 3-D embossing folder. You can also use this basic panel to create other spinner cards.

Apply Distress Micro Glaze with your finger on the raised areas of the panels. No need for perfection, since we are aiming for a distressed look.
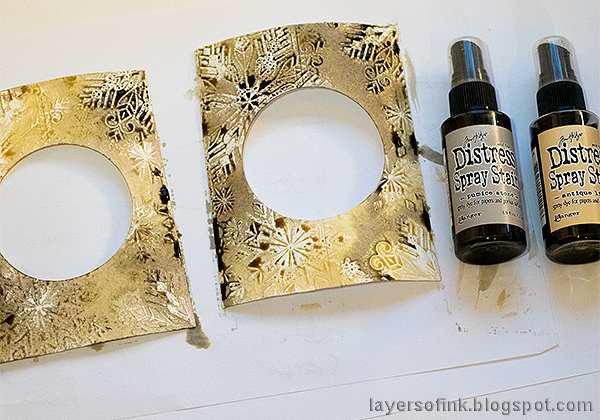
Mist the panels with Antique Linen and a little Pumice Stone. The glaze will resist the ink.
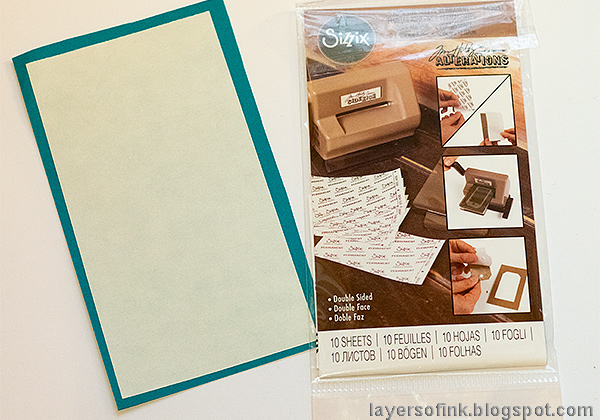
Adhere a sheet of Sizzix adhesive on a piece of teal cardstock.
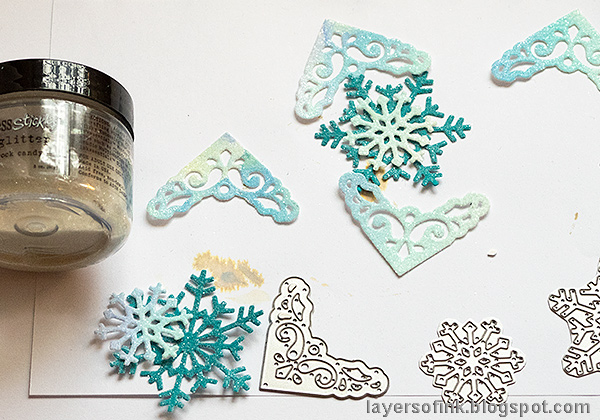
Die cut snowflakes from the sheet, and smaller snowflakes and a corner from a second sheet. For the second sheet, I used left-over inky paper. Remove the backing sheet and cover the shapes with Rock Candy Distress Glitter.
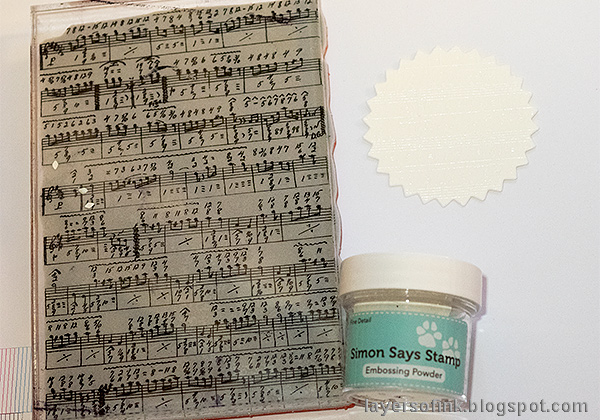
Die cut two scalloped circles from watercolor paper and white emboss with a Tim Holtz music background stamp.

Smear Distress Ink on a craft sheet, mist with water and press the circles into the ink.

Adhere a piece of Wonder Tape in the center of one of the circles as shown. I left the backing on the tape on so that you can easily see it. Place twine along the tape and then add more tape to adhere the two circles together.

Fold all the four panels along the center score line.

Apply more Wonder Tape in the center of a panel and place the circle as shown.
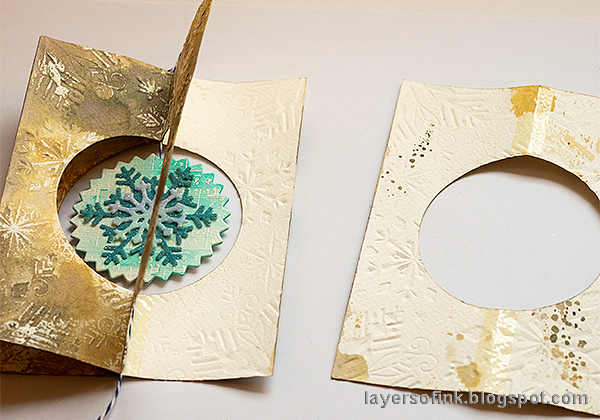
Continue adhering panels until they are all in place.

Here you can see the card from above, once all the panels are in place. The card folds perfectly flat, so it is easy to send in the mail.

I glued the four corners to one of the panels, adding a die cut sentiment, from the same Snowflake Card set.
When you turn the circle many times and then let it go, it spins around, as you can see in the very short video above. It was much easier to see the effect on video. The kids both love this card.

The glittery corners make a nice contrast to the distressed panels.


Here's a look at the glittery snowflakes. I love Rock Candy glitter.

You can add corners to all the panels, if you would like to, or decorate them in other ways, but I decided to leave them plain.
Thank you so much for taking the time to visit my blog today!
Happy crafting!
Anna-Karin
Supplies:
* Please note: the links are affiliate links, for which I receive a small percentage of sales generated by the link, at no extra cost to you.
* Please note: the links are affiliate links, for which I receive a small percentage of sales generated by the link, at no extra cost to you.

WOW, so beautiful Anna-Karin.
ReplyDelete