
Hi everyone! I hope your weekend was a good one, and if you celebrated Thanksgiving, I hope you had a wonderful time. The cold weather seems to have arrived here now. A couple of degrees below zero is nicer than a couple of degrees above zero, and another plus is that the kids don't get quite as muddy when playing outdoors. This weekend, I went to an art exhibit and took a long walk. We also had a soccer tournament, and playtime with friends.

This week at the Simon Says Stamp Monday Challenge Blog we have a Gift It theme. Don't miss the last project by our wonderful November guest designer, Jo aka Let's Art Journal.

I am planning to make quite a few of my gifts this Christmas. Not only are they more special than store bought gifts, but I also want to avoid buying stuff that the recipient might in any case not need. Today, I altered a frame, where the glass had broken. I got a whole bunch of frames a couple of years ago in a sale bin at a local grocery store, for almost nothing. This one had displayed a craft project by Anton, but fell down from a shelf, so that the glass broke. Now his art work is in a new frame and I turned this one into a Christmas gift. The frame was meant for a 6 x 4 in photo.

The bird was stamped with Tim Holtz's Festive Overlay stamp set. I wanted it to be a Great Tit, and colored it with Distress Markers right on the stamp. Mist the stamp with water about four times and stamp on watercolor paper. I stamped a bunch of birds to see which one I would like the best.
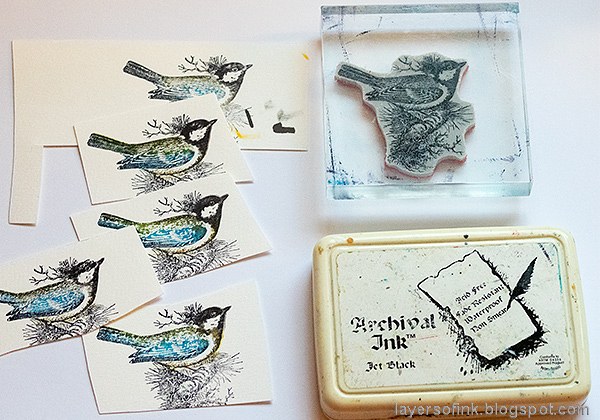
I wanted a bit more definition to the bird, so that it wouldn't disappear on my project, and used an overstamping technique for that. Ink the stamp up and wipe off some of the ink with a tissue. Use a stamp positioner, or a stamp platform, to stamp on top of the watercolor image. I used my trust old EK Success Stamp-a-ma-jig. Cut the bird out.

I die cut a whole lot of shapes from papers I found in my scrap box, using the Funky Festive, Mini Holiday Greens and Funky Floral 3 Sizzix die sets. The papers had been colored with Paper Arty's Infusions and some of them were used for this Geometric Banner Tutorial, if you want to see the original papers.

I forgot to photograph the steps for the frame. It was first coated with two layers of gesso and then painted with Tumbled Glass Distress Paint. I dry brushed it with Salty Ocean and a tiny bit of Ground Espresso. Then it was covered with Clear Rock Candy Crackle Paint. The crackles form as the paint dries.
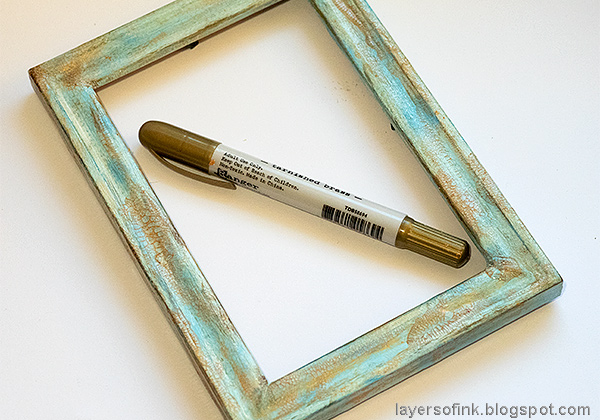
I wanted a metallic shine to the frame and smeared Tarnished Brass Distress Crayon into the cracks.
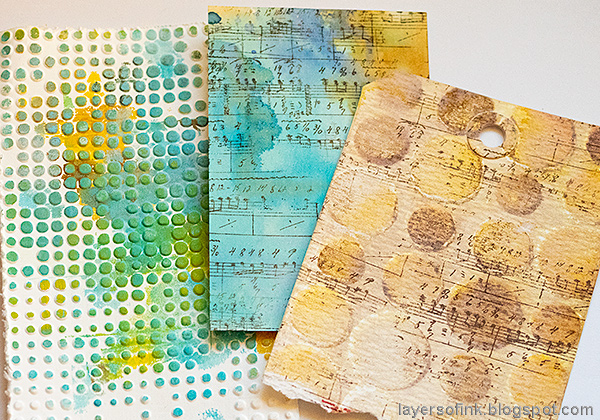
The background papers all came from my scrap box. The one to the left had been embossed in the Dot Matrix folder and used for gel printing (see this Dry Embossing and Gel Printing post). The tag to the right came from a Distress Resist Video tutorial I did quite some time ago. It was stamped with Tim's new Music Background stamp, and so was the inky paper in the middle.

My frame had a sturdy wooden back piece and I glued burlap directly onto it, using that as my base. All the edges were distressed and inked. I also used three birch trees which were left-over from my Winter Birch Forest December Daily tutorial, from last week. The metallic piece is a Christmas Adornment, distressed with white paint.
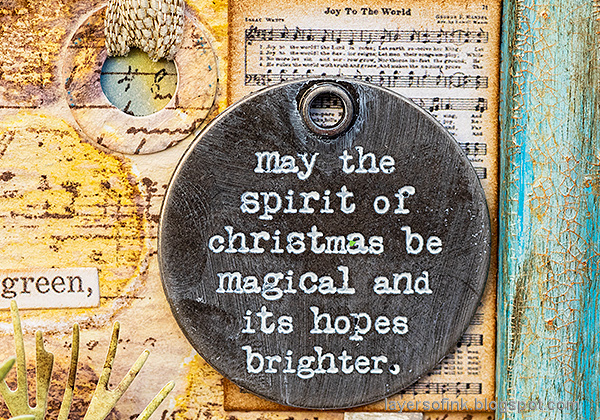
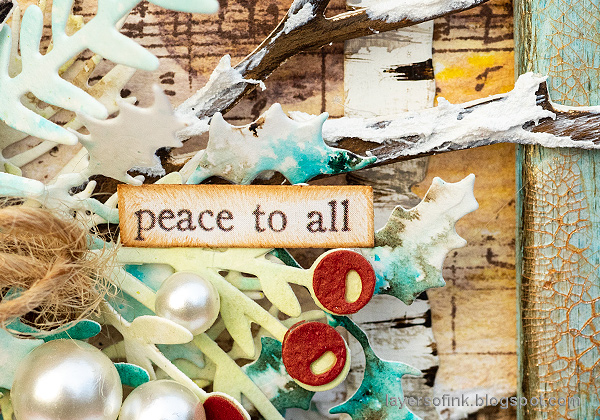
There are also a couple of Ephemera Christmas Snippets, and a Christmas Quote Token.

Here's a closer look at the bird. Both the watercolor stamping and overstamping techniques are a bit unpredictable, and such fun to play around with. I made a nest with twine.
The bird is placed in two branches die cut from mat board with Tim's Branches die, painted brown and covered with a little Texture Paste snow.
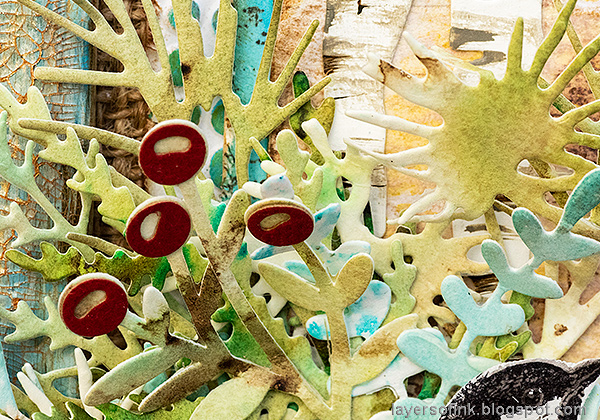
All the die cuts were arranged underneath the bird, creating something of an extended nest.
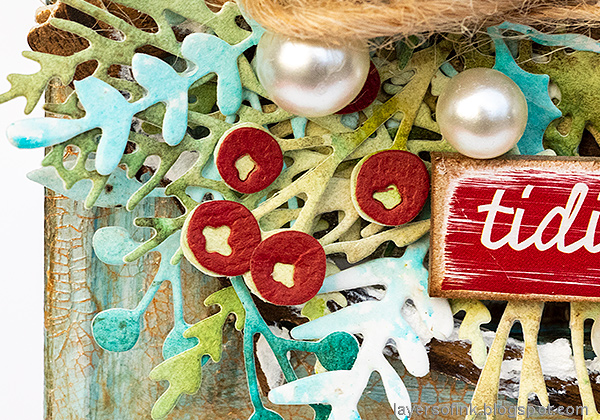
I also used some baubles, to give the project even more of a festive feel.
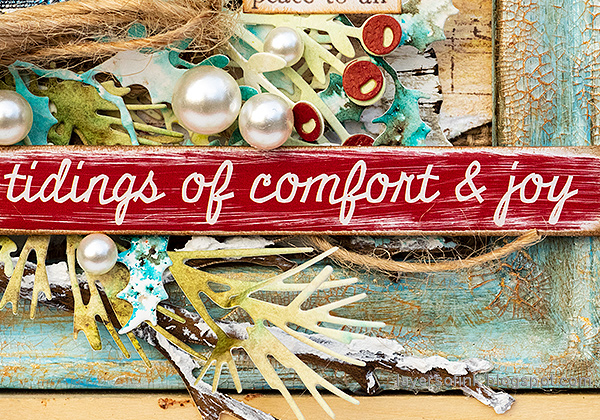
As sentiments, I used Clippings Stickers and a Christmas Quote Chip which was sanded.
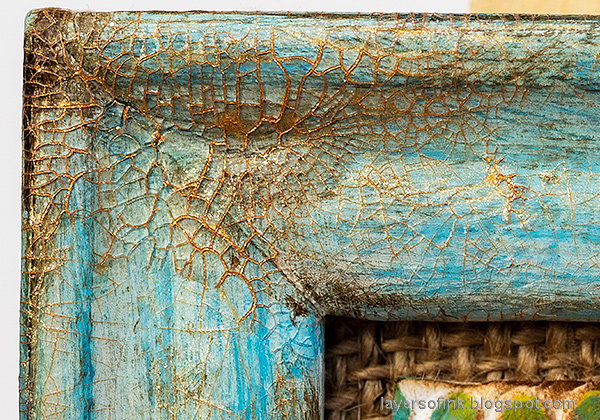
The frame has a really lovely shine from the metallic Distress Crayon and got a nice distressed look. It is very different from the plain wood finish that it started out as.

The project has quite a lot of dimension, which you can maybe see better here. When altering a frame, remember to alter the edges too.
I hope you will join us this week in our Gift It challenge. As always, you have a chance to win a $50 gift voucher to do some fun shopping at Simon Says Stamp. You have until next Monday 8am Ohio time. 1pm UK time, 2 pm CET to join in.


Do you use Instagram? If so please add #sssmchallenge so we can see your entries there too.


Thank you so much for taking the time to visit my blog today!
Happy Christmas crafting!
Anna-Karin
Supplies:
* Please note: the links are affiliate links, for which I receive a small percentage of sales generated by the link, at no extra cost to you.
* Please note: the links are affiliate links, for which I receive a small percentage of sales generated by the link, at no extra cost to you.
Beautiful!
ReplyDeleteThis is gorgeous!! I love every little detail!!
ReplyDeleteSo much splendour to take in, I could sit for hours examining it all. Your attention to detail is magnificent and it's all framed so beautifully with that crackled frame. Stunning!! Thank you for sharing.
ReplyDeleteCreative wishes Tracey.
Wonderful piece, Anna-Karin! I love the distressing, and especially the beautiful bird in it's amazing nest! There are so many things to find in this. I am glad it's cold enough that mud season is over for you. We've gone down to -21C already, and luckily it warmed up again! hugs, Maura
ReplyDeleteWow, what an amazing gift! The vintage design and all the gorgeous detail that you created is so beautiful and IIenjoyed your tutorial too. The little bird is adorable 😀. It's been a pleasure joining you in the Designer Spotlight over at Simon Says Stamp, thanks so much! J 😊 x
DeleteReally beautiful indeed. Thank you
ReplyDeleteWow... this is such a stunning holiday creation, Anna-Karin. The whole design and all the details are amazing. :)
ReplyDelete