
Hi friends! I hope you are well! Today I have a dry embossing tutorial to share with you, for three winter cards.
Please note: this post has affiliate links, for which I receive a small percentage of sales generated by the link, at no extra cost to you.

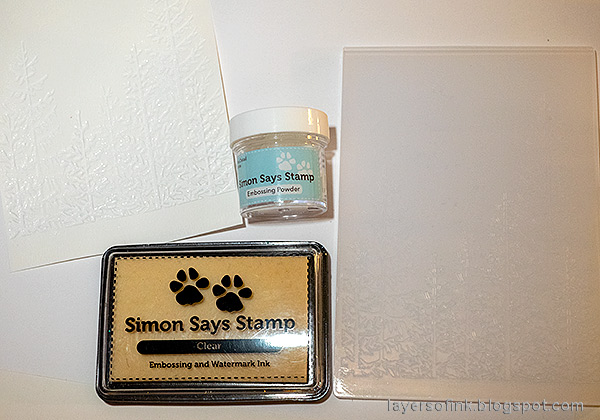
Start by rubbing an embossing ink pad over the embossed parts on the Tall Pines embossing folder. Emboss the paper and toss white embossing powder over the debossed design. That is where the ink will be. Heat emboss. Always be very careful when using a heat tool so that you don't burn yourself.

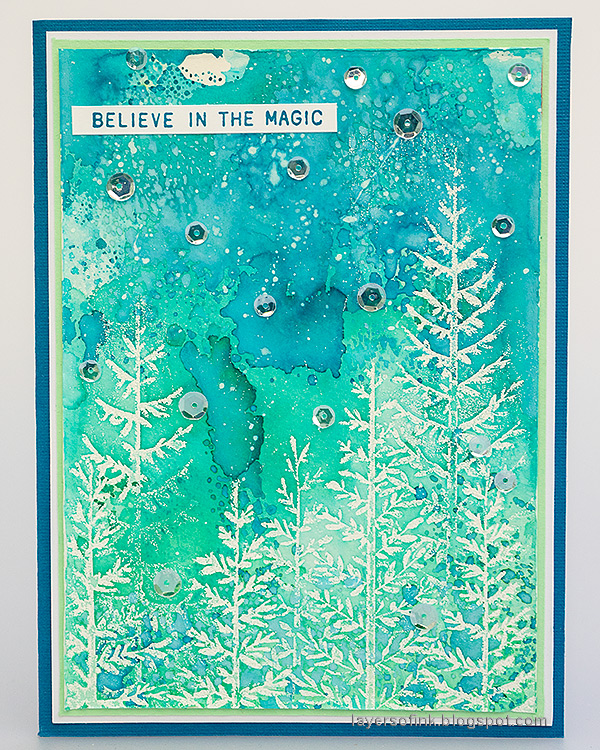
I used watercolor paper. Smear Distress Ink on a non-stick craft sheet, mist with water and press the paper into the ink. I applied the ink in horizontal bands with the lightest at the bottom. Let dry and then repeat until you are happy with the look.

Continue with Distress Oxide ink, but this time, don't smooch the paper into the ink, just dabb it here and there, to get a more mottled look.

Since it is a 3-D embossing folder, the embossing ink won't get everywhere and you will get this cool distressed look. The effect will be different every time, so no cards will be alike. I splattered the cards with a little white paint too.

Stamp a sentiment with blue Archival Ink and cut into a strip. Glue sequins to the background, as even more snow.

The splattered white paint will pick up some color from the ink, making it look like you splattered the card with different colors.
This is a quick way of making a whole batch of Christmas cards.

The combination of Distress Ink, Distress Oxide Ink and paint adds layers and depth to the background.

Some embossing powder might get stuck where it is not supposed to be. Leave it, since it adds to the snowy effect.

Here you can see the distressed look of the embossed trees better. Perfect for winter!

On the last card, I placed the sentiment at the bottom instead.

That lighter spot on the background, is one of my favorite parts of these cards. It looks like the sun is trying to peek through.


Thank you so much for taking the time to stop by here today!
Happy crafting!
Anna-Karin
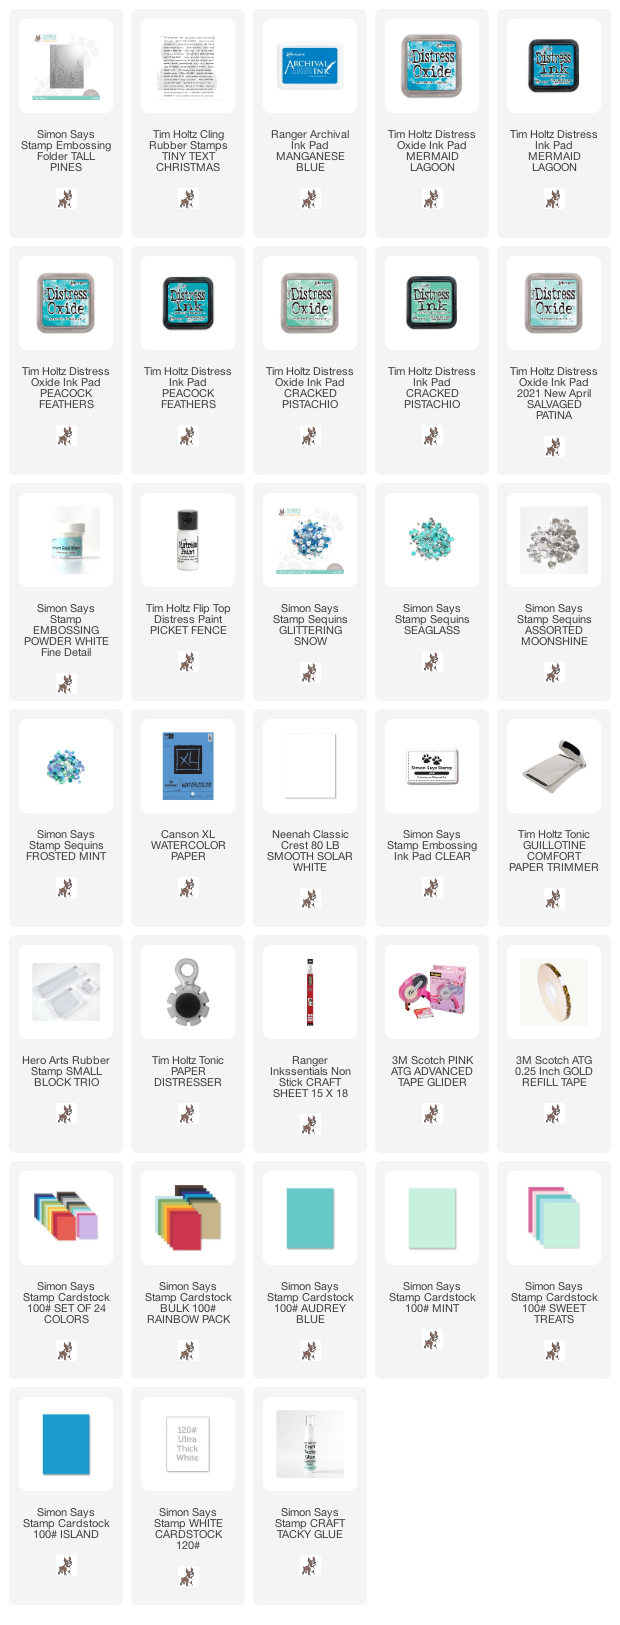
Supplies:
* Please note: the links are affiliate links, for which I receive a small percentage of sales generated by the link, at no extra cost to you.
* Please note: the links are affiliate links, for which I receive a small percentage of sales generated by the link, at no extra cost to you.
These look lovely! A must-try technique for sure. Thanks for the detailed description of the process.
ReplyDeleteSuch a great technique Anna-Karin, the results are stunning! x
ReplyDelete