
Hi friends! I hope you are well! It is time to share one of my favorite projects each year. My December journal, inspired by Ali Edwards concept of documenting the month of December. I have been doing this since 2012, making this my tenth December daily journal. I do something of a mini version, without a lot of photos, but instead focusing on the words.
Please note: this post has affiliate links, for which I receive a small percentage of sales generated by the link, at no extra cost to you.

For quite a few years, I have used Tim Holtz Worn Binders as a base for my journal and I did the same this year. They look pretty nice together on a shelf. On my cover, I created a winter scene using stamps, ink, paint and paste. You can do the techniques on a card, an art journal page or a canvas too.

Start by coating the journal with gesso. You might need more than one coat. When dry, sketch some hills with a pencil as a guide.


I used the Simon Says Stamp Forest Scenery stamp set to create the scene. It is one of the stamp sets that I designed and I have been looking forward to creating a winter scene with it. I stamped the trees with three shades of green Archival Ink. Use the pencil marks as guides when you place out the trees. The stamp set is designed with many different pine trees in different sizes, so you can create both variation and a sense of distance.
Wipe the base of the tree off before stamping to make it look like they are standing in snow.

Stamp deer with brown ink.

Add white paint on the hills.

Continue with shades of blue, using your pencil marks as guides.

Next, mix a little white paint into texture paste and apply thick paste along the base of the journal and here and there on the cover. Let dry.

For some shine, I used Simon Says Stamp Glitz Glitter gel, mainly in the sky.

Splatter white paint all over the scene. The paint might pick up some of the green ink from the trees, but don't worry about it.

I die cut the title and year from holographic paper using the Simon Says Stamp Archie Solid Jr set. It might be out of stock, but you can use any alphabet die set instead.

Here you can see the glitter from the gel.

The paste adds texture to the background. You can shape it to look like hills or piles of snow.

Sentiments from Forest Scenery were stamped on white paper and cut into strips.

Try to stamp the deer so that they don't look too big or too small in relation to the trees.


The year is on the cover, as well as a stamped word.


Folded out the finish cover looks like this. I often add darker shadows, but for this cover I wanted to keep things light.

Which is your favorite, the back or the front cover?

Here you can see that the white splattered paint picked up some of the green from the ink. It adds texture to the trees.

We haven't had a big snowfall yet, but it might be on the way.

Dry brush blue paint on the dry paste to add texture.
You can find my previous Christmas Daily journals here:
2017 - Narnia December Daily
2016 - Winter Village December Daily video
2015 - Believe December Daily
2014 - December Daily
2013 - Christmas Daily
2012 - December Mini-book

Thank you so much for taking the time to stop by here today!
Happy crafting!
Anna-Karin
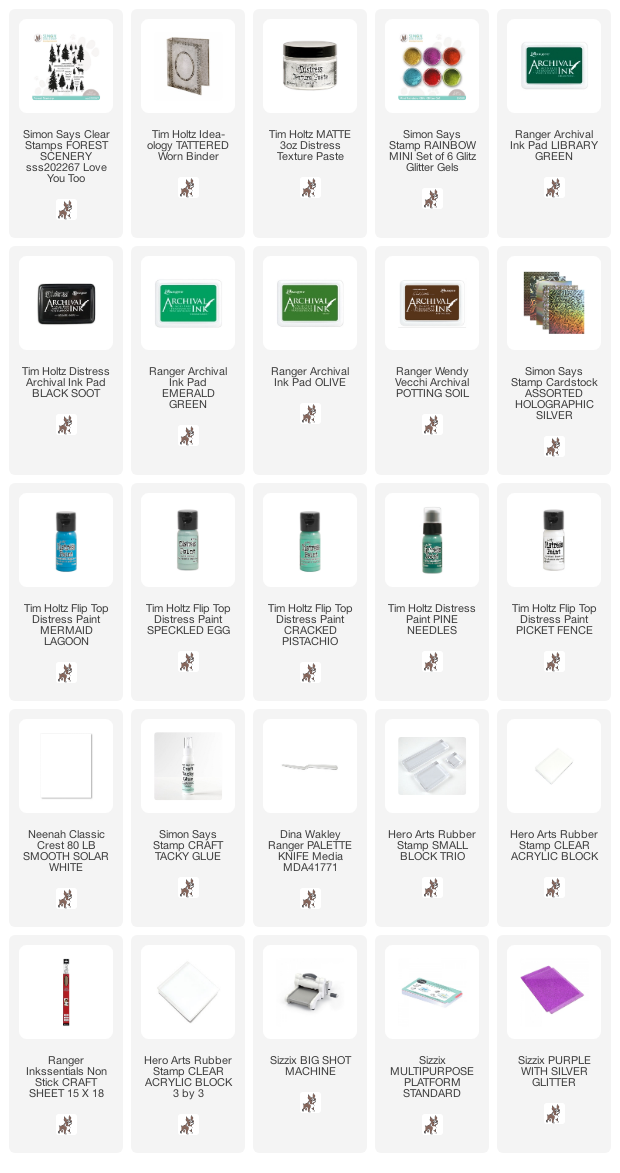
Supplies:
* Please note: the links are affiliate links, for which I receive a small percentage of sales generated by the link, at no extra cost to you.
* Please note: the links are affiliate links, for which I receive a small percentage of sales generated by the link, at no extra cost to you.
No comments:
Post a Comment
Thank you so much for leaving a comment! Happy Crafting!