Monday, September 13, 2021

Forest Tag Tutorial

Hello friends! I hope you had a good weekend! This week we have a 'Fun with Stencils' theme at the Simon Says Stamp Monday Challenge Blog

Please note: this post has affiliate links, for which I receive a small percentage of sales generated by the link, at no extra cost to you.
I hope you will join us in the challenge and don't miss the project by our September guest designer. Susanne with her blog Susanne's Blog.

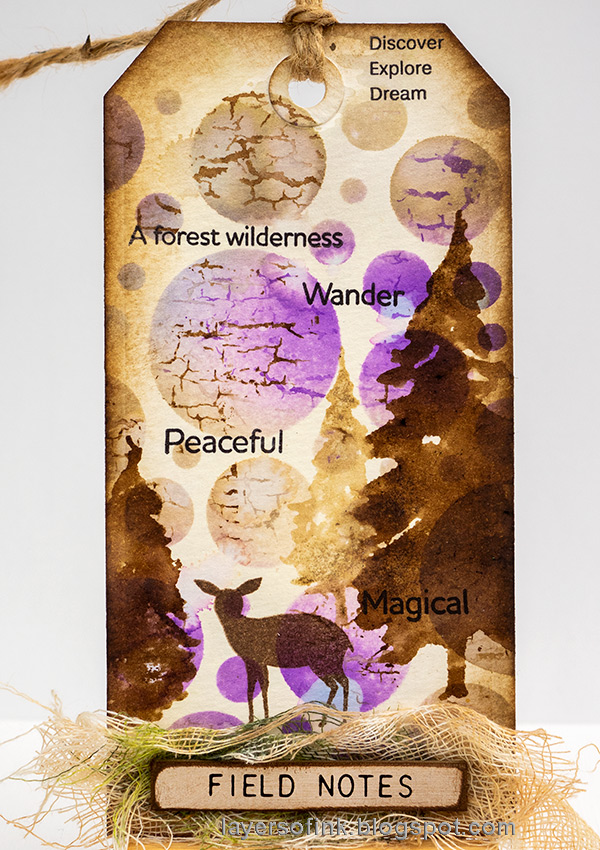
Layers of ink - Forest Tag Tutorial by Anna-Karin Evaldsson.

I had a fun day yesterday where I went on something of a fact-finding mission about long-lost relatives, visited an old church and got some great local information which helped me identify at least one of the houses that they used to live in over 100 years ago.

For today, I made a tag with a background that almost looks like a space scene, but that was a coincidence. I think it would look nice in shades of blue, as a winter scene.

Layers of ink - Forest Tag Tutorial by Anna-Karin Evaldsson.

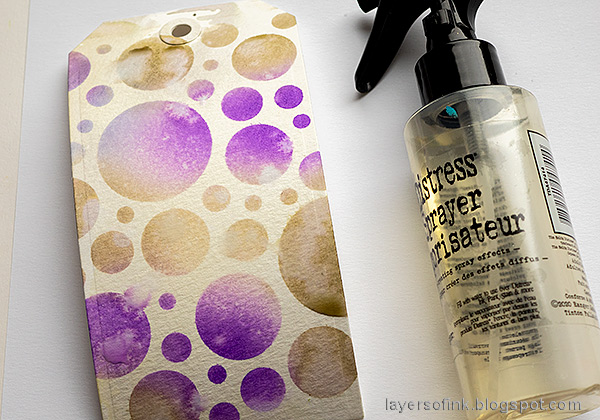
I started out with a watercolor tag that had been colored with (I believe) Antique Linen and Pumice Stone. It was in a scrap box.

Layers of ink - Forest Tag Tutorial by Anna-Karin Evaldsson. Ink through Simon Says Stamp Mix and Match Circles Stencil.

Ink through the Simon Says Stamp Mix and Match Circles Stencil with two shades of Distress Ink.

Layers of ink - Forest Tag Tutorial by Anna-Karin Evaldsson.

Mist and splatter with water to create texture.

Layers of ink - Forest Tag Tutorial by Anna-Karin Evaldsson.

Place the stencil back on the design and adhere temporarily with masking tape. Stamp through the stencil with the Simon Says Stamp Crackle Background, misting the inked stamp lightly with water first.

Layers of ink - Forest Tag Tutorial by Anna-Karin Evaldsson. Stamp with Simon Says Stamp Forest Scenery.

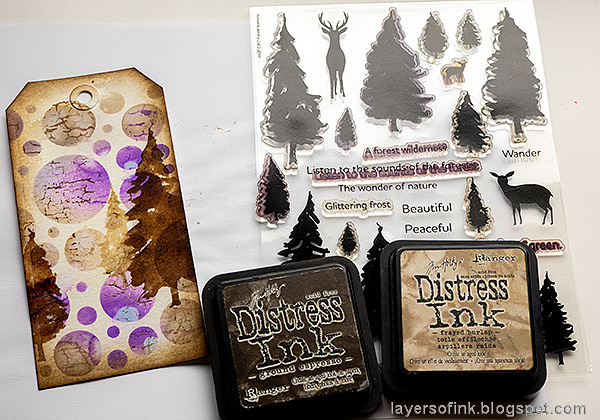
When dry, stamp three of the pine trees from the Simon Says Stamp Forest Scenery set using two shades of brown Distress Ink. Mist with water after inking the stamp.

Layers of ink - Forest Tag Tutorial by Anna-Karin Evaldsson. Stamp with Simon Says Stamp Forest Scenery.

The deer was stamped with Potting Soil Archival Ink.

Layers of ink - Forest Tag Tutorial by Anna-Karin Evaldsson. Stamp with Simon Says Stamp Crackle Background.

The crackled circles almost looked like planets. The sentiments were stamped with black ink so that they would stand out.

Layers of ink - Forest Tag Tutorial by Anna-Karin Evaldsson.

I stamped the crackles with both brown and purple ink.

Layers of ink - Forest Tag Tutorial by Anna-Karin Evaldsson.

Dye some cheese cloth and sand and ink a Theories Quote Chip.

I hope you will join us this week in our Fun With Stencils challenge. You have a chance to win a $25 gift voucher to do some fun shopping at Simon Says Stamp. You have until Monday 8am Ohio time. 1pm UK time, 2 pm CET to join in.


Do you use Instagram? If so please add #sssmchallenge so we can see your entries there too.


Also, don't miss all the STAMPtember® inspiration, surprises and exclusive products during the month. There has also been a huge Simon Says Stamp release for STAMPtember®, with stamps, dies, stencils, inks and paper products.

Thank you so much for taking the time to stop by here today! 

Happy crafting!

Anna-Karin

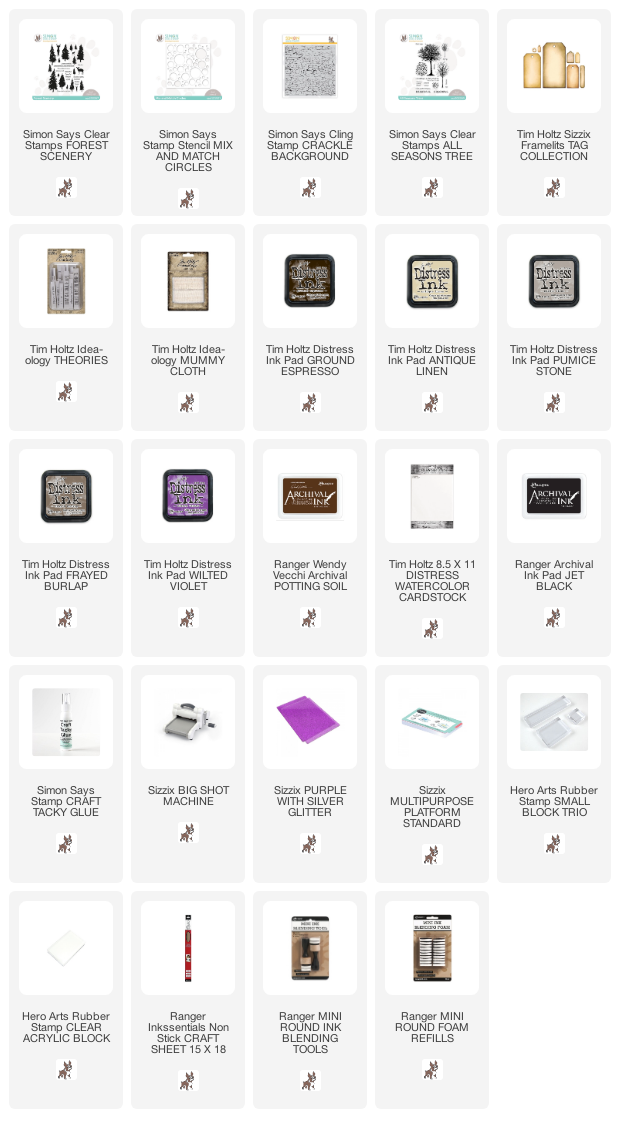
Supplies:

* Please note: the links are affiliate links, for which I receive a small percentage of sales generated by the link, at no extra cost to you.

No comments:

Post a Comment

Thank you so much for leaving a comment! Happy Crafting!