
Hello friends! I hope you are well! Today I have a fun Halloween background to share.
Please note: this post has affiliate links, for which I receive a small percentage of sales generated by the link, at no extra cost to you.

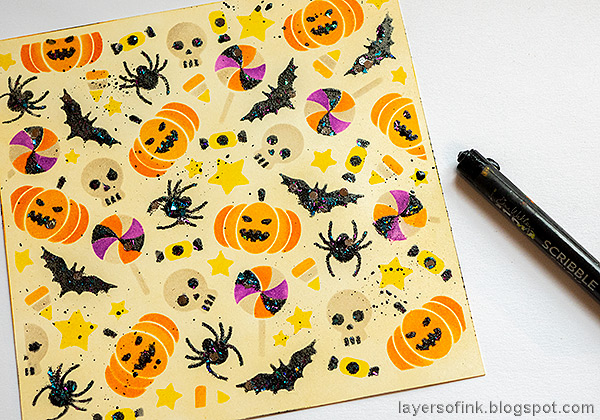
This is my first Halloween project of the year. It is not very spooky, but rather fun and happy. It was made with a new stencil set from Simon Says Stamp STAMPtember® release, called Layered Spooky Icons. You can experiment with different color combinations to make a variety of backgrounds. The Let's Celebrate sentiment die also comes from the STAMPtember® release.

Start by inking a 6x6 in piece of heavystock paper with Antique Linen.

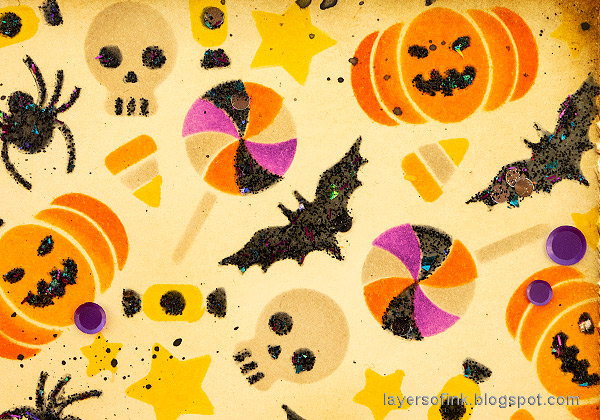
There are four stencils in the Layered Spooky Icons set. I started with the stencil with the skulls and inked with Pumice Stone.

Switch to the stencil with the pumpkins and ink first with Spiced Marmalade and then with Simon Says Stamp Sherbet Pawsitively Saturated Ink, but only on the outer parts.

Next comes the stencil with the stars. Ink with Sunbeam and Amethyst Pawsitively Saturated inks. The Simon Says Stamp Small Round Blending Brushes are perfect for this.

Take the fourth stencil, with the bats, and ink with Black Soot. Next, apply Dark Matter Stickles glitter gel with a palette knife.
Finally, splatter just a little black Scribble Stick on the background. Dip in water and flick a paint brush against the stick.


The combination of holographic and glitter paper adds a fun touch. I used two strips of Tim Holtz Trims Design Tape to form a line for the title. The sentiment was adhered with Simon Says Stamp new foam tape.
You can try many different color combinations with this fun Layered Spooky Icons stencil set. I wanted a warm feel to the background and used cream paper and Antique Linen ink to achieve that, if you ink on white paper, you will get a different result.

Since the Stickles Dark Matter gel doesn't cover the background completely, I inked the black shapes before adding the stickles.

It is so fun to see the design develop on the paper and how the different parts on the stencil builds images, such as the candy corn. I wasn't sure what those little shapes would become when I started with the first layer.

Don't miss all the fun at STAMPtember®!
Thank you for stopping by here today! See you again tomorrow.
Happy crafting!
Anna-Karin
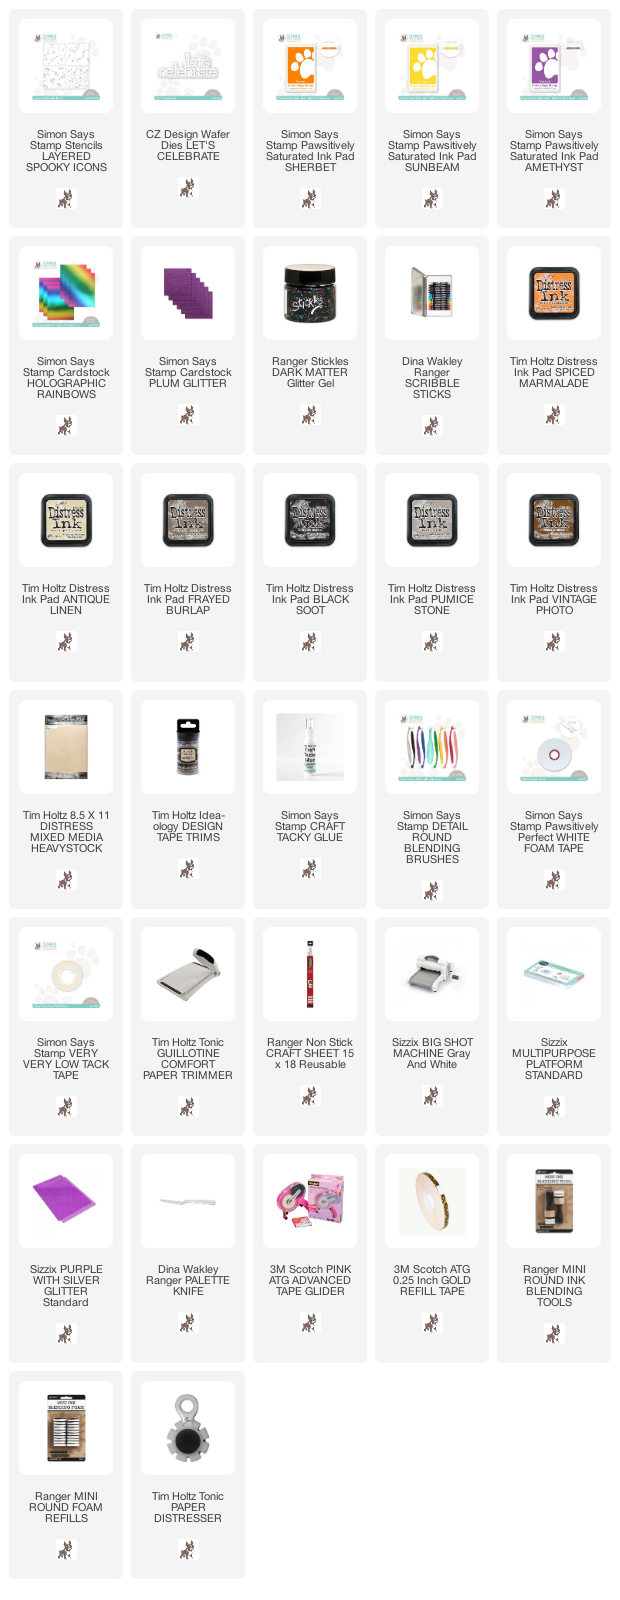
Supplies:
* Please note: the links are affiliate links, for which I receive a small percentage of sales generated by the link, at no extra cost to you.
* Please note: the links are affiliate links, for which I receive a small percentage of sales generated by the link, at no extra cost to you.
No comments:
Post a Comment
Thank you so much for leaving a comment! Happy Crafting!