Hi friends! Today I have two bookmarks and one tall card to share.
Please note: this post has affiliate links, for which I receive a small percentage of sales generated by the link, at no extra cost to you.

I was so sad to hear about Rachel Grieg from Darkroom Door passing away. Rachel was so kind, positive and creative, among many other things. She was very inspirational and I really miss her emails and updates on social media. I was on the Darkroom Door for a many years and have loved creating with Rachel's gorgeous stamps. I made this project earlier this month with one of Rachel's stamps.

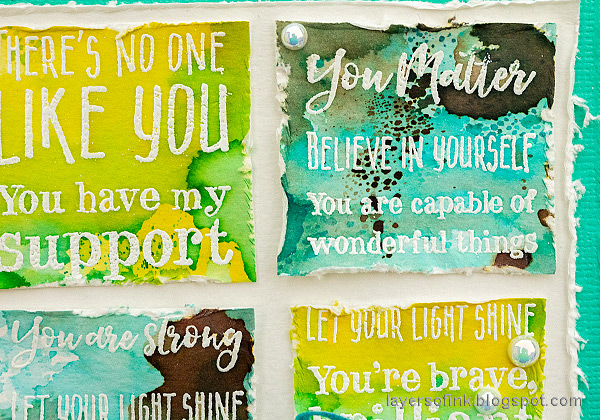
Start by cutting three strips of heavystock paper. White emboss the Darkroom Door You Matter stamp on each strip.

Smear Distress Inks on a non-stick craft sheet and mist with water. I used a different color combo for each strip. Press the paper into the ink. The embossing will resist the ink.

When dry, repeat until you are happy with the look.

I turned two of the strips into bookmark, using my Crop-a-dile and Angle Corner Chomper.

The ribbon was dyed with Distress Ink so that it would coordinate with the colors of the bookmarks and card. Apply ink, mist with water and crinkle.

Here are the two bookmarks. They make great gifts too, but I am going to use them in my art journals and notebooks.

Don't worry if your stamping and embossing isn't perfect, it adds to the distressed look.

The sentiments on this stamp are wonderful and can also be used on their own.

I have been dying a lot of ribbon lately.

The card is tall and skinny. I distressed the edges of the stamped panel and mounted it on a piece of Backdrops paper, teal paper and then on folded kraft paper.


Thank you so much for stopping by here today! See you soon again.
Happy crafting!
Anna-Karin
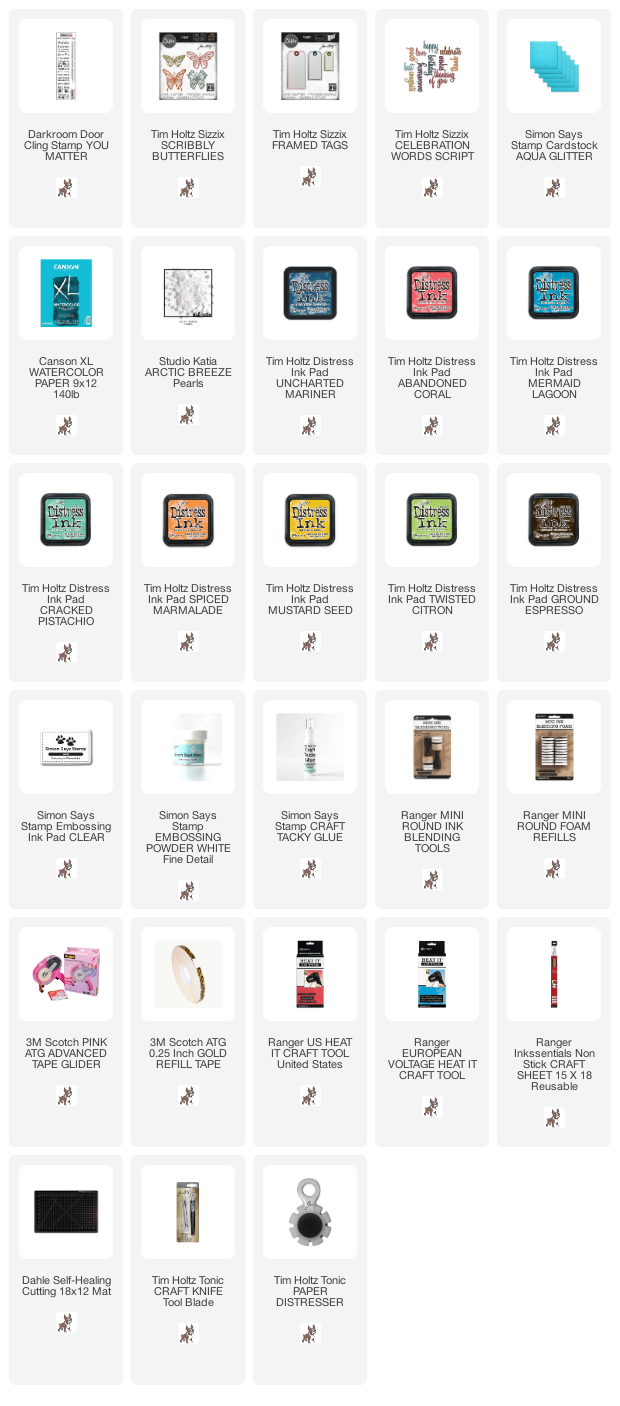
Supplies:
* Please note: the links are affiliate links, for which I receive a small percentage of sales generated by the link, at no extra cost to you.
* Please note: the links are affiliate links, for which I receive a small percentage of sales generated by the link, at no extra cost to you.