
Hi friends! I hope you had a good weekend! It is chilly outside and a perfect time to create a warm flower card.
Please note: this post has affiliate links, for which I receive a small percentage of sales generated by the link, at no extra cost to you.

Our theme this week at the Simon Says Stamp Monday Challenge Blog is 'Beautiful Blooms'. I hope you will join us! And don't miss the gorgeous project by our January guest designer Monica aka My Bonnet Bee.

I tucked dimensional paper flowers and leaves into a mini envelope on this card. You can add even more flowers if you want to, but I wanted some of the script stamping in the background to show through. The background was embossed in a beautiful new folder called Spun Glass from Simon Says Stamp new Kisses release.

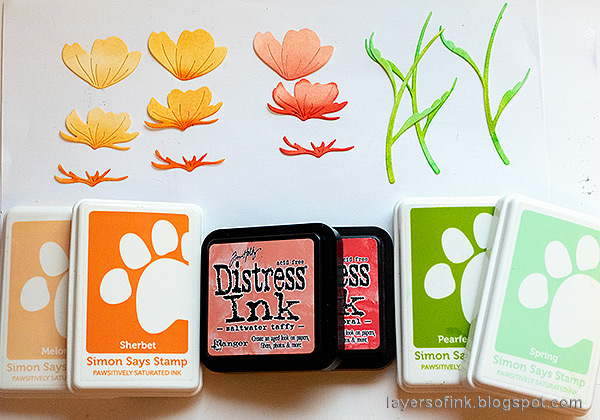
Ink with a mix of Distress Ink and Simon Says Stamp Pawsitively Saturated Inks.


Ink with Distress Inks. Later I also splattered it with a little water.


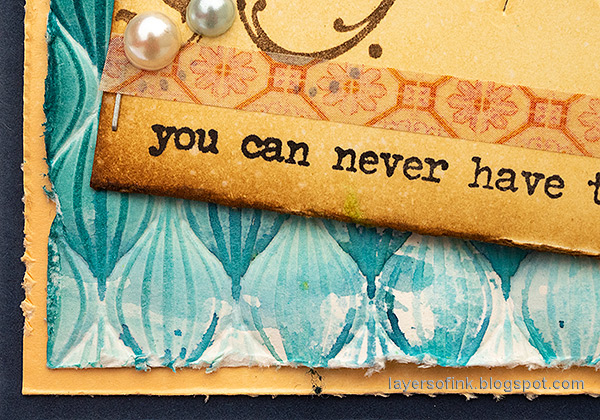
Smear Distress Ink on a non-stick craft sheet, press watercolor paper into the ink and emboss in the Simon Says Stamp Spun Glass embossing folder before the paper dries. For another example using the Spun Glass embossing folder check out my Metallic Artist Trading Card.

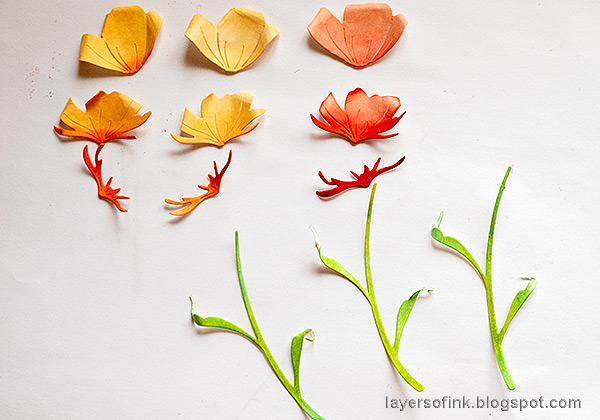
Glue the blossoms together.

I also die cut and inked some Simon Says Stamp Tattered Leaves, to add more greenery to the envelope.

Staple the envelope to the background. The swirl stamp comes from Tim's Urban Chic set and the sentiment is from Tiny Text.
I inked the middle cream cardstock with Pawisitvely Saturated Melon ink so that it would coordinate with the flowers.

Tuck the flowers into the envelope and add some pearls.
I hope you will join us this week in our Beautiful Blooms challenge. You have a chance to win a $25 gift voucher to do some fun shopping at Simon Says Stamp. You have until Monday 8am Ohio time. 1pm UK time, 2 pm CET to join in.


Thank you so much for stopping by here today!
* Please note: the links are affiliate links, for which I receive a small percentage of sales generated by the link, at no extra cost to you.
LOVE it.
ReplyDeleteThis is an amzing card. Love the background with the ink smooshing and then embossing. You are so talented.
ReplyDelete