Saturday, March 30, 2024

Watercolor Daffodils Tutorial

Happy Easter! The sun is shining and this is the warmest day so far this year. I have a no-line watercoloring project to share today.

 Please note: this post has affiliate links, for which I receive a small percentage of sales generated by the link, at no extra cost to you.
Layers of ink - Watercolor Daffodils Tutorial by Anna-Karin Evaldsson.

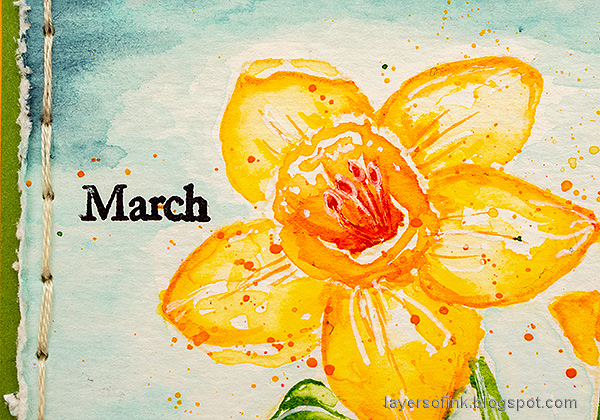
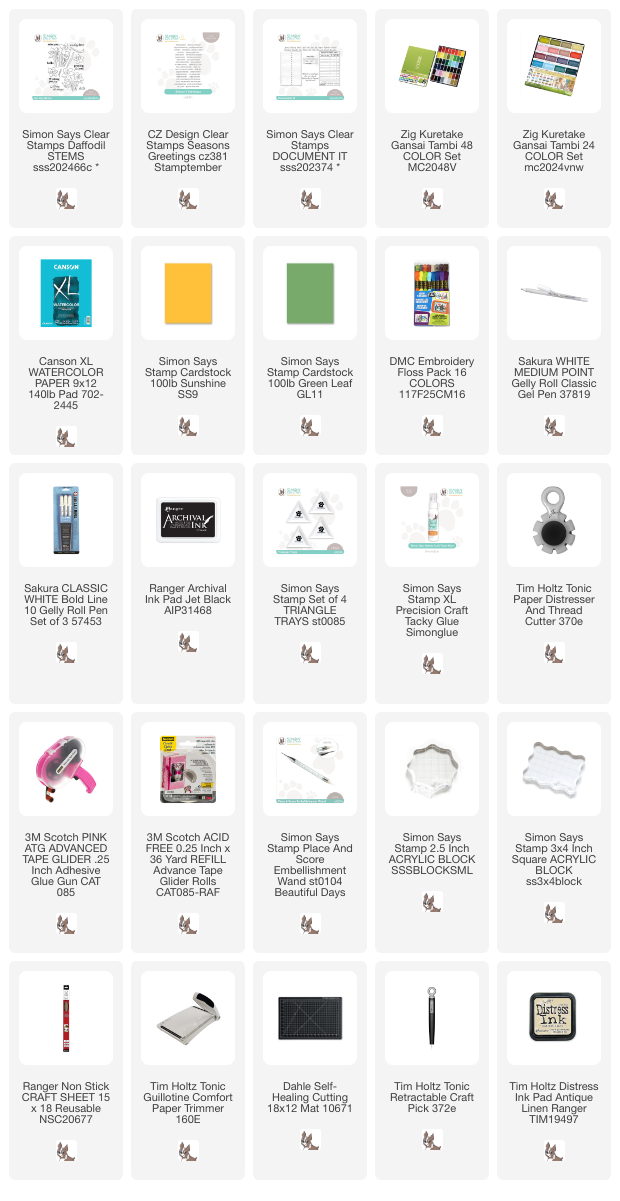
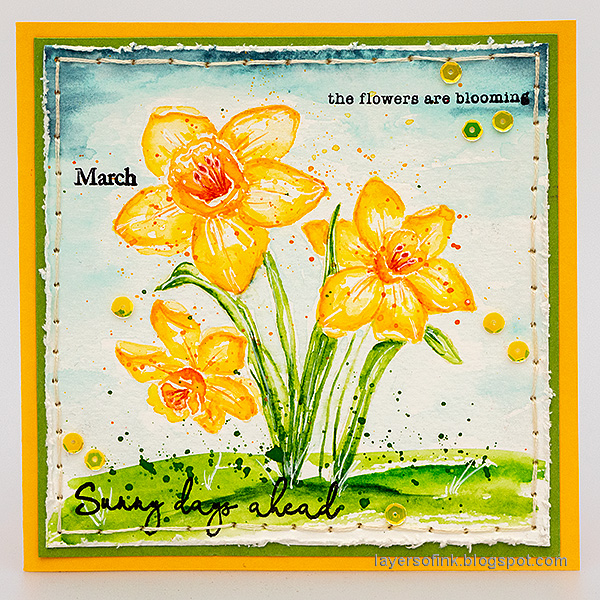
Daffodils are closely associated with Easter and spring here and have such interesting shapes. My daffodils are a little darker than normally, since I wanted them to stand out from the background and not be too pale. The flowers were stamped with a Simon Says Stamp Daffodil Stems stamp and watercolored with Zig Kuretake Gansai Tambi paint.

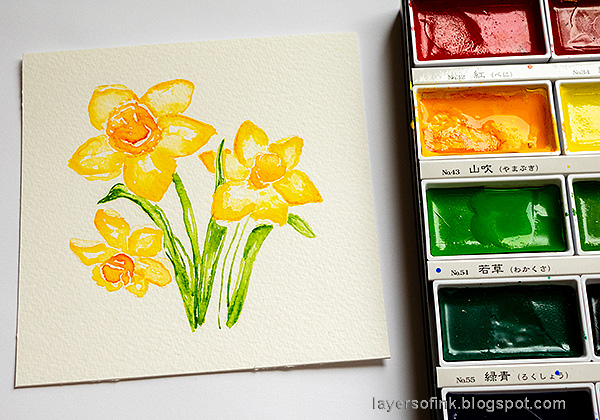
Layers of ink - Watercolor Daffodils Tutorial by Anna-Karin Evaldsson. Stamp with Antique Linen.

Stamp the daffodils from Simon Says Stamp Daffodil Stems on watercolor paper with Antique Linen ink. Mist a couple of times with water before stamping.

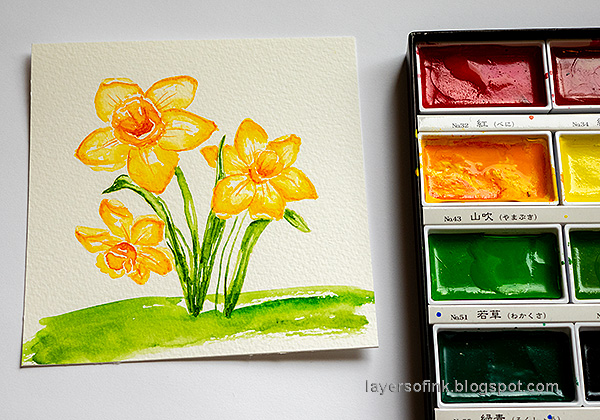
Layers of ink - Watercolor Daffodils Tutorial by Anna-Karin Evaldsson. Paint with Gansai Tambi watercolors.

Mix shades of yellow and orange and start watercoloring. Don't worry about perfection. I mixed paint in a palette, as well as used some paint right from the pans.

Layers of ink - Watercolor Daffodils Tutorial by Anna-Karin Evaldsson. Paint the leaves.

Use a couple of shades of green for the leaves and stems.

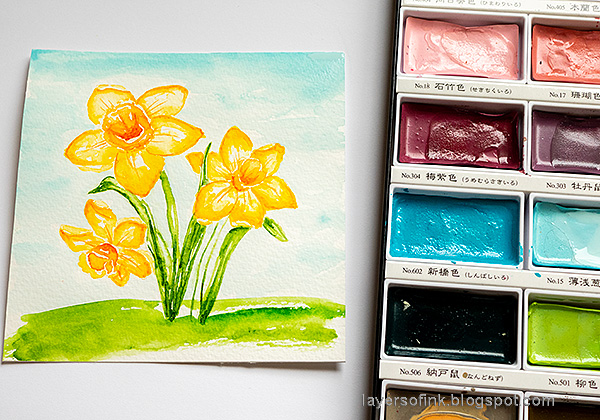
Layers of ink - Watercolor Daffodils Tutorial by Anna-Karin Evaldsson.

Paint a grassy area for the daffodils to grow from and add shading to the flowers and leaves.

Layers of ink - Watercolor Daffodils Tutorial by Anna-Karin Evaldsson. Paint the sky.

Paint the sky with a soft blue mix.

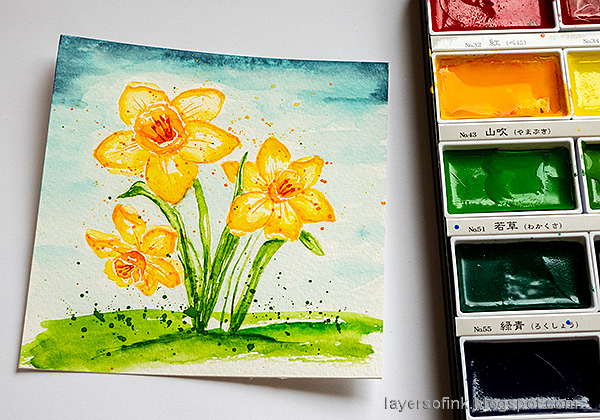
Layers of ink - Watercolor Daffodils Tutorial by Anna-Karin Evaldsson. Add splatters.

Make the sky a little darker at the top and darken the shadows under the flower. Splatter with green and orange paint.

Layers of ink - Watercolor Daffodils Tutorial by Anna-Karin Evaldsson. Stamp sentiments.

When the splatters were dry, I added some highlights with a white gel pen. 'March' comes from Simon Says Stamp Document It. 

Layers of ink - Watercolor Daffodils Tutorial by Anna-Karin Evaldsson. Add highlights with a white gel pen.

Splatters can add texture and movement. 

Layers of ink - Watercolor Daffodils Tutorial by Anna-Karin Evaldsson.

I distressed the edge and matted the panel on Simon Says Stamp Green Leaf cardstock. The cardbase is folded Simon Says Stamp Sunshine. Pierce holes and stitch a border with three strands of DMC embroidery thread


Thank you so much for stopping by here today! 


Anna-Karin

Supplies:

* Please note: the links are affiliate links, for which I receive a small percentage of sales generated by the link, at no extra cost to you.


Wednesday, March 27, 2024

Stitched Notebook

Hello friends! Today I have a notebook/journal tutorial to share, for a notebook with a stitched binding. If you don't want to make a notebook, the cover can easily be turned into a card instead.

Please note: this post has affiliate links, for which I receive a small percentage of sales generated by the link, at no extra cost to you.

Layers of ink - Stitched Dragonfly Notebook Tutorial by Anna-Karin Evaldsson.

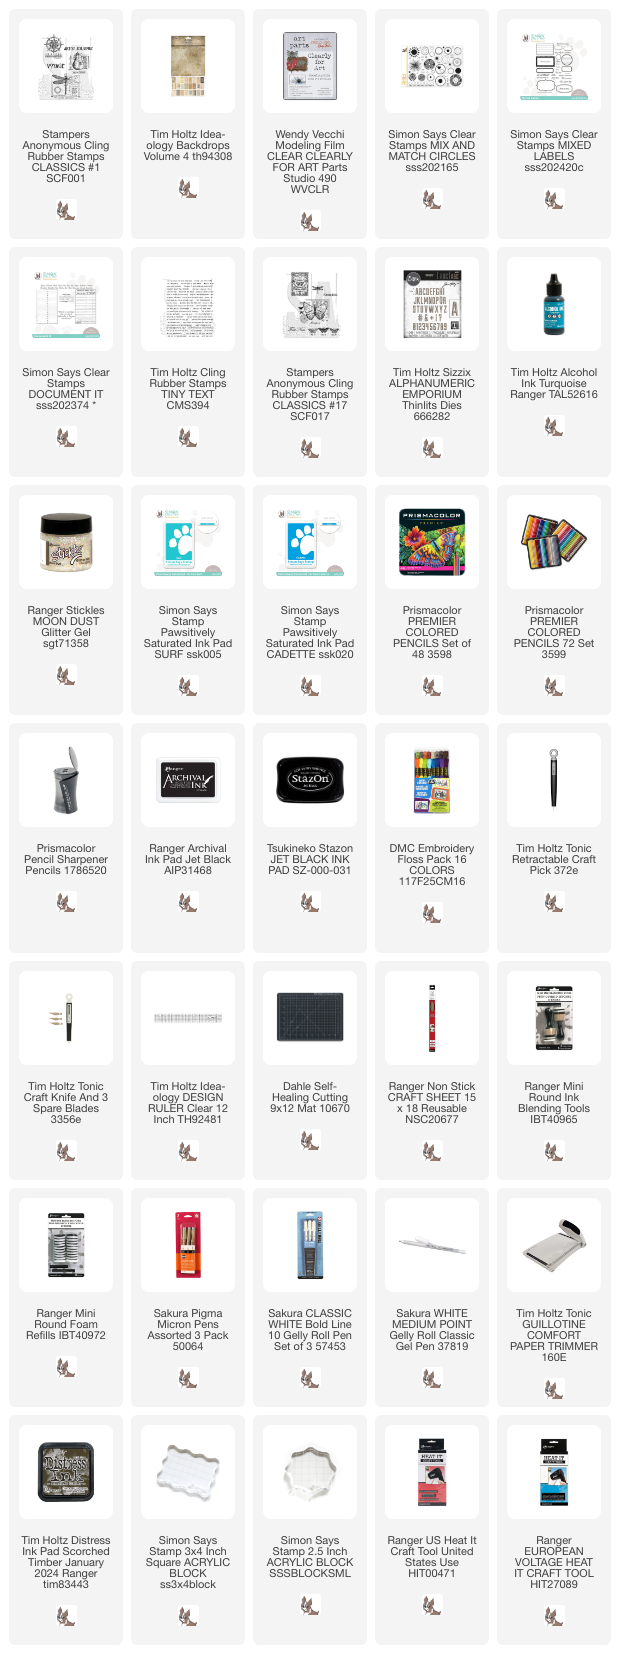
I love to make my own notebooks and sketchbooks. They are also great gifts. This notebook is 5x6 in, a folded Tim Holtz Backdrops paper. The Backdrops papers are so gorgeous and make for great notebook or journal covers. I stamped a dragonfly image on the cover and colored it with pencils. The dragonfly was also stamped on Clearly For Art Modeling Film. Later, I might have removed the modeling film dragon fly, but only because it was a little too dimensional for my liking. 

Layers of ink - Stitched Dragonfly Notebook Tutorial by Anna-Karin Evaldsson. Stamp dragonfly on the notebook cover.

Fold a piece of Backdrops Vol 4 paper in half and stamp the dragonfly image from Stamper's Anonymous Classics #1 on the cover.

Layers of ink - Stitched Dragonfly Notebook Tutorial by Anna-Karin Evaldsson. Color with colored pencils.

Color the dragonfly with colored pencils. I used Prismacolors. Use a white pencil to blend the colors.

Layers of ink - Stitched Dragonfly Notebook Tutorial by Anna-Karin Evaldsson.

Add details to the dragonfly with a black pen and a white gel pen. Don't worry about getting it perfect, since that is not the point.

Layers of ink - Stitched Dragonfly Notebook Tutorial by Anna-Karin Evaldsson. Stamp sentiments and circles.

Stamp circles from Simon Says Stamp Mix and Match Circles and various sentiments on the background.

Layers of ink - Stitched Dragonfly Notebook Tutorial by Anna-Karin Evaldsson. Color patterned paper with pencils.

I wanted the title to have the exact same colors as the dragonfly and used the pencils to color another piece of Backdrops paper. I created an ombre effect.

Layers of ink - Stitched Dragonfly Notebook Tutorial by Anna-Karin Evaldsson. Die cut the title with Tim Holtz Alphanumeric Emporium dies.

Use Tim Holtz Alphanumeric Emporium dies to die cut the letter.

Layers of ink - Stitched Dragonfly Notebook Tutorial by Anna-Karin Evaldsson.

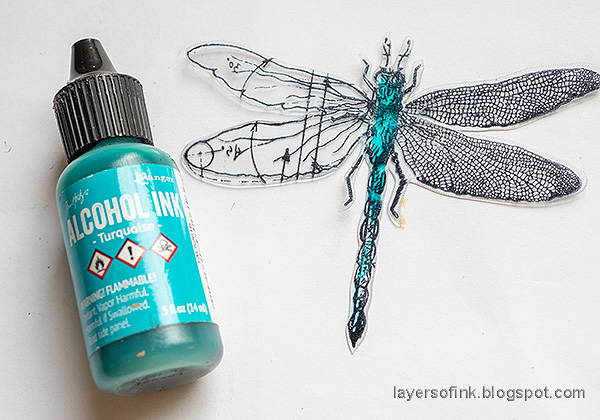
Stamp the dragonfly with Stazon Jet Black on Wendy Vecchi Clearly For Art Modeling Film

Layers of ink - Stitched Dragonfly Notebook Tutorial by Anna-Karin Evaldsson. Color with alcohol ink.

Cut the dragonfly out and color the body with alcohol ink.

Layers of ink - Stitched Dragonfly Notebook Tutorial by Anna-Karin Evaldsson. Shape the modeling film.

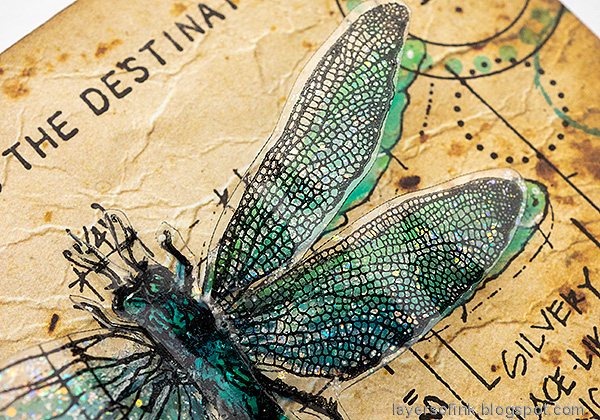
Gently heat with a heat tool and shape the wings. Be careful not to burn yourself. The film keeps its shape perfectly.

Layers of ink - Stitched Dragonfly Notebook Tutorial by Anna-Karin Evaldsson. Add Ranger Stickles.

Add Distress Stickles Moon Dust to the back of the wings and let dry.

Layers of ink - Stitched Dragonfly Notebook Tutorial by Anna-Karin Evaldsson.

Cut inserts from your paper of choice. In this case, I used fairly light-weight notebook paper, which can take fountain pens without problems. Make a template first by piercing holes through a folded piece of paper. As you can see the inserts are larger than the cover.

Layers of ink - Stitched Dragonfly Notebook Tutorial by Anna-Karin Evaldsson. Pierce holes along the spine.

After you pierced through all the layers, it looks like this.

Layers of ink - Stitched Dragonfly Notebook Tutorial by Anna-Karin Evaldsson. Stitch the notebook along the spine.

I stitched the book using three strands of DMC embroidery thread using a saddle stitch. Tie it on the inside.

Layers of ink - Stitched Dragonfly Notebook Tutorial by Anna-Karin Evaldsson.

I trimmed the inserts and a tiny bit of the covers to get a notebook where the pages went right up to the edges of the cover. Normally, I make the pages slightly smaller than the cover, but since I used thinner paper than what I usually use, it was possible to trim through them all at once. 

Layers of ink - Stitched Dragonfly Notebook Tutorial by Anna-Karin Evaldsson.

Using colored pencils to color the paper before die cutting creates a nice effect and the paper is satin smooth.

Layers of ink - Stitched Dragonfly Notebook Tutorial by Anna-Karin Evaldsson.

Stamp some of the circles off the edge for a finished look.

Layers of ink - Stitched Dragonfly Notebook Tutorial by Anna-Karin Evaldsson. Dimensional dragonfly.

The Moon Dust Stickles gives a great shimmer to the wings of the dragonfly. 

Layers of ink - Stitched Dragonfly Notebook Tutorial by Anna-Karin Evaldsson.

The Clearly For Art Modeling Film is one of my favorite surfaces and you dan do many techniques with it. 

Layers of ink - Stitched Dragonfly Notebook Tutorial by Anna-Karin Evaldsson.

Even though I loved the dimensional dragonfly, I decided to remove it. Since the cover and the inside pages are pretty thin, it bothered me when I was writing in the book. I might put it back again, or I will use it on another project instead.

Layers of ink - Stitched Dragonfly Notebook Tutorial by Anna-Karin Evaldsson.

The white and black pen details add movement and life to the wings.

Layers of ink - Stitched Dragonfly Notebook Tutorial by Anna-Karin Evaldsson.

Here's another look at the stitch. If you want to, use a contrasting or bright colored thread instead.

Layers of ink - Stitched Dragonfly Notebook Tutorial by Anna-Karin Evaldsson.

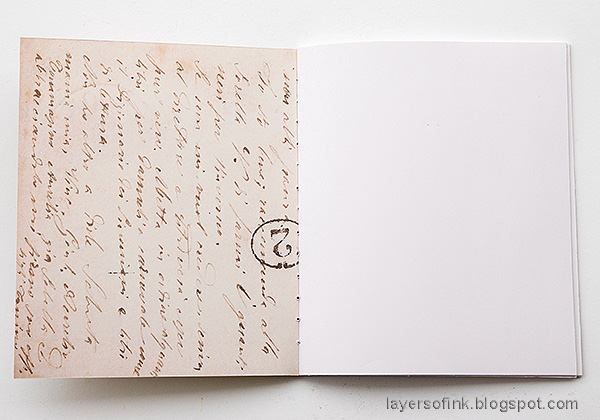
Since the Backdrops papers are double-sided, the inside covers are patterned too.

Layers of ink - Stitched Dragonfly Notebook Tutorial by Anna-Karin Evaldsson.

Here's another look at the notebook without the Modeling Film dragonfly.


Thank you so much for stopping by here today! 


Anna-Karin

Supplies:

* Please note: the links are affiliate links, for which I receive a small percentage of sales generated by the link, at no extra cost to you.


Monday, March 25, 2024

Circle Mosaic Tag Tutorial

Hello friends! I hope you are well and had a good weekend. We had sun, rain and some snow. 

Please note: this post has affiliate links, for which I receive a small percentage of sales generated by the link, at no extra cost to you.


This week we have an Emboss It theme at the Simon Says Stamp Monday Challenge Blog. It is also the last week for our March guest designer Ann Chuang. Be sure to check out the stunning card she has created.

Layers of ink - Circle Mosaic Tag Tutorial by Anna-Karin Evaldsson.

I combined heat and dry embossing on this tag, for a quick textured background. The background technique can be done with many types of embossing folders. The tag was embellished with flowers made with various flower dies by Simon Says Stamp, and vellum leaves. 

Layers of ink - Circle Mosaic Tag Tutorial by Anna-Karin Evaldsson. Emboss in Tim Holtz Mosaic folder.

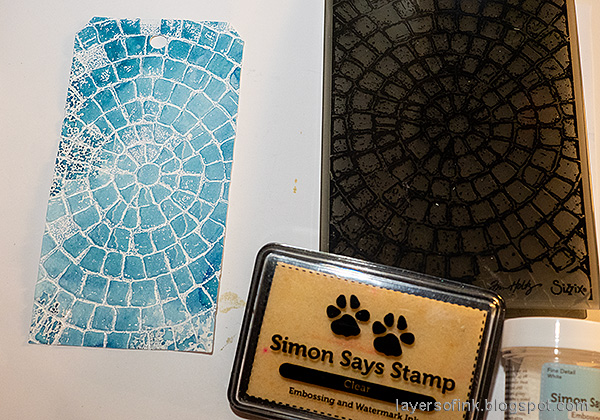
I started out with an inky watercolor paper left-over from another project. It had been inked with Uncharted Mariner Distress Ink. Die cut a tag from the paper. Drag an embossing ink over Tim Holtz Mosaic embossing folder and emboss. Cover with white embossing powder and return the excess to the jar. Emboss. Do not touch the melted powder until it has cooled down completely.

Layers of ink - Circle Mosaic Tag Tutorial by Anna-Karin Evaldsson. Ink with Distress Ink.

Ink with first Uncharted Mariner and then Scorched Timber, in a pattern following the circles of the design. 

Layers of ink - Circle Mosaic Tag Tutorial by Anna-Karin Evaldsson. Color watercolor paper with ink.

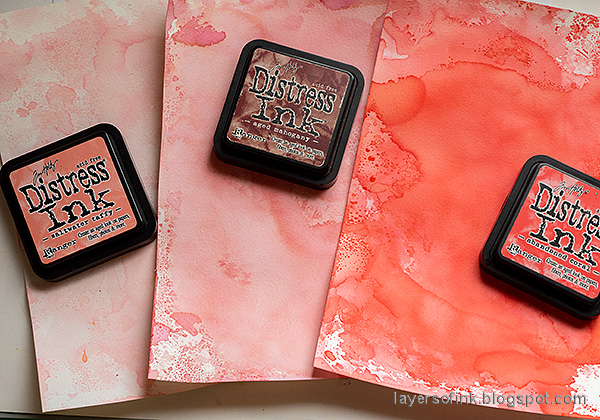
The flowers were die cut from watercolor paper which had been colored with Distress Inks. I made three shades of pink paper. Smear the inks on a non-stick craft sheet, mist with water and press the paper into the ink. Let dry and repeat. 

Layers of ink - Circle Mosaic Tag Tutorial by Anna-Karin Evaldsson. Add more ink.

I also made three shades of orange/peach papers, using the inks you see on the photo.

Layers of ink - Circle Mosaic Tag Tutorial by Anna-Karin Evaldsson. Die cut Simon Says Stamp Layered Rosebud.

Die cut Simon Says Stamp Layered Rosebud from the pink papers.

Layers of ink - Circle Mosaic Tag Tutorial by Anna-Karin Evaldsson. Add shape to the petals.

Shape the petals with Tim Holtz Shaping Kit

Layers of ink - Circle Mosaic Tag Tutorial by Anna-Karin Evaldsson. Die cut more flowers.

The orange flowers were die cut using the Dreamy Daisy Layers and the Etched Magnolia Blossom.

Layers of ink - Circle Mosaic Tag Tutorial by Anna-Karin Evaldsson. Orange flowers.


Layers of ink - Circle Mosaic Tag Tutorial by Anna-Karin Evaldsson. Dye ribbon with ink.

The May Arts Faux Silk Ribbon was dyed with Distress Ink to coordinate with the tag.

Layers of ink - Circle Mosaic Tag Tutorial by Anna-Karin Evaldsson. Tie ribbon to the tag.

Tie the ribbons to the top of the tag.

Layers of ink - Circle Mosaic Tag Tutorial by Anna-Karin Evaldsson. Stamped sentiment.

The sentiment comes from Tim Holtz Tiny Text and was stamped on one of the inked papers and matted on vellum. The little heart beads have been in my stash for many years and were bought in a tiny craft shop in South Africa, long ago.

Layers of ink - Circle Mosaic Tag Tutorial by Anna-Karin Evaldsson.

The texture from the combined dry and heat embossing is pretty cool. Don't worry about stray embossing powder since it only adds to the effect.

Layers of ink - Circle Mosaic Tag Tutorial by Anna-Karin Evaldsson.

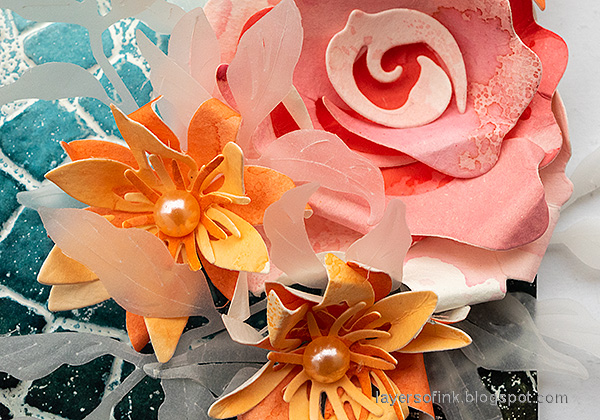
Glue the flowers together and add a pearl to the center of the orange ones.

Layers of ink - Circle Mosaic Tag Tutorial by Anna-Karin Evaldsson. Dimensional paper rose.

Glue the pieces of the rose together as shown here.

Layers of ink - Circle Mosaic Tag Tutorial by Anna-Karin Evaldsson. Paper flowers.

The leaves were die cut from vellum using Simon Says Stamp Tattered Leaves.

Layers of ink - Circle Mosaic Tag Tutorial by Anna-Karin Evaldsson. Vellum leaves.

The flowers are quite dimensional. If you want to make a flatter project, layer the flowers without shaping the petals first.

I hope you will join us this week in our Emboss It challenge. You have a chance to win a $25 gift voucher to do some fun shopping at Simon Says Stamp. You have until Monday 8am Ohio time. 1pm UK time, 2 pm CET to join in.


Do you use Instagram? If so please add #sssmchallenge so we can see your entries there too.


Thank you so much for stopping by here today! 

Happy crafting!

Anna-Karin

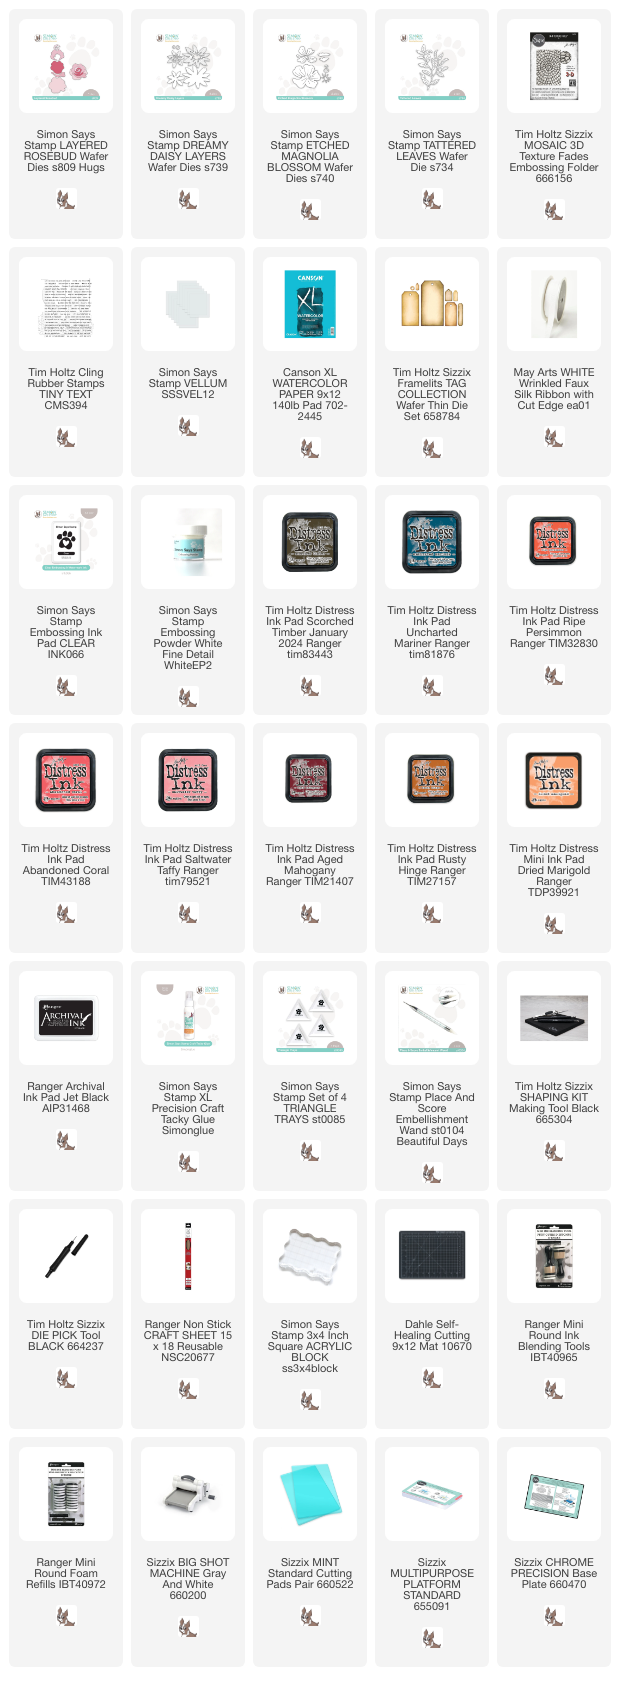
Supplies:

* Please note: the links are affiliate links, for which I receive a small percentage of sales generated by the link, at no extra cost to you.