Showing posts with label Tissue tape. Show all posts

Wednesday, April 30, 2025

Paper Board Tag Tutorial

 Hi friends! It is the last day of April and I have a tag to share with fun techniques.

Please note: this post has affiliate links, for which I receive a small percentage of sales generated by the link, at no extra cost to you.

Layers of ink - Paper Board Tag Tutorial by Anna-Karin Evaldsson.

I always liked these boards that hold paper in place and wanted to make one with dimension, for a tag with a 'take note' theme. The background was stamped and then inked with Distress Ink för a resist effect. I also used embossing powder to create a faux metal look to some of the details.

Die cut with Tim Holtz Vault Edge.

Cut pieces of thin notebook paper and die cut the edges with Tim Holtz Sizzix Vault Edges die set.

Stamp with Simon Says Stamp Ledger Paper.

Stamp the papers with Simon Says Stamp Ledger Paper stamp and Cobalt blue ink.


Die cut boards and clips using Tim Holtz Vault Noteworthy set. Die cut quite a lot of boards from kraft paper and then glue them together.

Assemble the board.

When you glue the kraft paper boards together the board becomes thick and sturdy, almost like wood. Ink the edges. Emboss the metallic parts with several layers of silver powder. Be very careful and do not touch the melted powder until it has cooled down completely. Stamp a sentiment. 

Stamp with Tim Holtz Tiny Textures.

White emboss Tim Holtz Tiny Textures on a tag.

Ink with distress ink.

Ink with Distress Inks.


Stamp a sentiment on the top papers and shape the others a bit, for dimension.


Stamp sentiments and arrows and glue Simon Says Stamp Pawsitively Dazzling Gems to the tag. The arrow comes from Simon Says Stamp Love Letter.


The paperclip was also embossed with silver powder.


I also added a frame, which was embossed and some design tape.


Thank you for visiting!

Happy crafting!

Anna-Karin

Supplies:

* Please note: the links are affiliate links, for which I receive a small percentage of sales generated by the link, at no extra cost to you.


Tuesday, January 30, 2024

Colorful Birds Art Journal Tutorial

Hi stampers! Today I have a colorful and joyful art journal page to share, with a whole lot of birds.

Please note: this post has affiliate links, for which I receive a small percentage of sales generated by the link, at no extra cost to you.


Layers of ink - Colorful Birds Art Journal Tutorial by Anna-Karin Evaldsson.

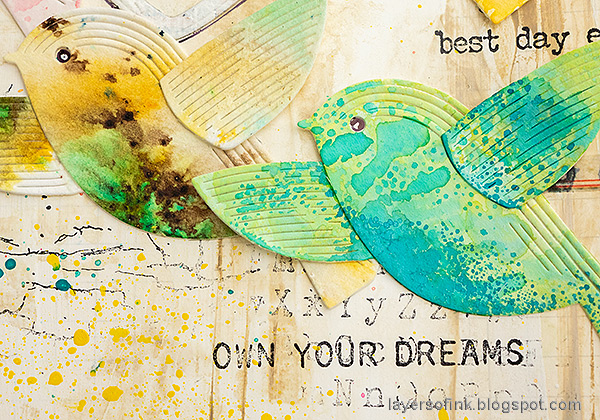
I thought it would be fun to make an art journal page filled with birds in different colors, flying across the page. I worked in my new Dylusions Multi Print Square Ledger Journal. I am very fond of old ledger papers and here you can see the ledger pattern in the background. The journal is 8 x 8 in.

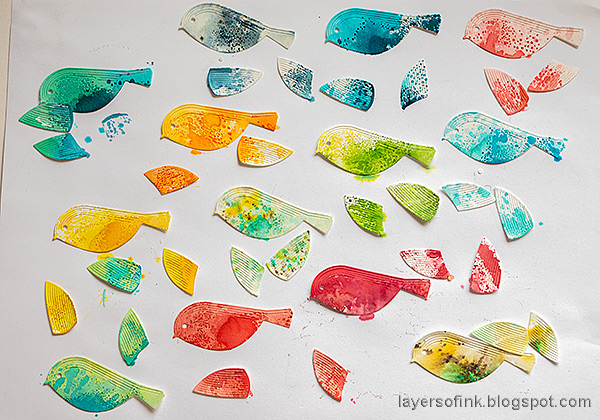
Layers of ink - Colorful Birds Art Journal Tutorial by Anna-Karin Evaldsson. Die cut Simon Says Stamp Soaring Whirl Bird from colorful papers.

Start by die cutting many Simon Says Stamp Soaring Whirl Birds from scrap papers. I used a mix of Distress Ink, watercolor and Paper Artsy Infusions colored stains scraps. After die cutting, I smeared various Distress Inks on a non-stick craft sheet, misted with water and pressed some of the birds into the ink, to add more texture.

Layers of ink - Colorful Birds Art Journal Tutorial by Anna-Karin Evaldsson. Assemble the birds.

Glue the wings to the bodies. I use Simon Says Stamp Precision Craft Tacky Glue.

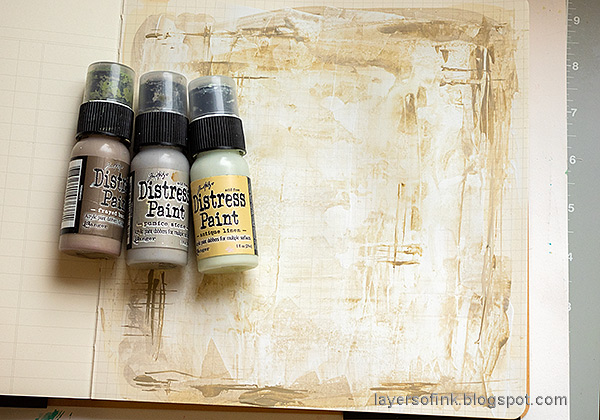
Layers of ink - Colorful Birds Art Journal Tutorial by Anna-Karin Evaldsson. Apply gesso to Dylusions journal.

Apply gesso to the art journal page, but don't cover the entire background.

Layers of ink - Colorful Birds Art Journal Tutorial by Anna-Karin Evaldsson. Color with Distress Paint.

Paint with watered down Distress Paint. Add some marks with a palette knife.

Layers of ink - Colorful Birds Art Journal Tutorial by Anna-Karin Evaldsson. Stamp with sentiment and texture stamps.

Stamp sentiment stamps on the page after planning where the birds will be. As you can see I stamped 'best day ever' twice, since the first one ended up too far down. Stamp the alphabet stamp from Tim Holtz School Desk here and there, as well as Simon Says Stamp Crackle Background.

Layers of ink - Colorful Birds Art Journal Tutorial by Anna-Karin Evaldsson. Splatter with Scribble Sticks.

Splatter the page with Scribble Sticks. Dip a stick in water and flick a paint brush against it.

Layers of ink - Colorful Birds Art Journal Tutorial by Anna-Karin Evaldsson.

Draw a border around the page with a black pen.

Layers of ink - Colorful Birds Art Journal Tutorial by Anna-Karin Evaldsson.

Glue the birds to the page. Use the black pen for the eyes, and add a dot with a white gel pen.

Layers of ink - Colorful Birds Art Journal Tutorial by Anna-Karin Evaldsson. Add hearts.

I had three hearts on my desk left-over from yesterdays Many Hearts Tag and glued them to the page.

Layers of ink - Colorful Birds Art Journal Tutorial by Anna-Karin Evaldsson.

Using scrap papers in this way is a favorite technique and it is fun to combine a left-overs from many projects. 

Layers of ink - Colorful Birds Art Journal Tutorial by Anna-Karin Evaldsson.

This sentiment comes from the Impression Obsession Easter Joy Pooh set.

Layers of ink - Colorful Birds Art Journal Tutorial by Anna-Karin Evaldsson.

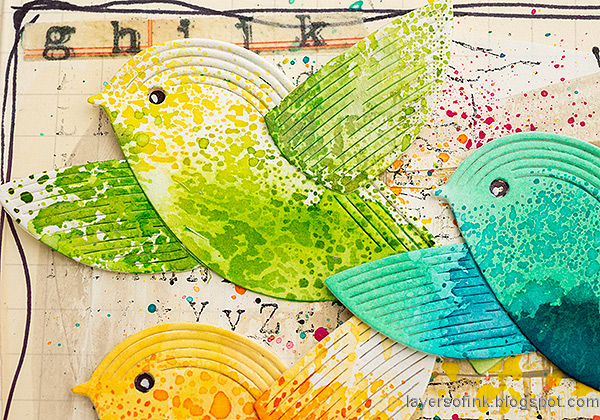
The main sentiment comes from Simon Says Stamp Printmaking Birds. As you can see here, the grid pattern is visible in the background.

Layers of ink - Colorful Birds Art Journal Tutorial by Anna-Karin Evaldsson.

The birds are all different from each other.

Layers of ink - Colorful Birds Art Journal Tutorial by Anna-Karin Evaldsson.

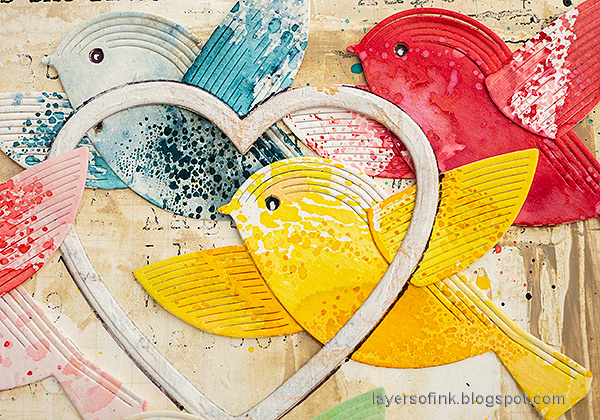
I drew a border around the hearts as a shadow.

Layers of ink - Colorful Birds Art Journal Tutorial by Anna-Karin Evaldsson.

I like how this heart frames all those colorful splatters.


Thank you so much for stopping by here today! 


Anna-Karin

Supplies:

* Please note: the links are affiliate links, for which I receive a small percentage of sales generated by the link, at no extra cost to you.


Saturday, December 23, 2023

Christmas Tree with Baubles

Hello stampers! I really like to make Christmas tags and have a pretty big collection by now. Here's a new one.

Please note: this post has affiliate links, for which I receive a small percentage of sales generated by the link, at no extra cost to you.

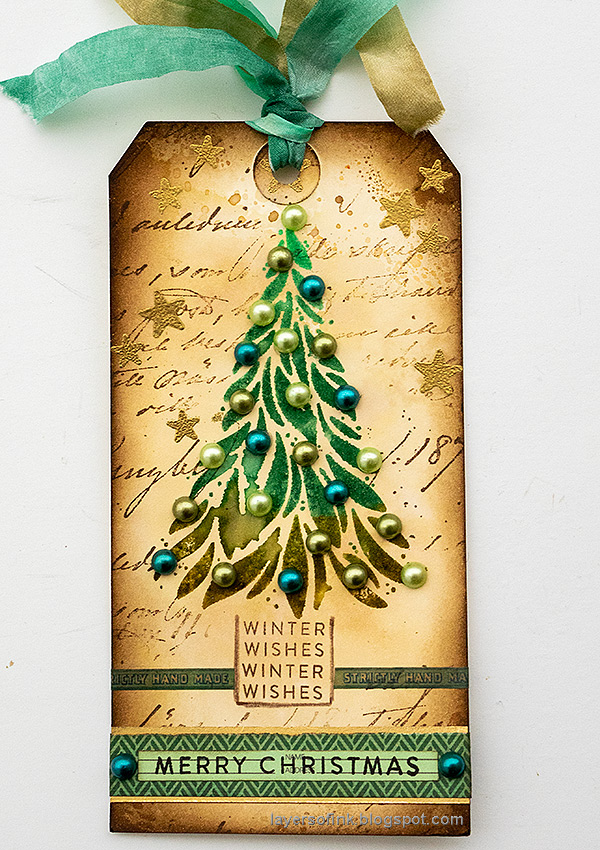
Layers of ink - Christmas Tree with Baubles Tag Tutorial by Anna-Karin Evaldsson.

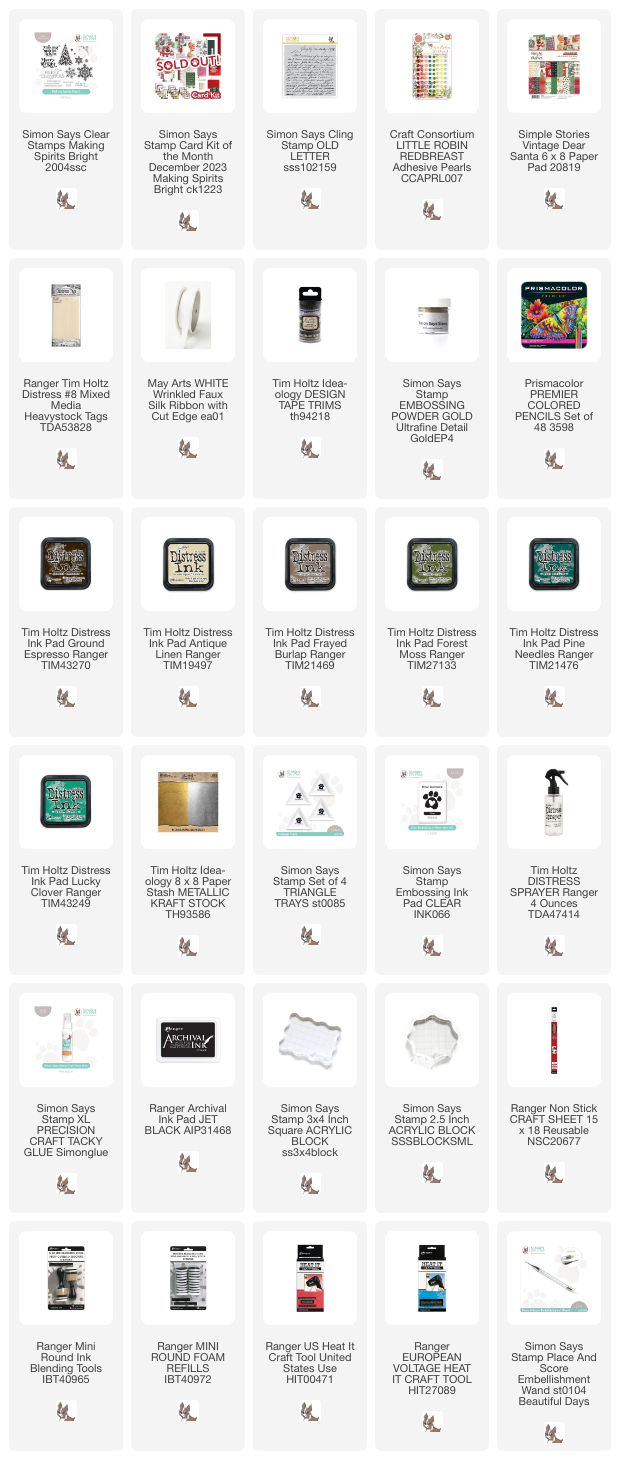
Making Christmas tags sometimes reminds me of Tim Holtz 12 Tags of Christmas series and how I enjoyed to make all those tags. This tag was made with the Simon Says Stamp December card kit, Making Spirits Bright. The kit is sold out by you can still get the individual products.

Layers of ink - Christmas Tree with Baubles Tag Tutorial by Anna-Karin Evaldsson. Ink with Distress Ink.

Start out by smearing Distress Ink on a non-stick craft sheet, mist with water and press a tag into the ink. Let dry and repeat. I wanted a neutral background, but with some texture.

Layers of ink - Christmas Tree with Baubles Tag Tutorial by Anna-Karin Evaldsson. Stamp with Simon Says Stamp Making Spirits Bright.

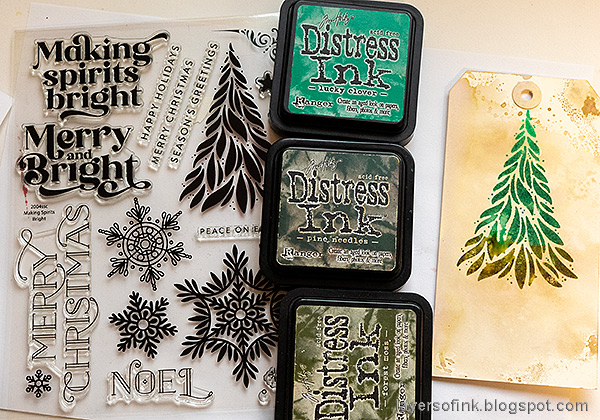
Ink the gorgeous tree from Simon Says Stamp Making Spirits Bright with three shades of green Distress Ink. Start with the lighter ink at the top. Mist with water about 4-5 times before stamping.

Layers of ink - Christmas Tree with Baubles Tag Tutorial by Anna-Karin Evaldsson. Stamp with Simon Says Stamp Old Letter.

Stamp the sentiment from Making Spirits Bright twice under the tree and draw around it with a brown pencil to create a stem/pot for the tree. Stamp the background here and there with Simon Says Stamp Old Letter. Gold emboss stars from Making Spirits Bright.

Layers of ink - Christmas Tree with Baubles Tag Tutorial by Anna-Karin Evaldsson. Add baubles.

Use pearls from Craft Consortium Little Robin Redbreast as baubles on the tree.

Layers of ink - Christmas Tree with Baubles Tag Tutorial by Anna-Karin Evaldsson. Ink with Ground Espresso.

Ink the edges with Ground Espresso.

Layers of ink - Christmas Tree with Baubles Tag Tutorial by Anna-Karin Evaldsson.

Dye Faux Silk Ribbon with the three shades of green Distress Ink that were used on the tree.

Layers of ink - Christmas Tree with Baubles Tag Tutorial by Anna-Karin Evaldsson. Gold emboss stars.

The gold embossed stars adds to the festive look.

Christmas Tree With Baubles- Layers of ink

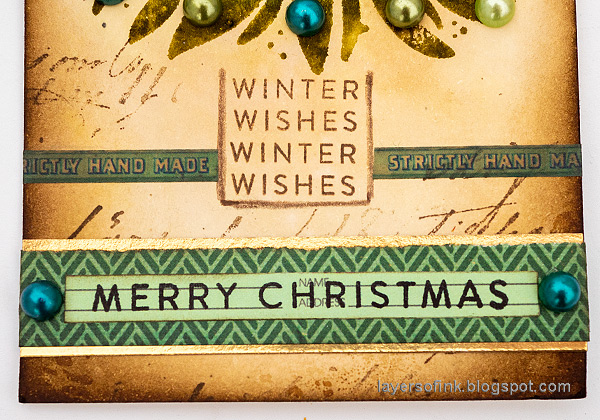
The sentiment also comes from Making Spirits Bright and was stamped on one of the Simple Stories Vintage Dear Santa patterned papers and cut into a strip. Cut a larger strip from another piece of green paper. Add a strip of gold metal kraft stock paper underneath. I used Design Tape Trims to create a wall behind the stem of the tree, so that the tree doesn't look like it is floating.

Layers of ink - Christmas Tree with Baubles Tag Tutorial by Anna-Karin Evaldsson.

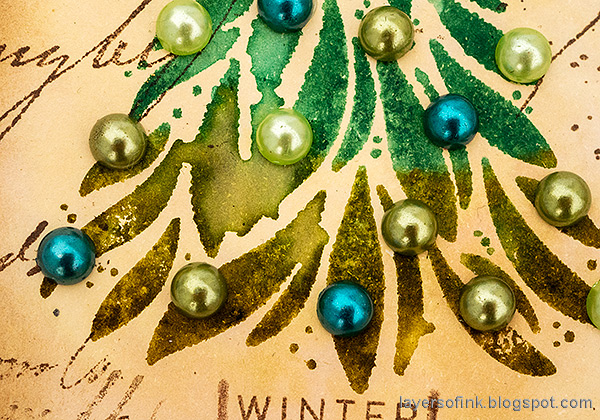
Half-pearls are great as baubles and these were such pretty colors.

Layers of ink - Christmas Tree with Baubles Tag Tutorial by Anna-Karin Evaldsson.

I hope you enjoyed this last Christmas tag of the year. 

I also want to wish everyone a very Merry Christmas!!


Thank you for visiting my blog! 

Happy crafting!

Anna-Karin

Supplies:

* Please note: the links are affiliate links, for which I receive a small percentage of sales generated by the link, at no extra cost to you.


Monday, October 9, 2023

Explore Art Journal Page

Hi stampers! I hope you had a good weekend! We had sunny and crisp autumn weather.

Please note: this post has affiliate links, for which I receive a small percentage of sales generated by the link, at no extra cost to you.


This week our theme is 'Explore' at the Simon Says Stamp Monday Challenge Blog. I hope you will join us. We have two guests this week: Teresa York and Gitta Roolf.

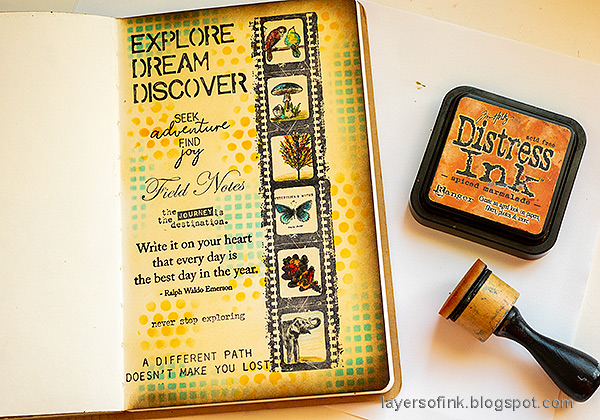
Layers of ink - Explore Art Journal Page Tutorial by Anna-Karin Evaldsson.

I made an art journal page this week with the theme of exploring through the lens of a camera. I stamped a negative strip and filled it with small images. Most of them are images of things I see and photograph on my walks, both large and small items, but the elephant breaks the pattern. I wanted to include a bit of South Africa too. 

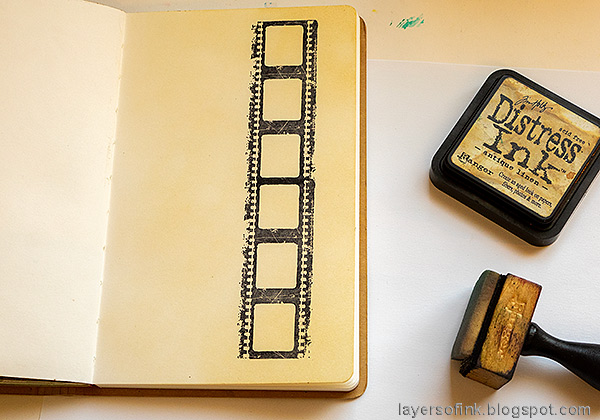
Layers of ink - Explore Art Journal Page Tutorial by Anna-Karin Evaldsson. Stamp Tim Holtz Captured Moments twice.

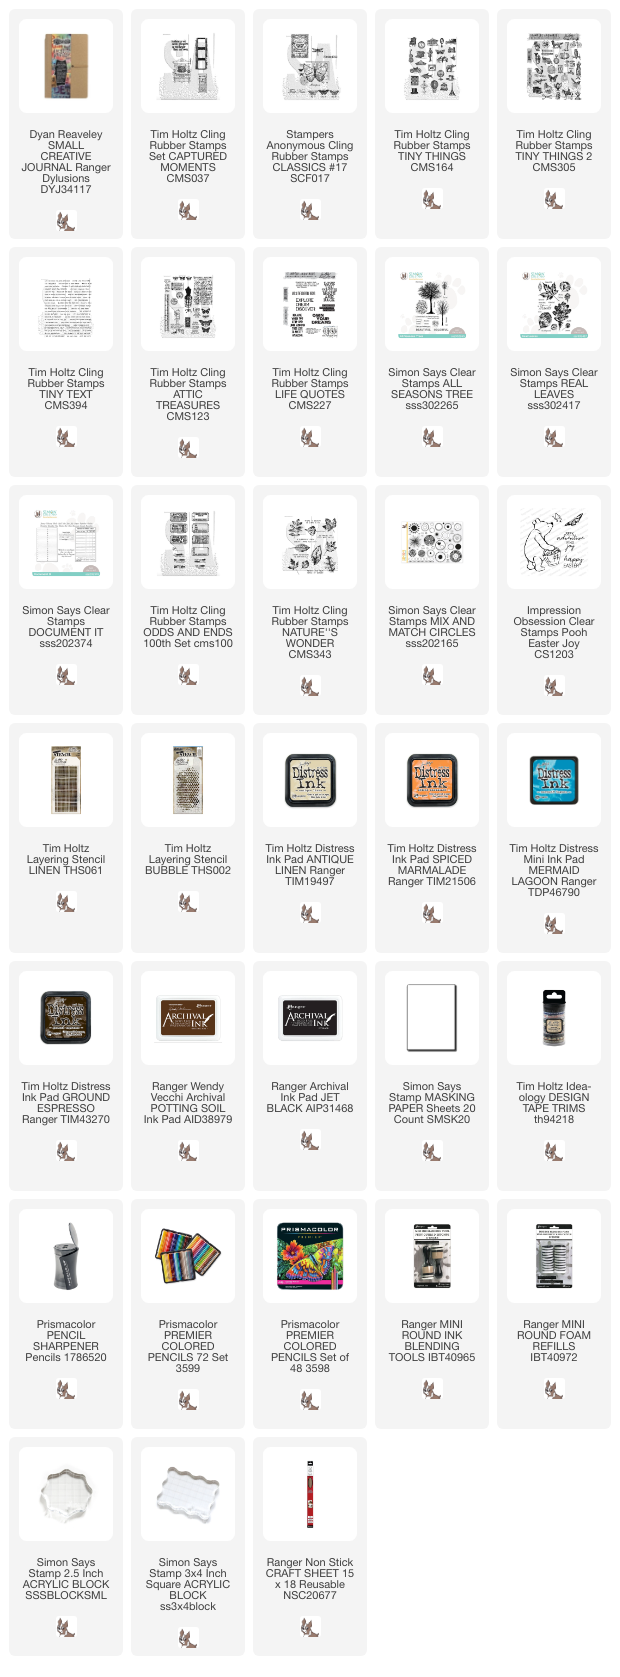
Start by stamping the film strip from Tim Holtz Captured Moments twice down the length of a page in the Small Creative Journal.

Layers of ink - Explore Art Journal Page Tutorial by Anna-Karin Evaldsson. Ink with Distress Ink.

Ink with Antique Linen to tint the paper.

Layers of ink - Explore Art Journal Page Tutorial by Anna-Karin Evaldsson. Mask and stamp images.

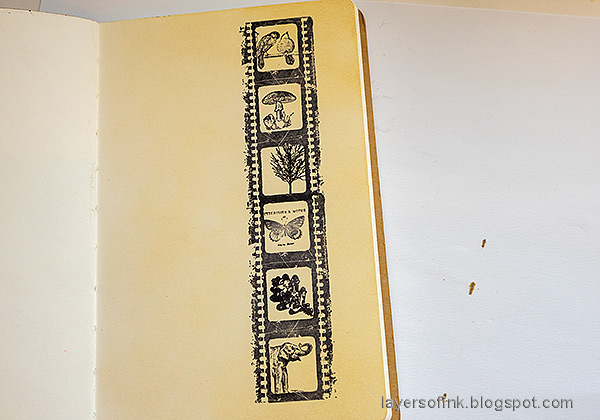
Stamp the film strip on Simon Says Stamp Masking Paper and cut out the windows. Stamp small images in the windows. 

Layers of ink - Explore Art Journal Page Tutorial by Anna-Karin Evaldsson. Stamp more images.

Continue until you have filled all the windows. I used stamps from Tim Holtz Tiny Things 1 and Tiny Things 2, Attic Treasures, Simon Says Stamp All Seasons Tree and Simon Says Stamp Real Leaves.

Layers of ink - Explore Art Journal Page Tutorial by Anna-Karin Evaldsson. Color with Prismacolor pencils.

Color the images with colored pencils. I used Prismacolor pencils

Layers of ink - Explore Art Journal Page Tutorial by Anna-Karin Evaldsson. Ink through stencil.

For texture, use Tim Holtz Linen stencil and ink through it with Mermaid Lagoon.

Layers of ink - Explore Art Journal Page Tutorial by Anna-Karin Evaldsson. Stamp sentiments.

Plan where to place each sentiment before you start stamping. 

Layers of ink - Explore Art Journal Page Tutorial by Anna-Karin Evaldsson. Add more ink through Bubbles stencil.

I felt that the page needed more color and used Tim's Bubble stencil together with orange ink.

Layers of ink - Explore Art Journal Page Tutorial by Anna-Karin Evaldsson. Birds.

This little bird stamp is an old favorite of mine.

Layers of ink - Explore Art Journal Page Tutorial by Anna-Karin Evaldsson. Colored mushroom.

I colored the images loosely. 

Layers of ink - Explore Art Journal Page Tutorial by Anna-Karin Evaldsson. Stamped sentiment.

You can use a different theme with the same layout too, just change the images and sentiments. This sentiment is from Tim's Life Quotes.

Layers of ink - Explore Art Journal Page Tutorial by Anna-Karin Evaldsson. Stamp borders between the sentiments.

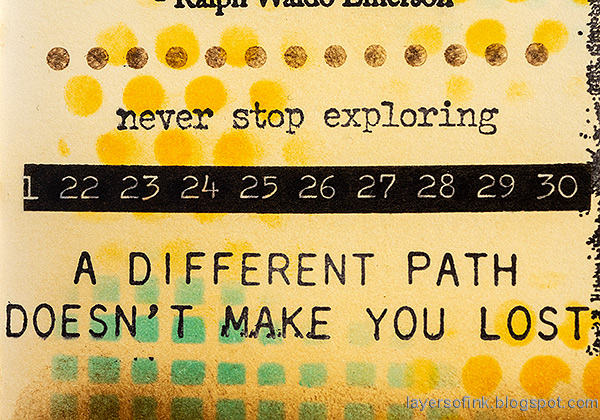
The top sentiment comes from Impression Obsession Pooh Easter Joy and the bottom one is from Stamper's Anonymous Classics #17. I stamped a dotted border from Simon Says Stamp Mix and Match Circles between some of the sentiments. 

Layers of ink - Explore Art Journal Page Tutorial by Anna-Karin Evaldsson. Add design tape.

These two sentiments are from Tim Holtz Odds & Ends and Simon Says Stamp Document It.

Layers of ink - Explore Art Journal Page Tutorial by Anna-Karin Evaldsson.

These sentiments are from Tim Holtz Tiny Text and Nature's Wonder.

Layers of ink - Explore Art Journal Page Tutorial by Anna-Karin Evaldsson. Autumn Tree.

The tree from All Seasons Tree was colored with autumn shades.

Layers of ink - Explore Art Journal Page Tutorial by Anna-Karin Evaldsson. Elephant.

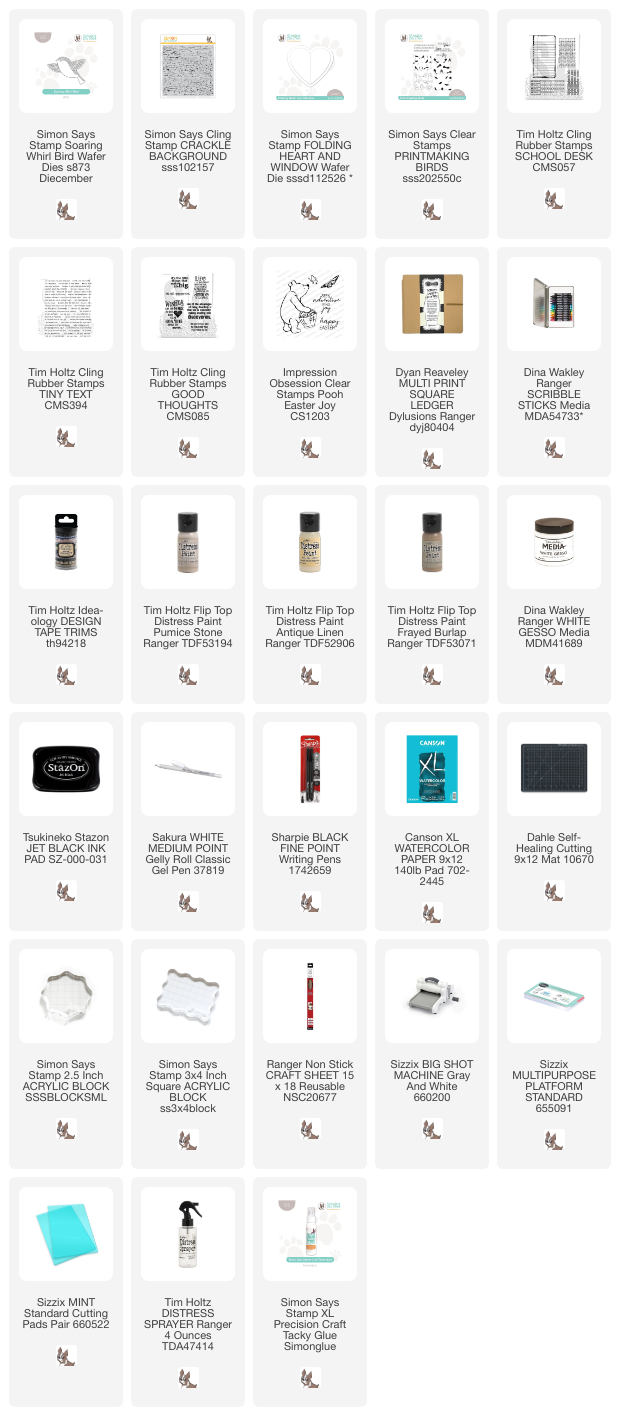
I added some strips of Tim Holtz Design Tape Trims to the page too.

I hope you will join us this week in our Explore challenge. You have a chance to win a $25 gift voucher to do some fun shopping at Simon Says Stamp. You have until Monday 8am Ohio time. 1pm UK time, 2 pm CET to join in.


Do you use Instagram? If so please add #sssmchallenge so we can see your entries there too.


Thank you so much for stopping by here today! 

Happy crafting!

Anna-Karin

Supplies:

* Please note: the links are affiliate links, for which I receive a small percentage of sales generated by the link, at no extra cost to you.