Showing posts with label ATB. Show all posts

Tuesday, February 25, 2020

Vintage Vehicles Box

Hello crafters! Today I have a gift box tutorial with a vintage transportation theme to share with you, including stamping, inking and masking. The box can easily be turned into any theme and you it can also become an art block instead of a box.

The Eileen Hull Inspiration Team is sharing projects made with Eileen's Chapter 1 release this month. Don't miss all the inspiration!

Layers of ink - Vintage Vehicles Box Tutorial by Anna-Karin Evaldsson. DIY gift box.

We have a birthday coming up soon, and I made this box for Leo, so that he can keep some of his tiny vehicles in it. He loves vehicles, so the theme was easy to pick. The box was made with Eileen's Gift Box w/Scallop Edges die, which makes a 3.8 x 3.8 in box. I didn't want the box to have any lose parts that could fall off, so it is all just one layer, except for the extra decorative closure flap.

Layers of ink - Vintage Transportation Box Tutorial by Anna-Karin Evaldsson. Stamp the vintage vehicles.

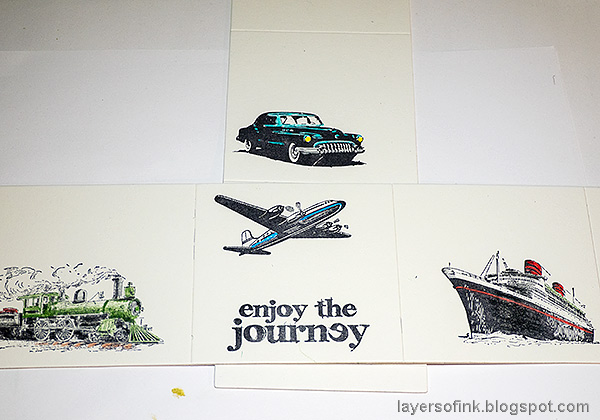
Die cut two box parts from mat board. Mat board is a wonderful surface, very sturdy and it takes inks and paint beautifully. You need to use the Extended Cutting Pads, since this is an XL die, but it fits perfectly in an ordinary Big Shot or Vagabond. Stamp with Tim Holtz transportation stamps. The airplane comes from Warehouse District and the other three from Travel Ways.
Layers of ink - Vintage Transportation Box Tutorial by Anna-Karin Evaldsson. Color with colored pencils.

Color the images with colored pencils. I used Prismacolors.

Layers of ink - Vintage Vehicles Box Tutorial by Anna-Karin Evaldsson. Mask the images.

Stamp them again on Simon Says Stamp masking paper, cut out and place over the images.

Layers of ink - Vintage Vehicles Box Tutorial by Anna-Karin Evaldsson.

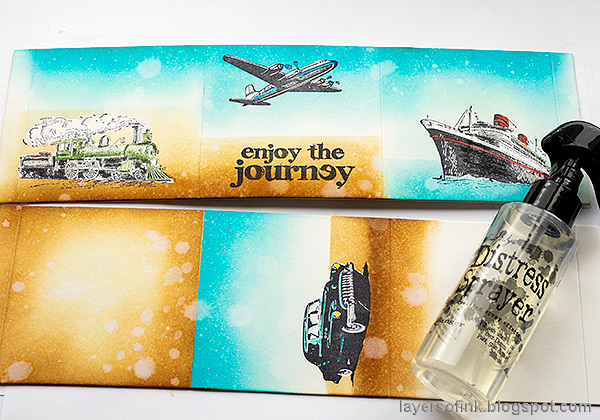
Use another piece of masking paper to mask out the sky and create a horizon line. Ink with Distress Ink and an in-blending tool.

Layers of ink - Vintage Vehicles Box Tutorial by Anna-Karin Evaldsson. Ink with Distress Ink.

Continue masking and inking, until you have created simple landscapes.
Layers of ink - Vintage Vehicles Box Tutorial by Anna-Karin Evaldsson.

Before removing the masking paper, mist with water and water drops. Dab off the water with a paper towel.
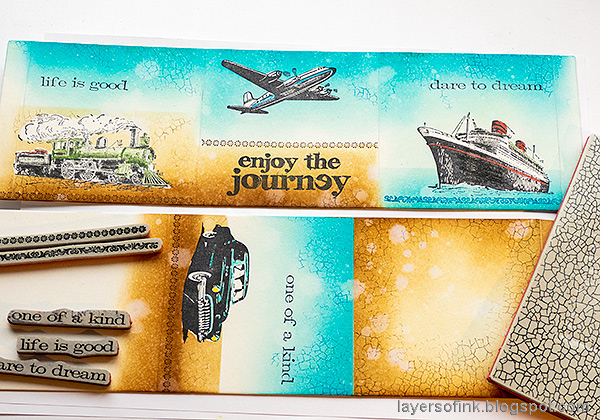
Layers of ink - Vintage Vehicles Box Tutorial by Anna-Karin Evaldsson. Stamp sentiments and textures.

When dry, stamp sentiments, borders and a craze texture on the background. I stamped with Archival Ink Potting Soil and Manganese Blue.

Layers of ink - Vintage Vehicles Box Tutorial by Anna-Karin Evaldsson. Vintage airplane.

Assemble the box with a strong adhesive. One of the reasons for why I stamped the Ornate Trim borders, was that I placed the masking paper a bit skewed on this side. The border stamp hides the mistake.

Layers of ink - Vintage Vehicles Box Tutorial by Anna-Karin Evaldsson.

Sand the edges to reveal the white of the mat board.
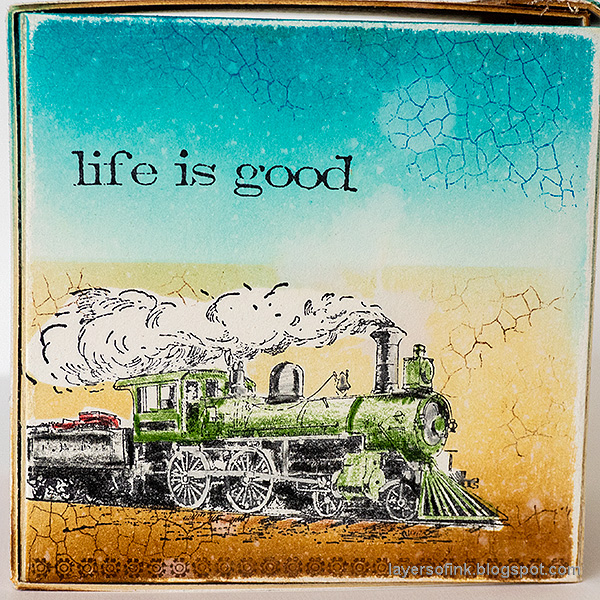
Layers of ink - Vintage Vehicles Box Tutorial by Anna-Karin Evaldsson. Vintage train.

I added some more color to the train after taking the photos, since I discovered that there were white areas while taking the photos.
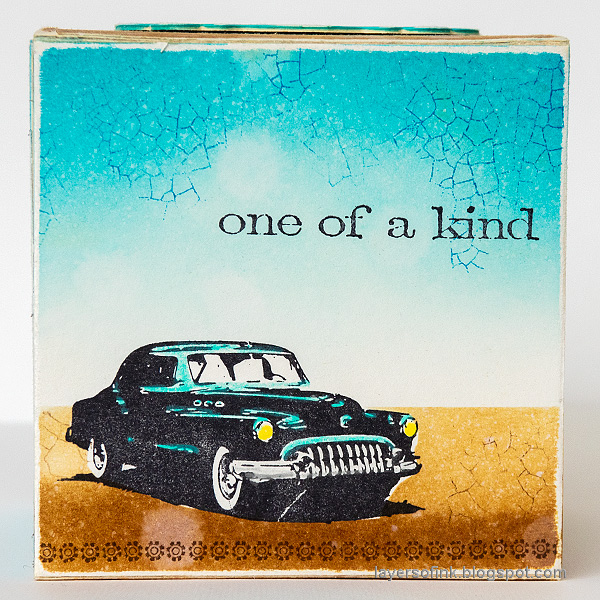
Layers of ink - Vintage Vehicles Box Tutorial by Anna-Karin Evaldsson. Vintage car stamp.

Just the little bit of color adds personality to the car. Even though this stamp is pretty solid, you now get the impression that it is a turquoise car and not a black car.

Layers of ink - Vintage Vehicles Box Tutorial by Anna-Karin Evaldsson. Vintage ship.

I always liked this ship stamp and have used it quite a few times before. 
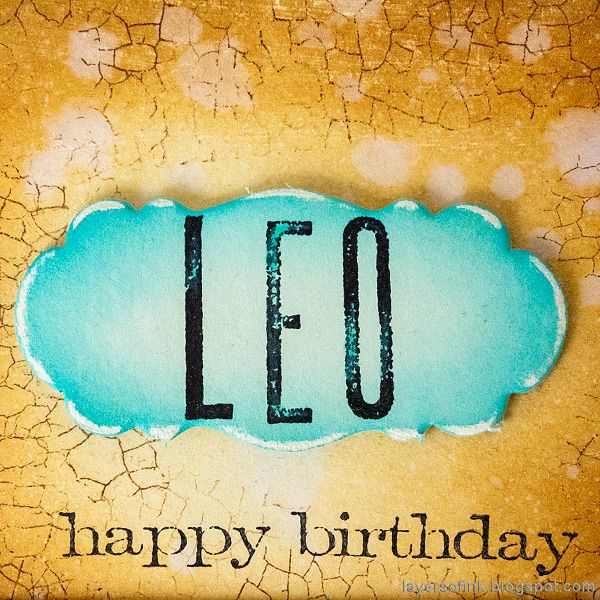
Layers of ink - Vintage Vehicles Box Tutorial by Anna-Karin Evaldsson.

For the top of the box, I used the label that is a part of the die. It was stamped, inked and sanded. The alphabet stamps are from Tim's Tall Text set.

For more inspiration with the Gift Box w/Scallop Edges die, check out my Forest Photo Block.


Thank you so much for taking the time to visit my blog today!  

Happy crafting!

Anna-Karin

Supplies:

* Please note: the links are affiliate links, for which I receive a small percentage of sales generated by the link, at no extra cost to you.
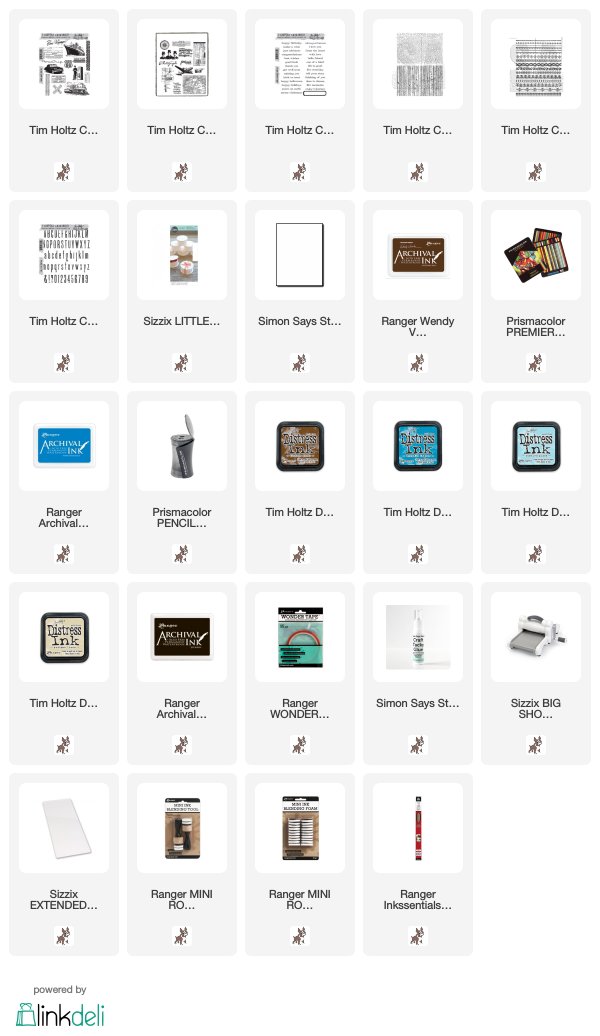


Additional supplies:

Eileen Hull Sizzix Gift Box w/Scallop Edges XL die.


Wednesday, January 22, 2020

Photo Block Tutorial

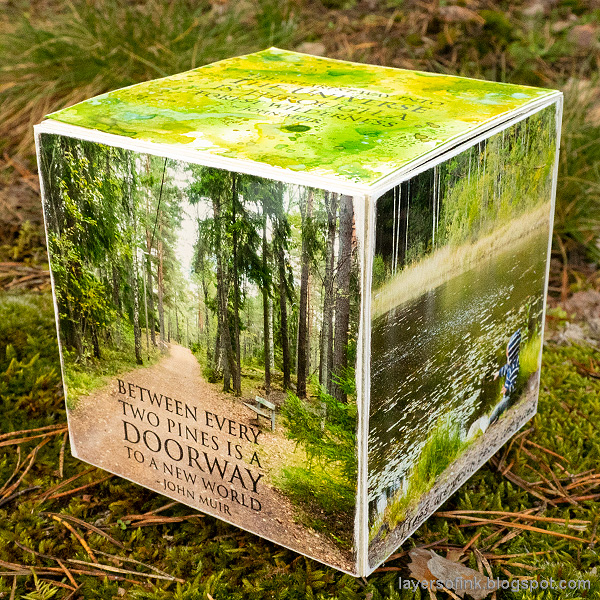
Hello friends! I have a quick photo block tutorial to share with you today. It was fun doing a project focusing on photos, and since it is forest photos with many shades of green, it is a real feel-good project.

Layers of ink - Photo Block Tutorial by Anna-Karin Evaldsson.

I love forests, the trees, the colors, the sounds, the smells, the peace and quiet and the way in which they are so full of life. Forests and especially forests with lakes are probably my favorite setting in nature and luckily there are many forests close by (which is the case for a large part of Sweden). During January the Eileen Hull Inspiration Team has shared projects made with Eileen's newly released dies. I used Eileen's new Gift Box with Scallop Edges XL die to create this. It is meant to be a gift box, which can open, but I turned it into a closed block instead. It's pretty large, with each square being 3.8 x 3.8 in. You can do a photo block with any types of photos and it would also make a great gift.

Layers of ink - Photo Block Tutorial by Anna-Karin Evaldsson.

Start by die cutting two box parts from mat board. This is an XL die, so you need the Extended Cutting Pads. As you can see, the die both cuts and scores the mat board. I ended up not using the label.

Layers of ink - Photo Block Tutorial by Anna-Karin Evaldsson.

Cut four photos into 3.8 x 3.8.

Layers of ink - Photo Block Tutorial by Anna-Karin Evaldsson.

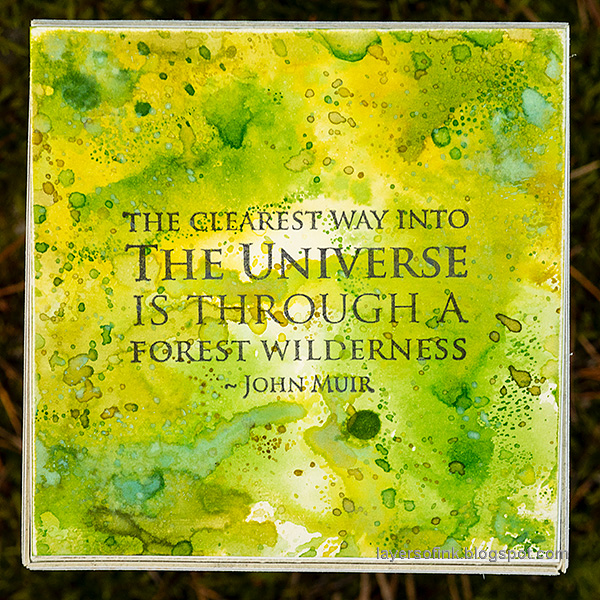
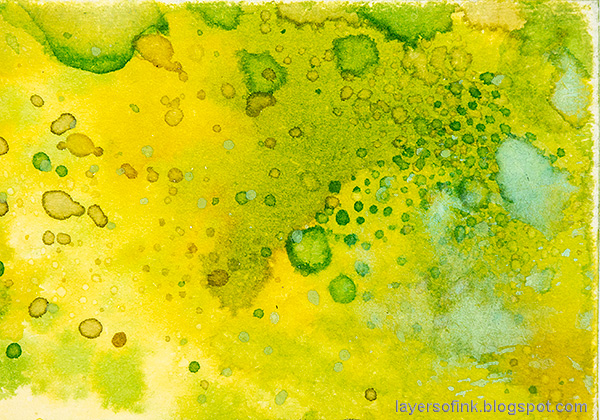
I wanted the top piece with the stamped sentiment to have a forest feeling, trying to capture the beautiful shades of green. This was done by smearing Distress Ink on a craft sheet, misting with water and repeatedly pressing the paper into the ink. Dry the paper in between each application. Finally, I splattered some ink on it with a paint brush to create even more texture. I only used the Distress Oxide towards the end of the inking process.

Layers of ink - Photo Block Tutorial by Anna-Karin Evaldsson.

Stamp sentiments on some of the photos too, using Stazon ink. The sentiment stamps are by Stampscapes. I used a stamp positioner, to make sure I didn't mess up the stamping.

Layers of ink - Photo Block Tutorial by Anna-Karin Evaldsson.

Sand the edges of the photos to reveal the white core and adhere wonder tape along the flaps. 

 Layers of ink - Photo Block Tutorial by Anna-Karin Evaldsson.

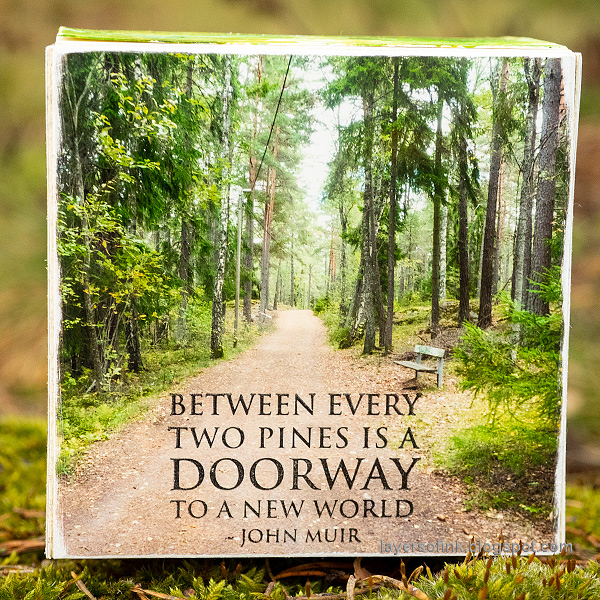
This is one of my favorite quotes, and such a great description of forests.

Layers of ink - Photo Block Tutorial by Anna-Karin Evaldsson.

And another quote by John Muir, who shared my love of forests. This is also a Stampscapes Scenic Sentiment stamp.

Layers of ink - Photo Block Tutorial by Anna-Karin Evaldsson.

The inky goodness at the top of the block.

Layers of ink - Photo Block Tutorial by Anna-Karin Evaldsson.

Beautiful moss-covered ground and roots.

Layers of ink - Photo Block Tutorial by Anna-Karin Evaldsson.

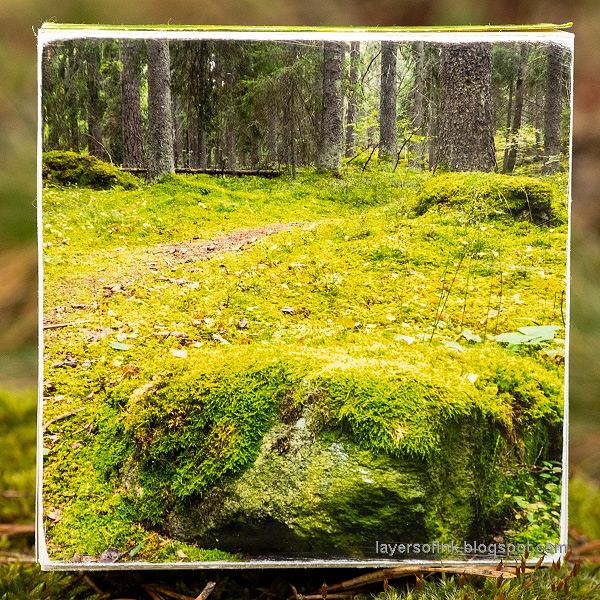
I take a lot of photos of mossy stones, so one had to feature on the block.

Layers of ink - Photo Block Tutorial by Anna-Karin Evaldsson.

And here is a very small Leo pointing at something across the water.

Layers of ink - Photo Block Tutorial by Anna-Karin Evaldsson.

If you want to display some of your favorite photos, or need a quick gift, this is a great project. You can also leave the top without adhesive so that it can be opened and use it as a combined photo block and gift box. This was a fun project to make and it reminded me of all the Artist Trading Blocks that I used to make around five years ago.

Thank you so much for taking the time to visit my blog today!  

Happy crafting!

Anna-Karin

Supplies:

* Please note: the links are affiliate links, for which I receive a small percentage of sales generated by the link, at no extra cost to you.


Sizzix Eileen Hull: Gift Box with Scallop Edges XL die
Stampscapes: Scenic Sentiments 1, Scenic Sentiments 3


Monday, June 22, 2015

Misted Marine Block

Hi friends! It is of course Monday again, and this week we have a 'Stamp and Mist' challenge at Simon Says Stamp Monday Challenge. Fun! 

Normally, when I use mists, I go for bright colours, but this week I wanted to use pale shades of mists instead. The soft colours worked real well on this Artist Trading Block. I was happy to see that Simon Says Stamp now carries Eileen Hull's Sizzix 3-D Block, Cube, Bank die, since this is such a fun format to work in. Tim Holtz Mariner Blueprint stamps are the perfect size for this ATB. I enjoy making summer projects at this time of the year. This is a little tutorial.

Die cut two strips for the block. I used mat board, but you can also use chipboard and paint it white. It is an XL die, so you need the Extended Cutting Pads to run it through your Big Shot or Vagabond. Scoreboards dies both cuts and scores the material. You can clearly see the score lines on this photo.

Cut five squares of watercolour paper and white emboss the four blueprint stamps as well as a sentiment. They don't all fit completely, but don't worry about that. 

Mist with Tattered Rose, Antique Linen and Tumbled Glass. The embossing resists the ink.

When the misted ink is dry, you can add more colour, which works particularly well because of the pale mist colours. Smear Iced Spruce on your craft sheet, mist with water and pick up with a paint brush. Also give the shapes shadows.

Finally, I just had to add some Black Soot splatters. Again smear on craft sheet, mist and pick up with a paint brush. Tap the brush to create splatters.

Use a strong adhesive to assemble the block. I used Wonder Tape, placed along the flaps of the die cut. The panels were glued with matte multi medium, and on purpose I didn't place it all the way to the edge, to add to the distressed look. 

The mix of mists look nice together and I particularly like the bits of white. 

The block was tied with twine to add to the nautical look and I used Small Talk stickers for sentiments, 

I distressed the edges of the panels,which is a favourite thing of mine to do with watercolour paper.

I love using the Small Talk stickers, and keep reaching for them when I want to add a few meaningful words to a project.

The sentiment is placed on top and I also added some shells. The splatters almost looks like a flock of bird here.

The blocks work great as gifts, and are fun to try out different techniques on. All of mine are placed together on a shelf.

Join us this week in our 'stamp and mist' challenge and it might be you who wins a $50 gift voucher and can do some summer shopping at Simon Says Stamp.

Thank you for stopping by!

Happy crafting!

Anna-Karin

Supplies: