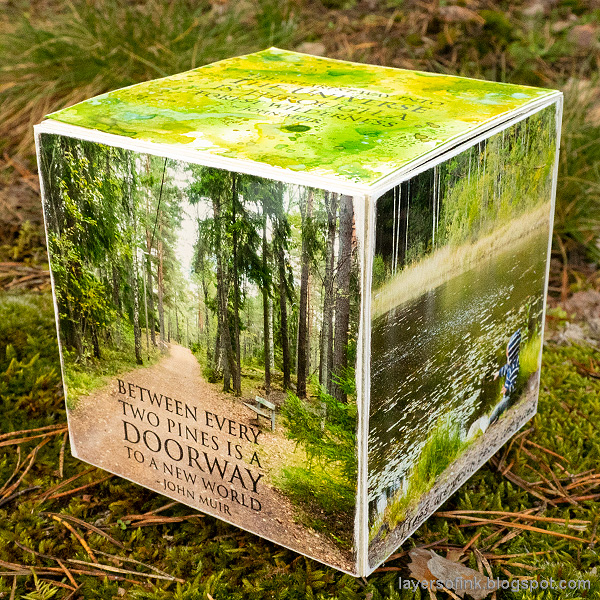
I love forests, the trees, the colors, the sounds, the smells, the peace and quiet and the way in which they are so full of life. Forests and especially forests with lakes are probably my favorite setting in nature and luckily there are many forests close by (which is the case for a large part of Sweden). During January the Eileen Hull Inspiration Team has shared projects made with Eileen's newly released dies. I used Eileen's new Gift Box with Scallop Edges XL die to create this. It is meant to be a gift box, which can open, but I turned it into a closed block instead. It's pretty large, with each square being 3.8 x 3.8 in. You can do a photo block with any types of photos and it would also make a great gift.

Start by die cutting two box parts from mat board. This is an XL die, so you need the Extended Cutting Pads. As you can see, the die both cuts and scores the mat board. I ended up not using the label.

Cut four photos into 3.8 x 3.8.

I wanted the top piece with the stamped sentiment to have a forest feeling, trying to capture the beautiful shades of green. This was done by smearing Distress Ink on a craft sheet, misting with water and repeatedly pressing the paper into the ink. Dry the paper in between each application. Finally, I splattered some ink on it with a paint brush to create even more texture. I only used the Distress Oxide towards the end of the inking process.

Stamp sentiments on some of the photos too, using Stazon ink. The sentiment stamps are by Stampscapes. I used a stamp positioner, to make sure I didn't mess up the stamping.

Sand the edges of the photos to reveal the white core and adhere wonder tape along the flaps.
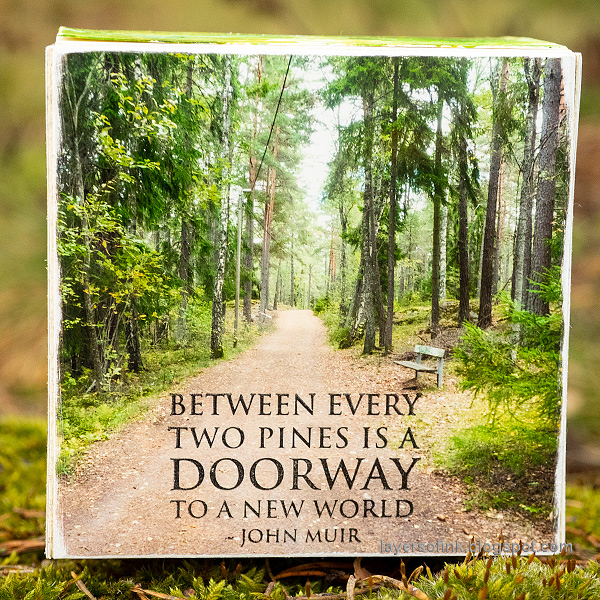
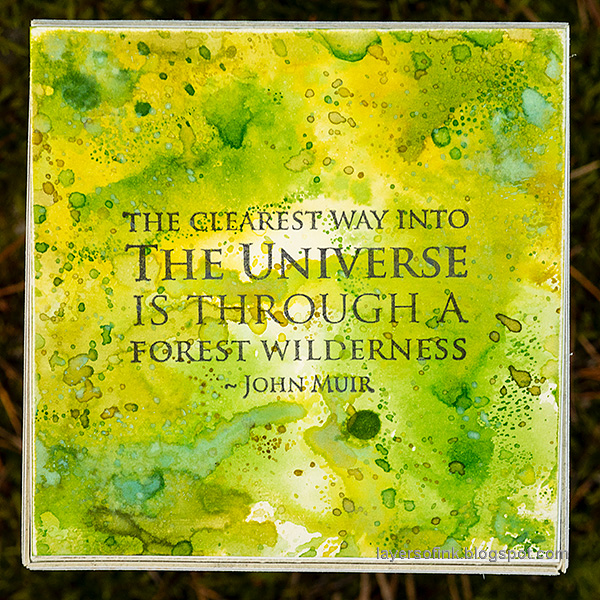
And another quote by John Muir, who shared my love of forests. This is also a Stampscapes Scenic Sentiment stamp.
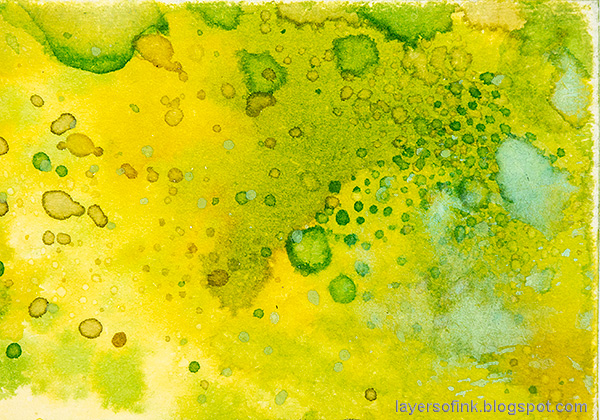
The inky goodness at the top of the block.

Beautiful moss-covered ground and roots.
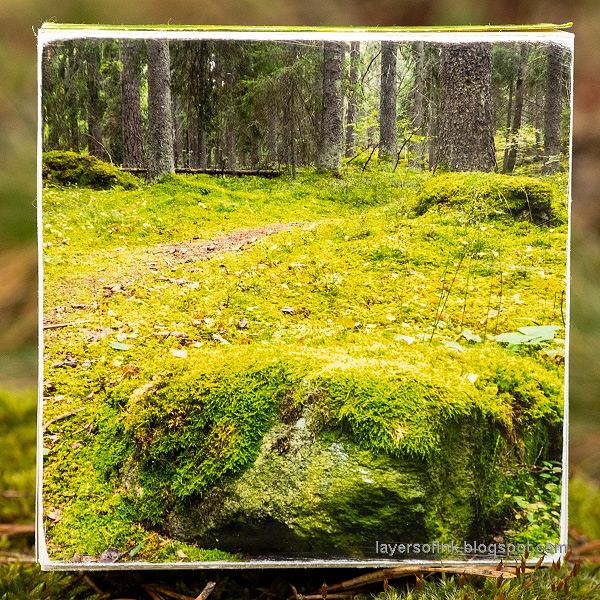
I take a lot of photos of mossy stones, so one had to feature on the block.

And here is a very small Leo pointing at something across the water.

If you want to display some of your favorite photos, or need a quick gift, this is a great project. You can also leave the top without adhesive so that it can be opened and use it as a combined photo block and gift box. This was a fun project to make and it reminded me of all the Artist Trading Blocks that I used to make around five years ago.
Thank you so much for taking the time to visit my blog today!
Happy crafting!
Anna-Karin
Supplies:
* Please note: the links are affiliate links, for which I receive a small percentage of sales generated by the link, at no extra cost to you.
* Please note: the links are affiliate links, for which I receive a small percentage of sales generated by the link, at no extra cost to you.
Sizzix Eileen Hull: Gift Box with Scallop Edges XL die
Stampscapes: Scenic Sentiments 1, Scenic Sentiments 3

How beautiful! I always love your projects!
ReplyDeleteI just love this Anna-Karin! the colors are so lush both in your beautiful photos and the top inked piece - your sentiments match perfectly with your forest scenes - and Leo is just SO cute sitting on the edge of the lake in the vast forest!! a wonderful project and gift for your friend - using Eileen's lovely new Gift Box die! xx
ReplyDeleteI love this so much and your pictures are wonderful! I will definitely be making some of my own!
ReplyDelete