
Hello friends! I have a quick tutorial for you today, made with Simon Says Stamp stamps and dies.

Winter cards aren't only for Christmas, but can be sent for any occasion during winter. I made two cards using the new Simon Says Stamp Snowflake Builder stamp set, and to show you how easy you can get a different look by just changing the colors.
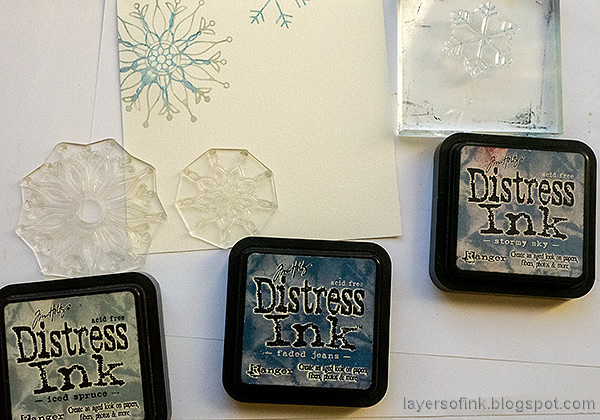
The stamps are designed so that you can build up a snowflake using two or more stamps. You can stamp all the parts in one color, or use different colors. I picked four shades of blue and grey ink. Ink a snowflake and then mist two or three times with water. Stamp on watercolor paper. Repeat with a different snowflake shape.

Here you can see the smaller snowflake, which was first stamped with Faded Jeans and then with Hickory Smoke.
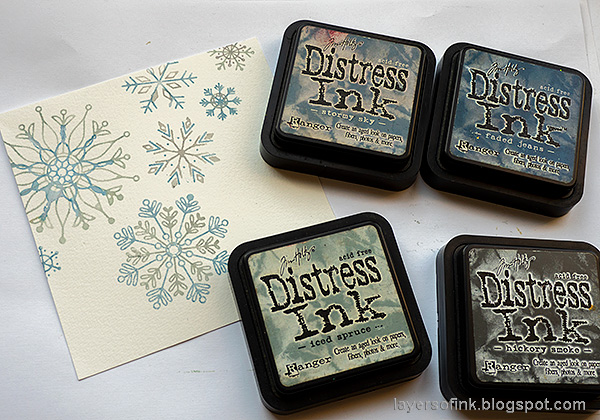
Continue adding snowflakes. Aren't they pretty? There are so many designs that you can create with the snowflake stamps on the set.

Here's the finished blue-grey card.
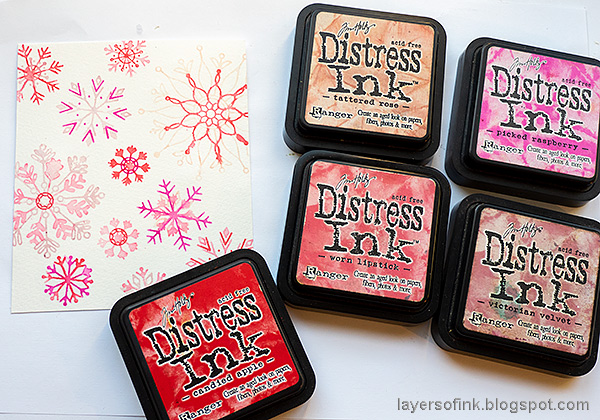
For the pink card, I used these shades of pink and red Distress Inks.

Here you can see what the Snowflake Builder stamp set looks like. Some of the designs are meant to go together and have a dotted line around them. But you can also mix and match them just as you'd like. I misted the background slightly with water to increase the watercolor look.

Splatter with Distress Ink (smear on a craft sheet and mist with water first).

The blue and grey card uses mainly cool shades, except for the brown splatters. The stamping was done with a dark brown ink too. I also die cut some flakes using the Mini Snowflake Mandala and the Stitched Flakes set, from white paper. You can skip that step if you want to.

With watercolor stamping, you don't have to worry about precise placement of the stamps, since we are aiming for a fluid look.

The snowflakes would also look great embossed.

I like the sentiments that come on the Snowflake Builder set. The panel was layered on SSS gray cardstock and then on folded blue cardstock, distressing the edges first.

The pink card uses exactly the same stamps and technique, but has a different look because of the color combo. I like pink and red together when it comes to snowflakes. This Snowflake Wall-Hanging is an example of that.

It was layered on SSS grey cardstock and then on lighter pink, finishing with folded cardstock in a darker shade of pink.

Even the lightest shades, such as the Tattered Rose snowflake in the background here, look nice.
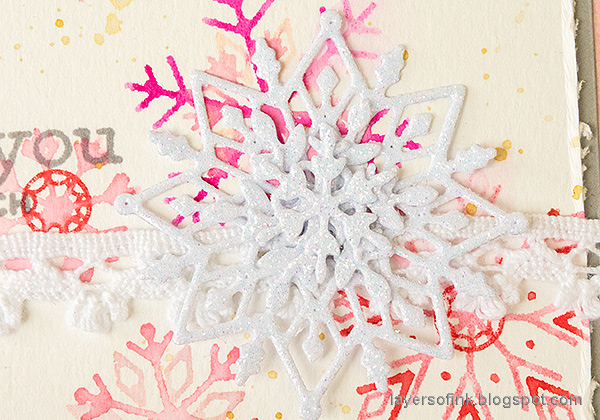
The snowflakes were die cut from glittery white paper and layered together.
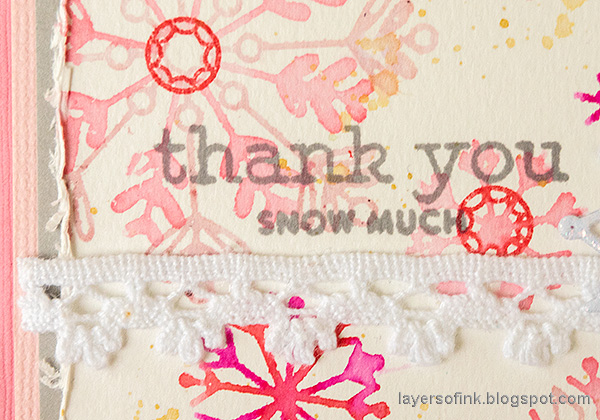
The sentiment was stamped with grey ink, to give the card a softer look. I also used a piece of lace that I found on my desk.

Thank you so much for taking the time to visit my blog today!
Happy crafting!
Anna-Karin
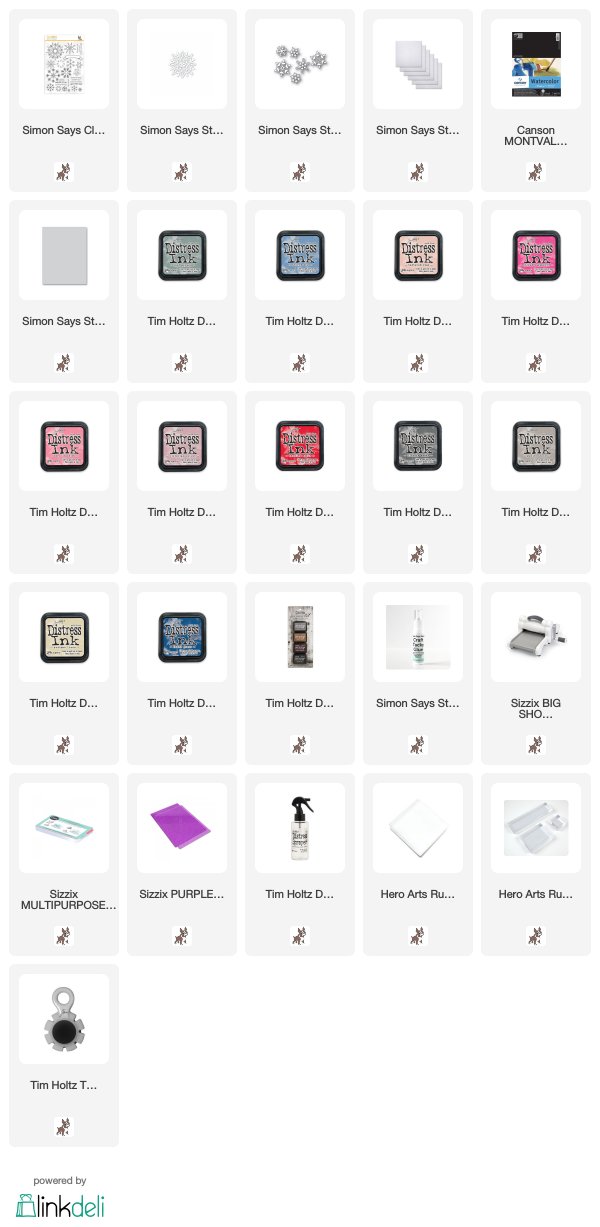
Supplies:
* Please note: the links are affiliate links, for which I receive a small percentage of sales generated by the link, at no extra cost to you.
* Please note: the links are affiliate links, for which I receive a small percentage of sales generated by the link, at no extra cost to you.
These are so beautiful Anna-Karin. Love the layering of the snowflakes ❄️ thnx for sharing.
ReplyDeleteLovely!
ReplyDelete