Saturday, August 29, 2020

Double Embossing Video Tutorial

Hello stampers! Today I have a fun tutorial for you, for a double embossed textured background. It is both a stepped tutorial and a video tutorial.

Layers of ink - Double Embossing Video Tutorial by Anna-Karin Evaldsson.


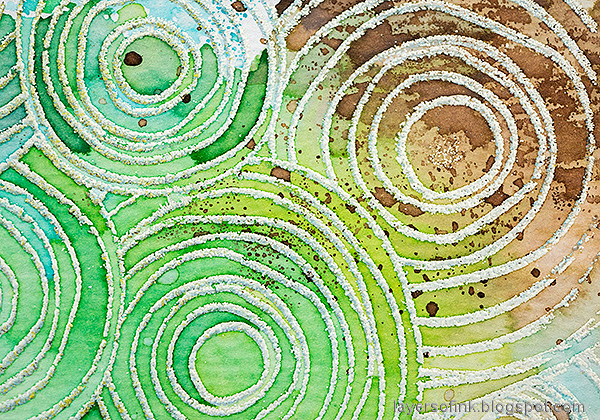
I made a card with this fun double embossed background. The background almost has a 3-D effect, and lots of texture. It is an unpredictable technique and you never know exactly what you will get, which is fun, since you might get a surprise. I used Simon Says Stamp stamps and dies in combination with Ranger embossing powders and Distress Ink. Since I didn't mean for this to be a tutorial as I was only testing something, I didn't take step photos from the start, which is why I decided to do a video instead. Let's start with the video.


Click here to watch it in HD.

Layers of ink - Double Embossing Video Tutorial by Anna-Karin Evaldsson.

For the background, I used the Simon Says Stamp Doodle Circles Background stamp. The powders are: Blueberry Speckle, Lime Mixed Media and SSS White. As you could see in the video, I lined up the stamps too perfectly for that background, so although it is still very cool, I did like my first background a little better. I didn't have time to redo the video and thought it wasn't necessary. In my first background, the white embossing is not lined up as well with the colored embossing, so you get more of a shadow effect. 

Layers of ink - Double Embossing Video Tutorial by Anna-Karin Evaldsson.

I also splattered some white gloss spray on the background.

Layers of ink - Double Embossing Video Tutorial by Anna-Karin Evaldsson. Die cut Simon Says Stamp Large Outline Happy die.

The SSS Large Outline Happy die comes from the Let's Connect release and was die cut from one of Tim Holtz Journal Cards and from watercolor paper that had been colored with brown shades of Distress Ink.

Layers of ink - Double Embossing Video Tutorial by Anna-Karin Evaldsson. Moon Dust Stickles.

I decided that I wanted some glitter and smeared Moon Dust Stickles over the letters.

Layers of ink - Double Embossing Video Tutorial by Anna-Karin Evaldsson. Simon Says Stamp Poppy Stem.

Die cut the Poppy Stem from old book paper. If the old book paper is too thin (mine was), glue it to a piece of cardstock before die cutting.

Layers of ink - Double Embossing Video Tutorial by Anna-Karin Evaldsson.

Ink them slightly with a Detail Blending Tool.

Layers of ink - Double Embossing Video Tutorial by Anna-Karin Evaldsson.

I also added a pearl to the center of the flowers.

Layers of ink - Double Embossing Video Tutorial by Anna-Karin Evaldsson.

Here are some close-ups of the texture and double embossing.

Layers of ink - Double Embossing Video Tutorial by Anna-Karin Evaldsson.

The white and colored embossing powder looks nice together with the shades of Distress Ink.

Layers of ink - Double Embossing Video Tutorial by Anna-Karin Evaldsson.

Another look at the circles.

Layers of ink - Double Embossing Video Tutorial by Anna-Karin Evaldsson.

I stapled two pieces of twine to the base of the card.

Layers of ink - Double Embossing Video Tutorial by Anna-Karin Evaldsson.

This is the sheet that I made in the video. I only added one layer of inking to this one, so that you can see the difference. It gives a cleaner and less distressed look.

Layers of ink - Double Embossing Video Tutorial by Anna-Karin Evaldsson.

Both of them together. I like both, but the one to the left has a more subtle overlapping effect.

Layers of ink - Double Embossing Video Tutorial by Anna-Karin Evaldsson.

Since the lines were stamped so close together, the white powder melted together with the green and the blue powder, which also created a nice effect.

Layers of ink - Double Embossing Video Tutorial by Anna-Karin Evaldsson.

Here the circles line up almost completely. I have no idea how I managed to do that without a stamp positioner. I didn't even try to line them up!

Layers of ink - Double Embossing Video Tutorial by Anna-Karin Evaldsson.

The Stickles gives a great look to the die cut letters. The small sentiment was stamped with Thoughtful Flowers. For more inspiration using the Large Outline Happy die, check out my Happy Textured Background (also with a video) and Happy Art Journal page.


Thank you so much for taking the time to visit my blog today! I will be back on Monday with a project using background you saw in the video.

Happy crafting!

Anna-Karin

Supplies:

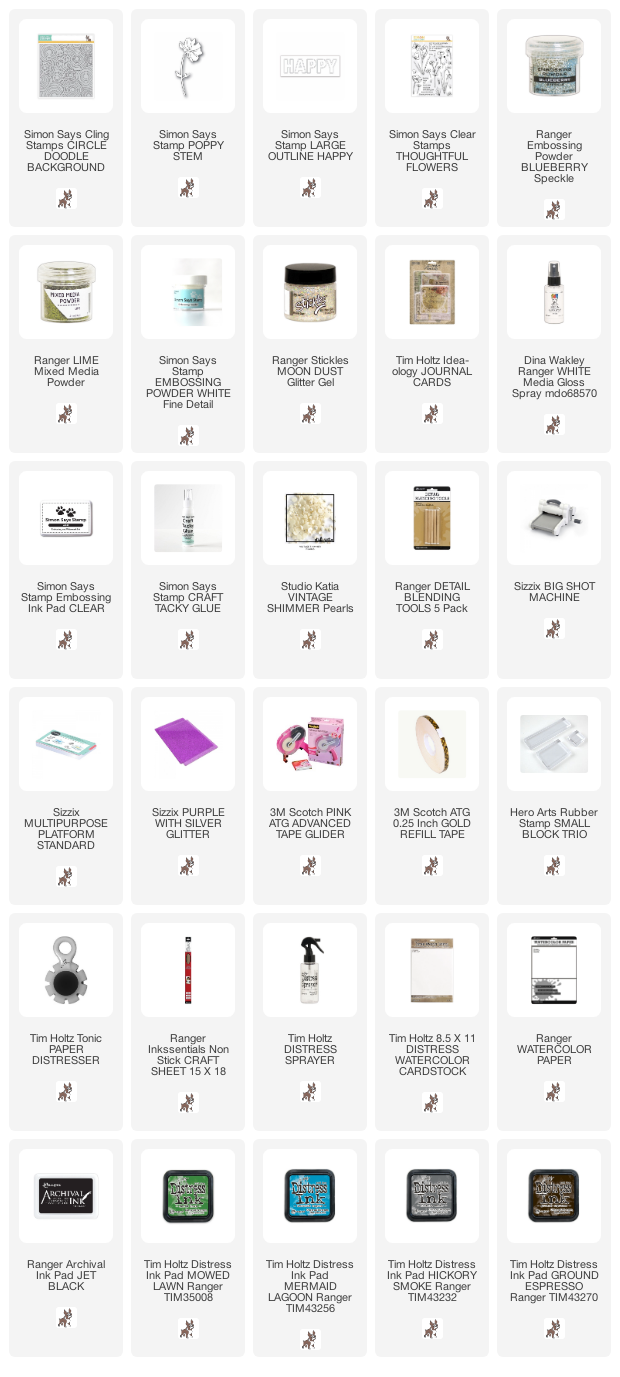
* Please note: the links are affiliate links, for which I receive a small percentage of sales generated by the link, at no extra cost to you.

3 comments:

  1. Wow! Amazing looking project, love the look of the double embossing and those gorgeous colours, Cathy x

    ReplyDelete
  2. Wow, thank you! It is a gorgeous card like other your works😍

    ReplyDelete
  3. Anna-Karin this is a fabulous effect! Beautiful backgrounds that you have created.

    ReplyDelete

Thank you so much for leaving a comment! Happy Crafting!