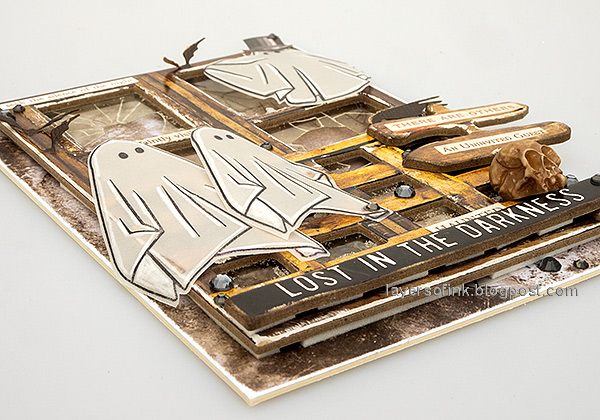
Hi crafters! Today I have a fun Halloween project to share, with vellum ghosts and fun details.
Please note: this post has affiliate links, for which I receive a small percentage of sales generated by the link, at no extra cost to you.
Stamp three ghosts on Simon Says Stamp vellum using Tim's Spooky Spirits set. I cut them out with scissors, but there are also coordinating dies by Simon Says Stamp.
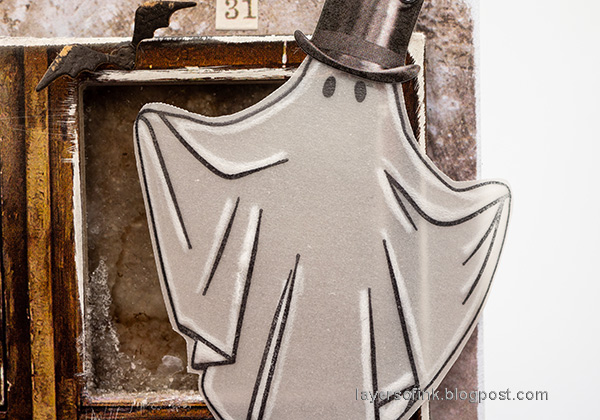
One of them got a hat from the Halloween sticker book. Turn the ghosts around, working on a Simon Says Stamp Pawsitively Perfect Craft Pad. Use a ball tool to emboss lines along all the stamped lines and in the shadow areas of the ghosts. Embossing vellum, turns it white.
Color an idea-ology Halloween Transparency with alcohol inks to make it more distressed.
Sand the edges of a Halloween Baseboards window and a quote strip.
The back piece is made from Sizzix Little Sizzles Mat Board. I adhered a Tim Holtz Halloween Backdrops paper on top. Glue the transparent piece to the back of the window and adhere with Pawsitively Perfect Foam Tape. Add Simon Tacky Glue along some of the edges of the window and sprinkle Clear Rock Candy glitter on top.
The bats were die cut with Tim's Vault Wicked set, from black kraft-stock cardstock. Sand slightly.
I am very fond of vellum and its translucent qualities, perfect for ghosts.
The crow also comes from the Vault Wicked die set. I sanded the edges of a sign post from Halloween Baseboards and added Clippings Stickers to it.
I stamped a fourth vellum ghost and tucked it behind one of the windows, so that only the eyes show. The jewels are Simon Says Stamp Pawsitively Dazzling Gunmetal Gems.
The glitter in the corners adds a frosted look, or it might be something slimy.
The adhesive is hidden under the hat.
I also added a Halloween Mini Skull and a bunch of additional gems.
I hope you enjoyed this project! You can also make it with the mixed-media ghosts I made for the Boo Ghost Panel Tutorial on the Simon Says Stamp store blog.


No comments:
Post a Comment
Thank you so much for leaving a comment! Happy Crafting!