Hello crafters! I have one more Halloween project to share, the front door of a spooky apothecary practice.
Please note: this post has affiliate links, for which I receive a small percentage of sales generated by the link, at no extra cost to you.
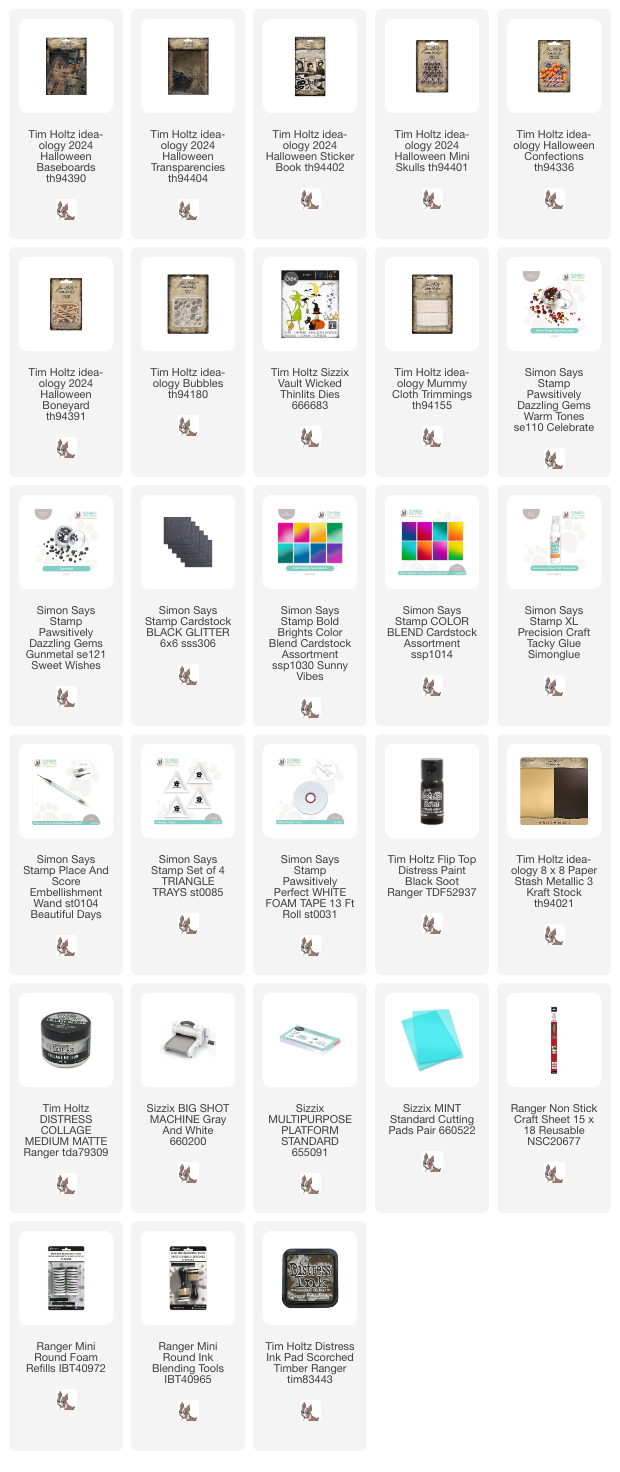
Here you can see the individual pieces. The shelf was made by gluing to wood planks from the Baseboard set together. Sand all the edges.
Glue a Halloween Transparency to the arch. I used one of the spider web transparencies.
Glue the door on top and glue the shelf under the door. Splatter black paint on the background. The skulls and bones were also distressed with black paint.
Using the Sizzix Vault Wicked set, the bottles were die cut from leftover papers, Simon Says Stamp Color-Blend cardstock (which is glossy), Black Glitter Cardstock and gold metallic cardstock.
Glue sentiments from the Halloween Sticker Book to the sign post. I really enjoying picking clipping sentiments, creating a story.
Two bottles were placed on the title and adhered with Simon Says Stamp Pawsitively Perfect Foam Tape.
I glued a transparent bat to the door too. Fold up the wings.
Glue mummy cloth to the shelf, as a table cloth. Add Bubbles, skulls, Simon Says Stamp Pawsitively Dazzling Gems, bones and bottles to the shelf. I used two layers of foam tape for the bottles.
I added clippings number stickers to some of the bottles and wrote numbers on the rest.
Here you can see the shelf from above with all the little details.
Shelves are easy to build and give space for many different types of dimensional items.
Stack three skulls on top of each other, with a bone under one of them. I also added idea-ology candy corn.
The project has quite a lot of dimension.
I hope you enjoyed this tutorial! See you soon again!


No comments:
Post a Comment
Thank you so much for leaving a comment! Happy Crafting!