Hi friends! I hope you are well and had a good Easter. We have had rainy and stormy weather almost the entire Easter, but apart from that, it has been good.
Please note: this post has affiliate links, for which I receive a small percentage of sales generated by the link, at no extra cost to you.
This week we have a Not A Card theme at the Simon Says Stamp Monday Challenge Blog. I hope you will join us! Since it is the first Monday of a new month, the team is showcasing products by a specific company / designer and this week it is Tim Holtz. You can find Tim's large range of products here.
We also have a new guest designer. During April Thom Santilla will be joining us. Don't miss checking out his fantastic project on his Instagram account.
I made a mini book this week, using file folders as my base, die cut from bright papers and stamped with sentiments, images and texture stamps. There are photos in the pocket. I used
Tim Holtz Vault Noteworthy to die cut the folders and a whole lot of Tim's stamps from the stamping.
Color the inside with Distress Watercolor Pencils.
Stamp with various Tim Holtz sentiment stamps.
Add smaller sentiments on the back of each folder.
Stamp with butterflies and flowers. Mist the stamp with water after inking. I stamped with Distress Ink.
Pierce three holes and thread with embroidery floss.
Stitch the sides with a sewing machine.
Tie all the threads together at the spine and string glass beads to make the spine prettier.
You can also make a separate cover, but I wanted one of the file folders to be the front of the mini book.
I used some of my favorite sentiments in this book, such as from
Nature's Wonder and
Creative Muse.
Using a mix of colors and bright, inky background makes for a cheerful look.
I used a mix of childhood photos to fill the pockets.
More butterflies and a dragonfly.
Look for sentiments and words that will fit right only the folders, such as 'photographs'.
The butterfly was stamped with Wilted Violet Distress Ink.
The back of the little book, stamped with flowers from
Tim's Winter Watercolor 2.

Join us this week in our Not a Card challenge! You have a chance to win a $25 gift voucher to do some fun shopping at Simon Says Stamp. You have until Monday 8am Ohio time. 1pm UK time, 2 pm CET to join in.
Do you use Instagram? If so please add #sssmchallenge so we can see your entries there too.
Thank you so much for visiting today!
Happy crafting!
Anna-Karin
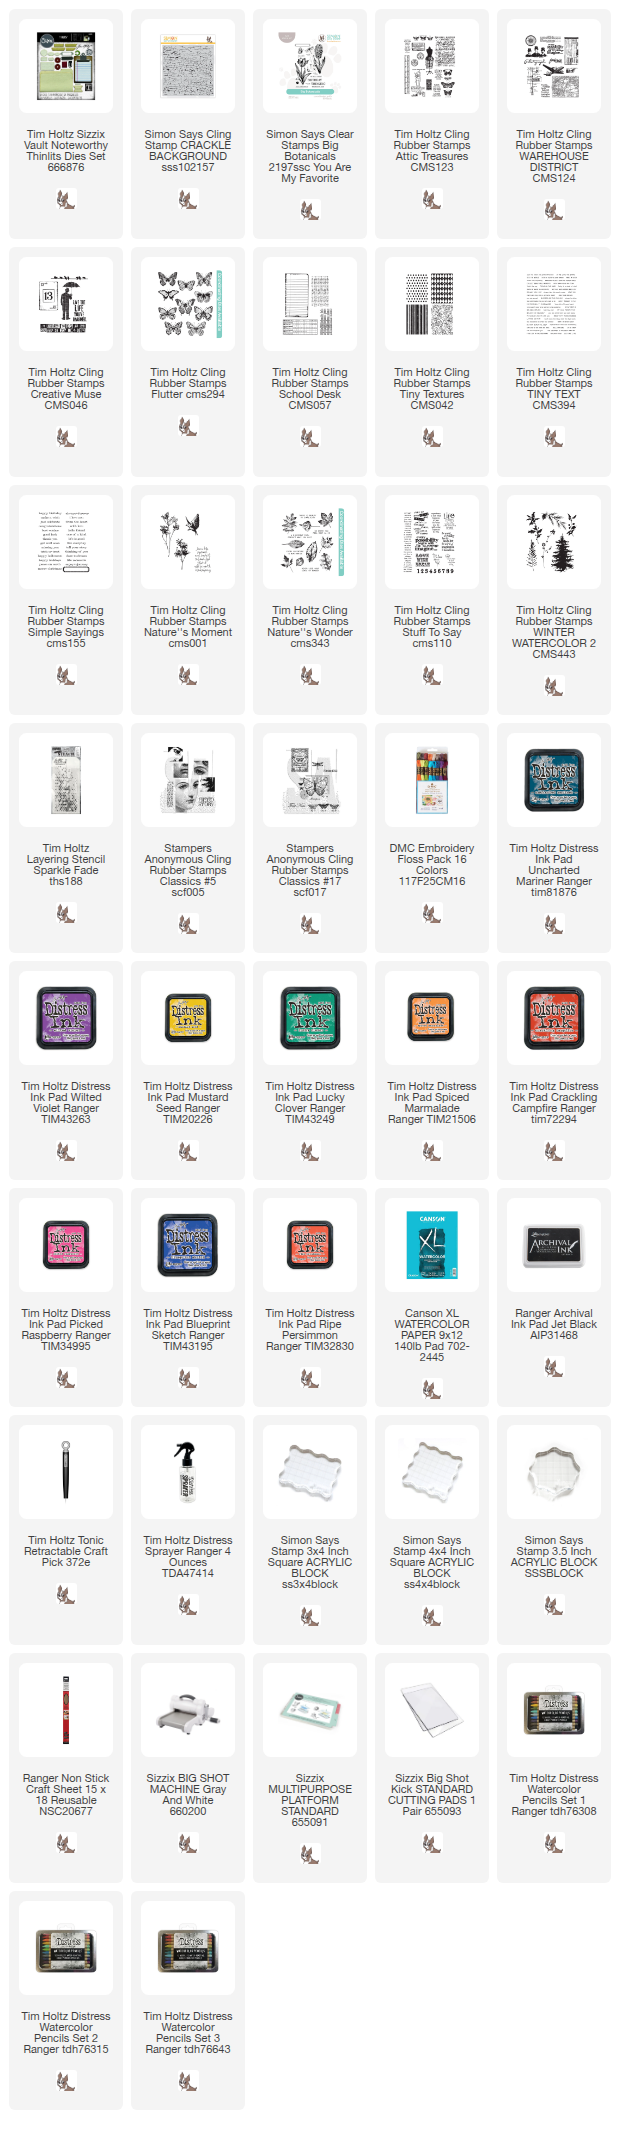
Supplies:
* Please note: the links are affiliate links, for which I receive a small percentage of sales generated by the link, at no extra cost to you.


%20(1).jpg)


Beautiful colors and images!
ReplyDelete