
Hi friends! Today I have a card to share with a technique using colored pencils on patterned paper.
Please note: this post has affiliate links, for which I receive a small percentage of sales generated by the link, at no extra cost to you.


Start by stamping one of the the Floral Trims stamps on Tim's Backdrops Vol. 5 paper. Stamp the flower which has an additional die an extra time.

Color with colored pencils. I used Prismacolors. Use the white pencil to bland the colors.

Die cut with the coordinating Simon Says Stamp Floral Trims dies. Add details and highlights with a white gel pen and a black pen.

Use Tim Holtz Shaping Tool Kit and a Simon Says Stamp Pawsitively Perfect Craft Pad to add shape to the flowers and leaves.

Place Simon Says Stamp Pawsitively Perfect Foam tape strategically under the flowers. Die cut the design one more time from black paper to use as a shadow. I also added two layers of foam tape under the lose flower.

Ink a piece of heavstock cardstock with Antique Linen and Frayed Burlap. Then ink through Tim's Deco Leaf stencil with Frayed Burlap and a little Scorched Timber.

The black shadow die cut needs to be off-set a little. It might be hard to see, but the two layers of foam tape under the single die cut flower makes it stand out well from the rest of the design.


The title was die cut with Simon Says Stamp Scripty Hello from the same two blue papers used for the mat. Add a black die cut too and adhere with foam tape. The sticker comes from Tim's Small Talk set.

The patterned paper will give a slight tint to the colored pencil and will also to some extent show through, adding texture and interest.


Don't miss the new Sunny Vibes release.
Thank you so much for stopping by here today!
Anna-Karin
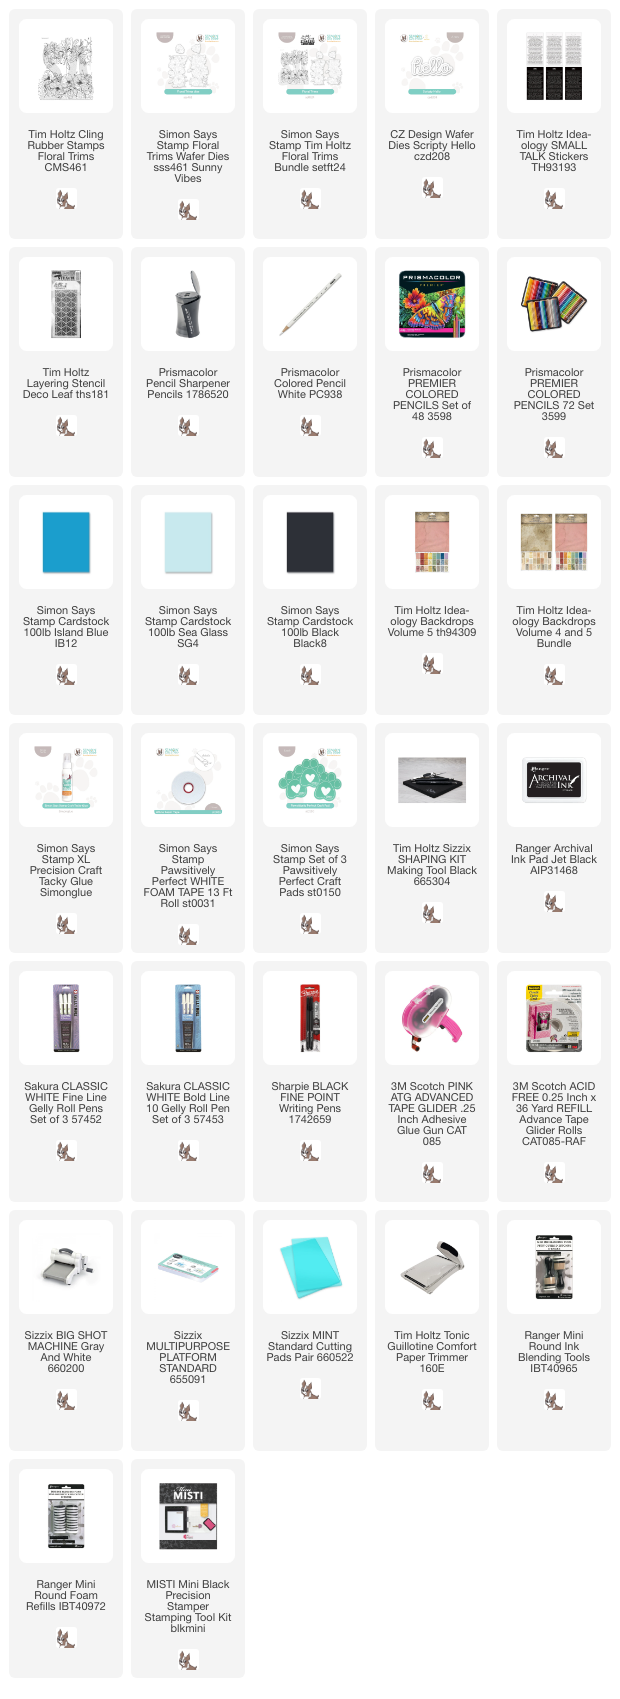
Supplies:
* Please note: the links are affiliate links, for which I receive a small percentage of sales generated by the link, at no extra cost to you.
* Please note: the links are affiliate links, for which I receive a small percentage of sales generated by the link, at no extra cost to you.
No comments:
Post a Comment
Thank you so much for leaving a comment! Happy Crafting!