Monday, December 18, 2023

Bullfinch Christmas Tag Tutorial

Hello crafters! Time flies and Christmas is around the corner. I hope you are all well.

Please note: this post has affiliate links, for which I receive a small percentage of sales generated by the link, at no extra cost to you.


This week we have a Let It Snow theme at the Simon Says Stamp Monday Challenge Blog. I hope you will join us! We have had beautiful snow for about three weeks, but at the moment it is unfortunately melting.

Don't miss the project by our December guest designer Rox aka Red Dirt Crafter.

Layers of ink - Bullfinch Christmas Tag Tutorial by Anna-Karin Evaldsson.

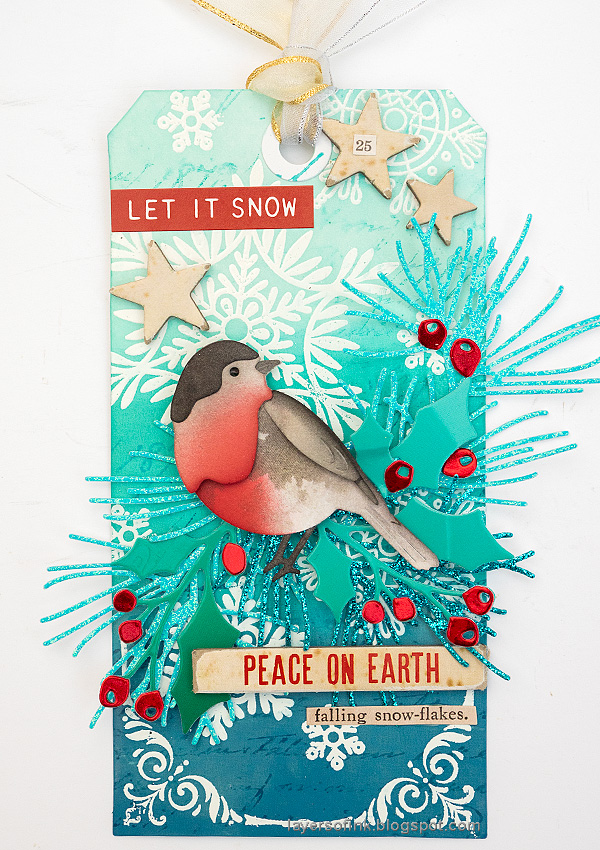
I made a Christmas tag with a glossy resist background and a sweet Eurasian bullfinch. Branches and pine needles were die cut from a mix of glitter, holographic and gloss color-blen paper, which is a fun combination.

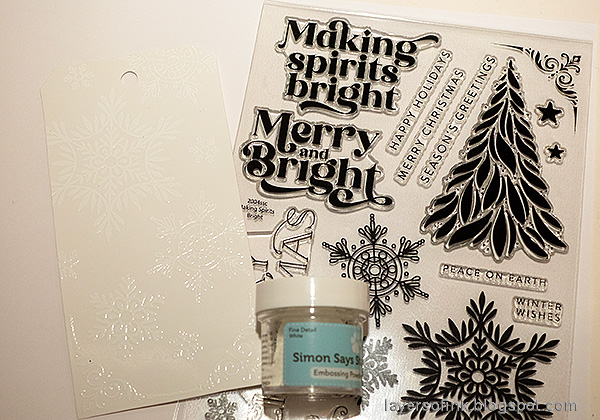
Layers of ink - Bullfinch Christmas Tag Tutorial by Anna-Karin Evaldsson.  Stamp with Simon Says Stamp Making Spirits Bright.

Start by die cutting a tag from Simon Says Stamp white glossy cardstock and white emboss snowflakes and two corners on the tag. The stamps come from Simon Says Stamp Making Spirits Bright.

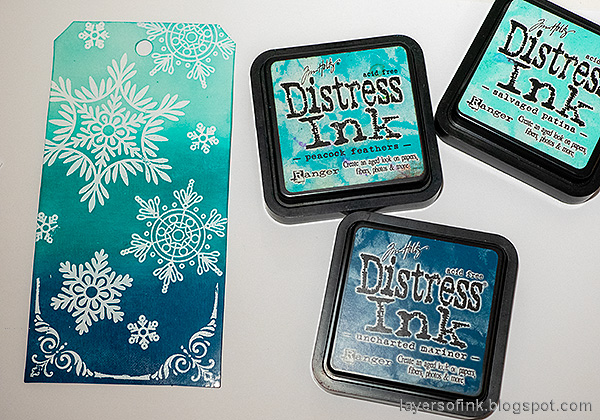
Layers of ink - Bullfinch Christmas Tag Tutorial by Anna-Karin Evaldsson. Ink with Distress Ink.

Ink the tag with Distress Ink in an ombre fashion, with the darkest ink at the bottom of the tag.

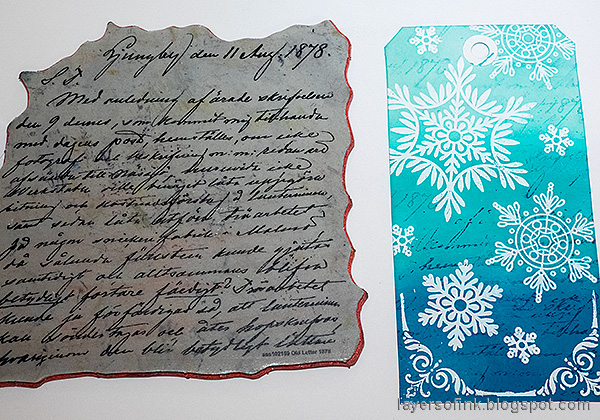
Layers of ink - Bullfinch Christmas Tag Tutorial by Anna-Karin Evaldsson. Stamp with Simon Says Stamp Old Letter.

For a bit of texture, stamp the background with Simon Says Stamp Old Letter in two shades of blue Distress Ink.

Layers of ink - Bullfinch Christmas Tag Tutorial by Anna-Karin Evaldsson.  Die cut Simon Says Stamp Layered Warbler.

The bullfinch was made with Simon Says Stamp Layered Warbler die. I die cut the bird from Tim Holtz Christmas Backdrops paper, using a section of paper which would give an interesting pattern to the bird.

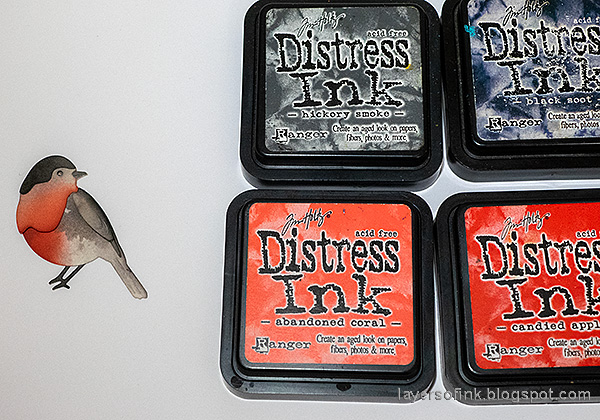
Layers of ink - Bullfinch Christmas Tag Tutorial by Anna-Karin Evaldsson. Color the bullfinch with Distress Ink and assemble.

Ink the bird with Distress Ink and assemble. I used foam tape in between the head and the body. I usually use a bird book when coloring birds, to try to get the coloring about right.

Layers of ink - Bullfinch Christmas Tag Tutorial by Anna-Karin Evaldsson. Die cut with Tim Holtz Festive Gatherings.

Die cut holly and fir branches from Simon Says Stamp glitter cardstock, red holographic cardstock and Color-Blend cardstock. The die set I used is Tim Holtz Festive Gatherings.

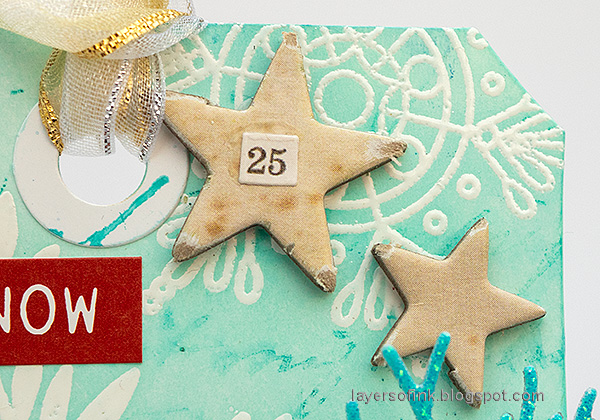
Layers of ink - Bullfinch Christmas Tag Tutorial by Anna-Karin Evaldsson.

I added stars from Tim Holtz Christmas Baseboards & Transparencies and sanded them slightly. The number is from Tim's Christmas Stickers 2023.

Layers of ink - Bullfinch Christmas Tag Tutorial by Anna-Karin Evaldsson. Euroasian Bullfinch.

The background papers adds interest to the bird. The bird was adhered to the tag with Simon Says Stamp Pawsitively Perfect Foam Tape.

Layers of ink - Bullfinch Christmas Tag Tutorial by Anna-Karin Evaldsson. Peace on earth.

The chipboard sentiment also comes from Tim's Christmas Baseboards & Transparencies. The corner stamp from Simon Says Stamp Making Spirits Bright fit perfectly at the base of the tag.

Layers of ink - Bullfinch Christmas Tag Tutorial by Anna-Karin Evaldsson.

I hope you enjoyed this tutorial! 

I hope you will join us this week in our Let It Snow challenge. You have a chance to win a $25 gift voucher to do some fun shopping at Simon Says Stamp. This is a two week challenge and you have until Monday 1 of January 8am Ohio time. 1pm UK time, 2 pm CET to join in.


Do you use Instagram? If so please add #sssmchallenge so we can see your entries there too.


Thank you so much for stopping by here today! 

Happy crafting!

Anna-Karin

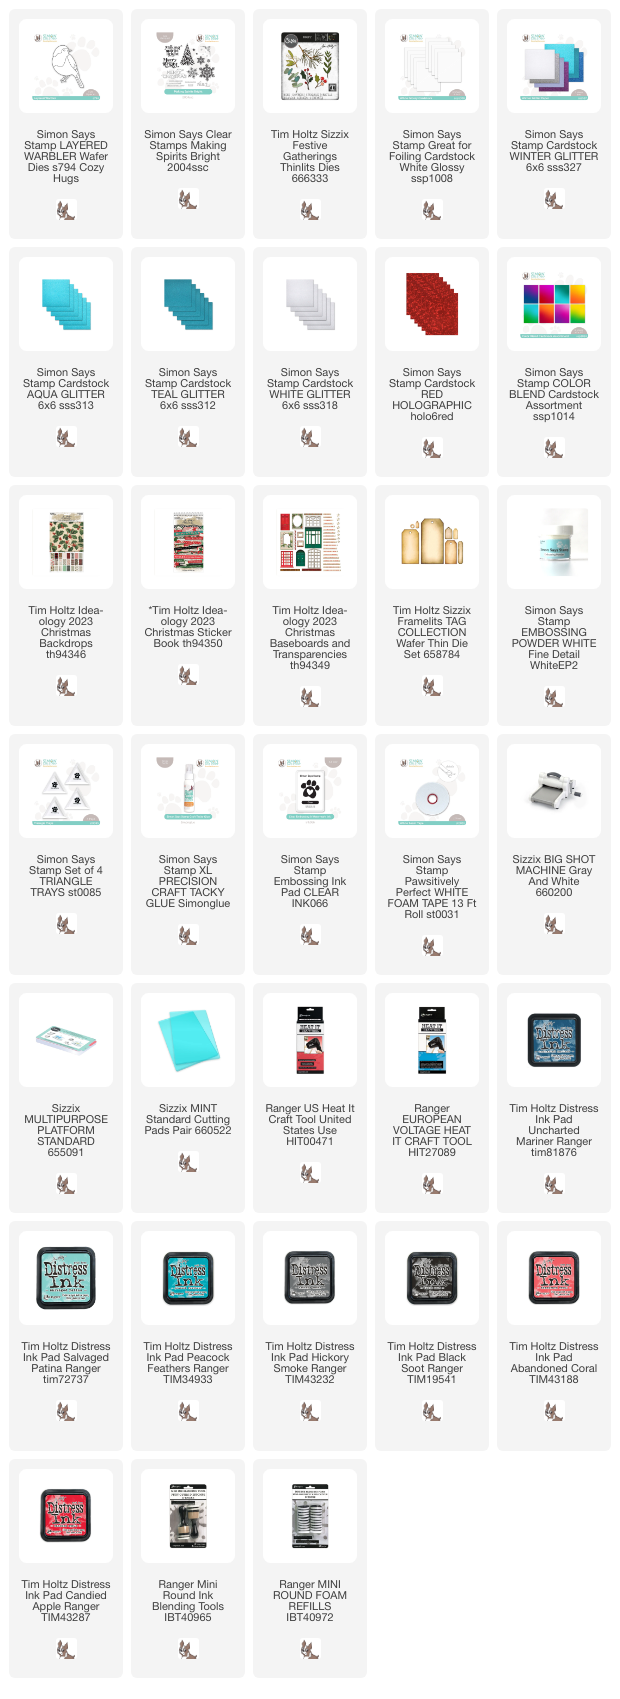
Supplies:

* Please note: the links are affiliate links, for which I receive a small percentage of sales generated by the link, at no extra cost to you.


No comments:

Post a Comment

Thank you so much for leaving a comment! Happy Crafting!