

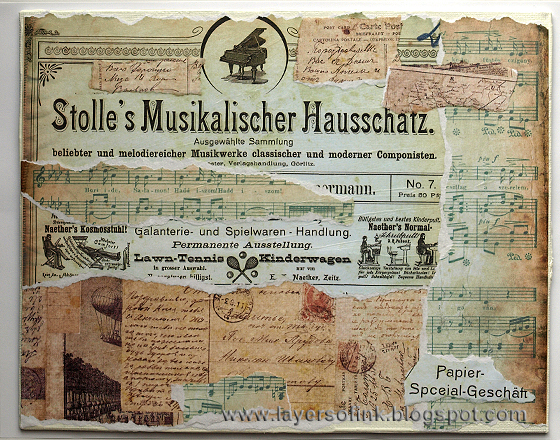
I used an 8 x 10 in canvas board and tore up papers from Vintage Vanity and Cartographer gluing them down with multi medium. I liked how this looked and almost didn't want to cover it up.
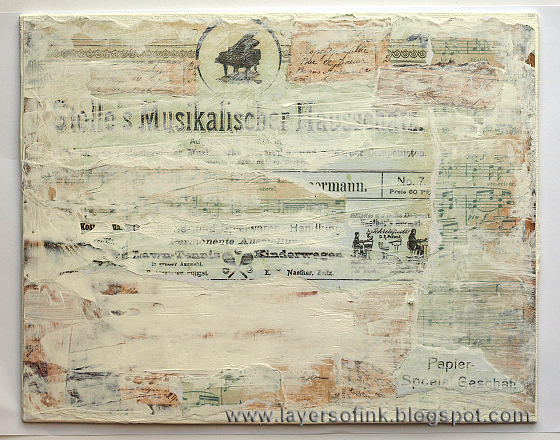
Next, a layer of gesso, but leaving some of the patterns to show through. At this stage you might not love how it looks, but don't worry, it gets better.
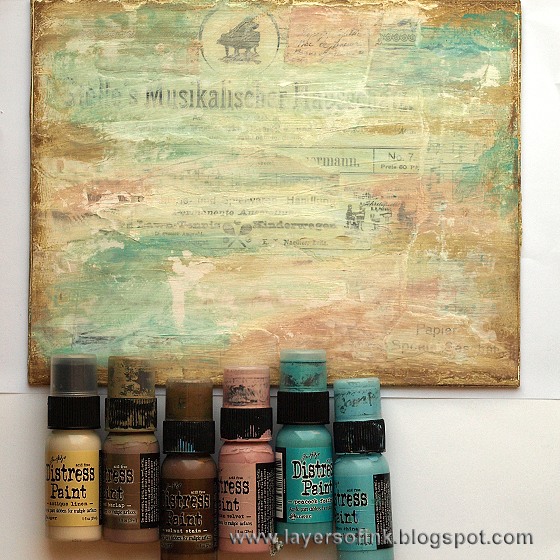
I painted the board with various Distress Paints, still making sure to let some of the patterns show through. Distress Paints are thin, which makes this easier.
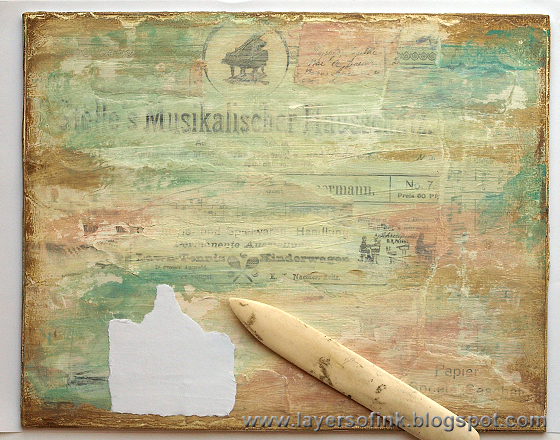
Next, I tore out some images from the papers, wanting to do some transfers. After planning where I wanted them to be, I painted some multi medium on the background, one section at a time. The papers were torn because a torn edge disappears easier than a cut edge. Place the images face down and burnish well. Leave to dry.
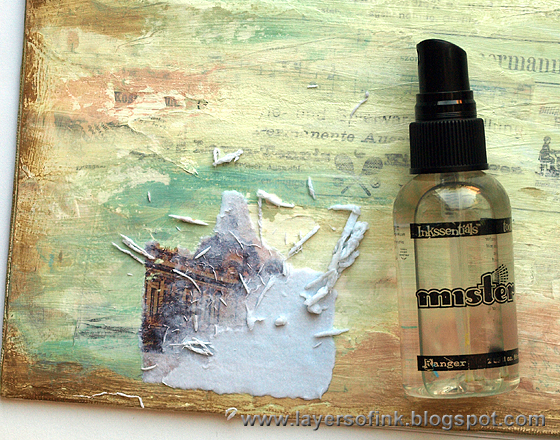
Mist the back of the paper with water and rub away the paper with your fingers. This takes a little patience, and you will probably have to repeat it, because it can be hard to see if there is white left-over when the image is wet. Let it dry, and repeat until basically all the white paper is gone.
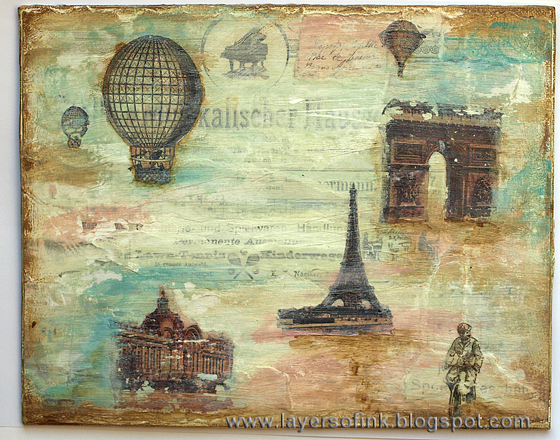
I continued with three hot-air balloons, more buildings and a man on his bike. I added more paint to make the images a part of the background, painting around the edges so that they blend in better. I also painted some shadows.
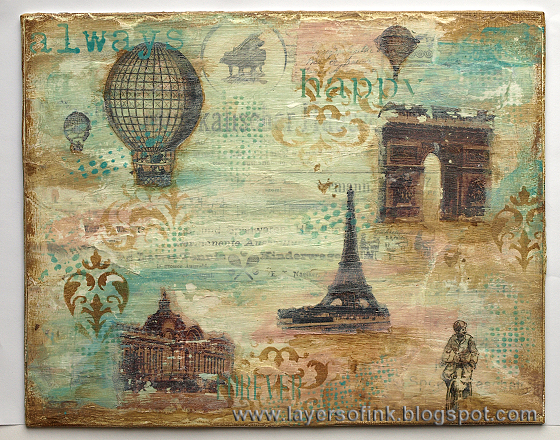
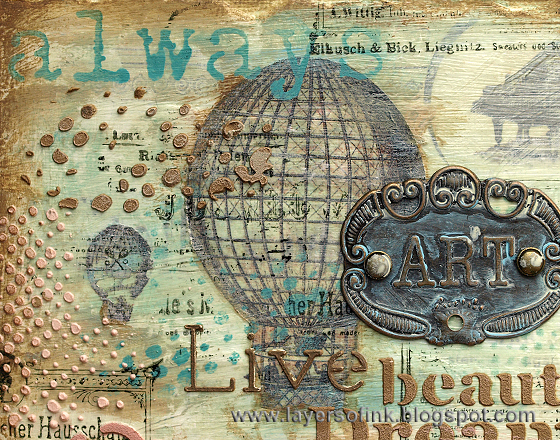
Next, I brought out some stencils, and sponged paint through them - a damask, dots and words. Leave to dry.

The background was stamped with three different stamps by Finnabair, and Stone Gray ink. I used grey ink for a slightly softer look than black. Hold the stamp in your hand and just let it touch the background here and there.
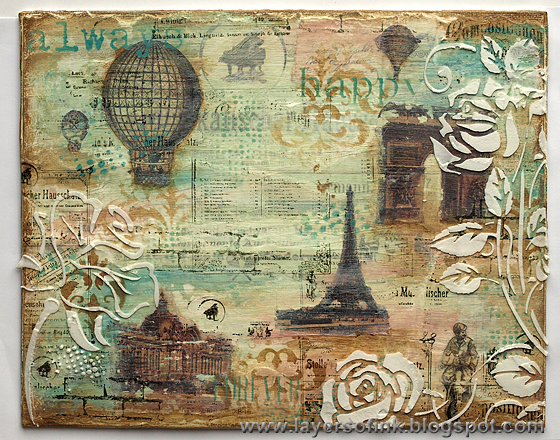
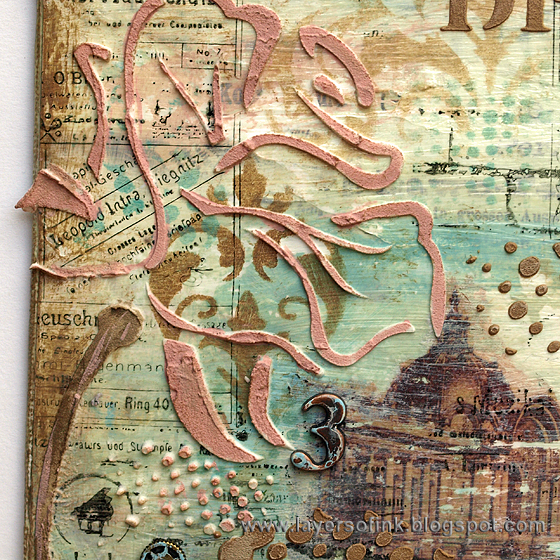
Next, those beautiful large flowers from the two stencils: Floral Rose #1 and Floral Rose #2. I smeared White Embossing Paste through the stencils with a palette knife, positioning the flowers so that they didn't cover up anything important. Leave to dry.
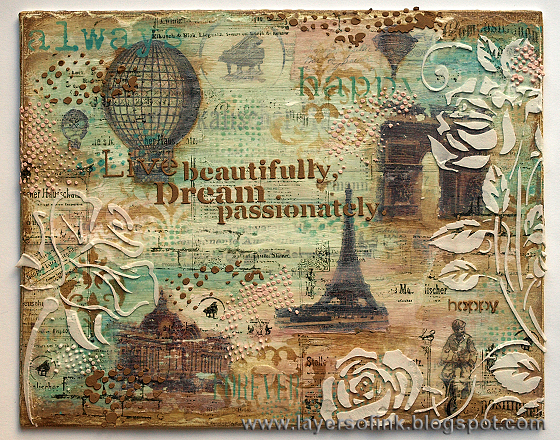
The stencils also contain great words and lots of little dots. I coloured paste pink and brown and smeared that through the stencils, adding a title, more words, and random dots.
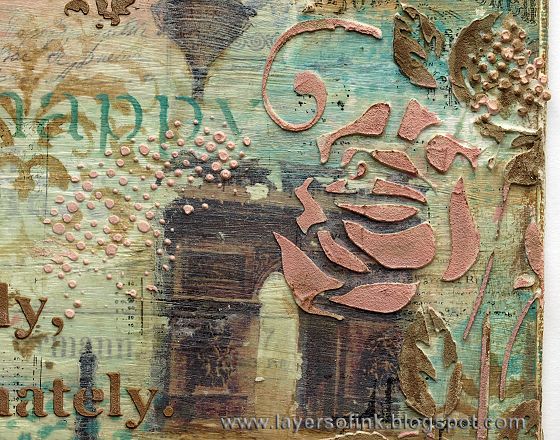
I painted the flowers with Distress Paints, mainly Victorian Velvet, Frayed Burlap and Gathered Twigs.
Use a small paint brush to paint the flowers. Alternatively you could colour the paste first, and then just add a little more paint when they are dry to get a nice variation.
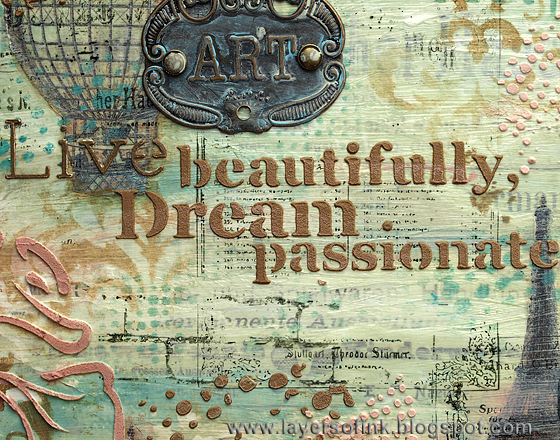
I also added some Prima metallic embellishments, altering them with Distress Paint first.
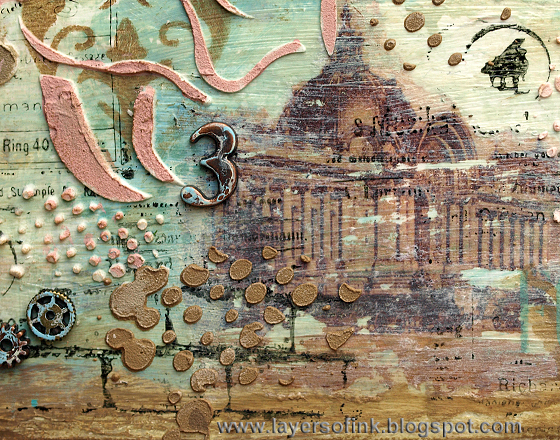
Here are some more metallic embellishments, and a close up of the weathered look of the transfers.

The cyclist was one of my favourite parts, if you look carefully you can see a tiny stamped cyclist next to him.
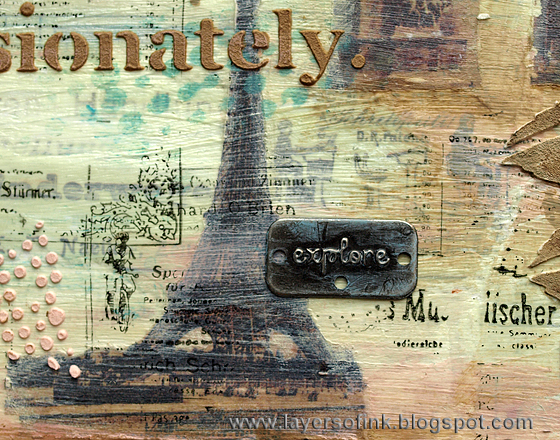
Finishing off with the Eiffel Tower, and another stamped image of the cyclist.
Take out your neglected supplies and join us this week in our challenge, and it might be you who wins a $50 gift voucher from Simon Says Stamp, drawn randomly.

Thank you for stopping by! I hope you enjoyed the tutorial.
Happy crafting!
Anna-Karin
Supplies:
Surfaces: Prima: Cartographer A4 pad, Cartographer 4 x 6 pad, Finnabair Vintage Vanity A4 padStamps: Prima Finnabair: Vintage Vanity, Vintage Vanity #2, Vintage Vanity #3
Ink: Tsukineko Stazon: Stone Gray
Paint: Distress Paint: Antique Linen, Frayed Burlap, Walnut Stain, Victorian Velvet, Broken China, Peacock Feathers, Evergreen Bough, Gathered Twigs
Stencils: Prima: Floral Rose #1, Floral Rose #2, Damask
Medium: Wendy Vecchi White Embossing Paste; Ranger Dina Wakley: White Gesso; Ranger: Matte Multi Medium, Gloss Multi Medium
Embellishments: Prima: Plate and Label Mechanicals, Mini Numbers
Wow, what a brilliant multi layered piece Anna Karin! Great step by step too, have to say loved the piece already at the first step, I can totally see why you did not want to cover it up. The transfers turned out brilliantly too, when I first saw the canvas I thought they were Darkroom Door stamps. The whole canvas just looks fantastic!!
ReplyDeleteI love your attention to every detail!
ReplyDeleteGorgeous! So many wonderful layers of beautiful texture!
ReplyDeleteAnna-Karin this mixed media canvas is mind blowing!!! I love so much the way you work with colors and every little detail...somehow I always get tons of inspiration from your projects ^.^
ReplyDeleteWow... all the details you created on this project are amazing. I love the colors and all the beautiful collaged images! :)
ReplyDeleteSo very pretty, anna-karin! Love the step by step! Gorgeous! Hugs, Sandra
ReplyDeleteAnna-Karin...this is such a gorgeous canvas! Thank you so much for the step by step. I don't know why I have never tried that transfer technique. I guess I never thought it would work on a canvas! But, you've proven that it can, so I need to try this! :) Your canvas, with all of it's layers of images, paints, stamps, transfered images embossed images and then the metallic embellishments is simply GORGEOUS!!! <3 Candy
ReplyDeleteSo many fabulous layers to explore in this amazing canvas! Thank you for sharing your process, so inspiring!
ReplyDeleteStunning art!! Totally loving the layering and lots of texture :)
ReplyDelete*mwah*
Steph
Simon Says Stamp!
Your canvas is gorgeous. Love all the details. Thank you for the inspiration.
ReplyDeleteCurious as I was after seeing your Bloghop project.. I took some time to surf on your blog.. wow.. it is amazing! Love every piece of it !! Ad this multi mixed media is totaly my cup of tea.. I love It.. and it very nice to see the step by step foto's. Thank you for sharing!
ReplyDeleteDianne ten Hove
Thank you for sharing this tutorial. Yet another great project!
ReplyDeleteWhat a great canvas! I am inspired to try the transfer. Thank you for the amazing tutorial.
ReplyDeleteSo brilliant! As always another wonderful canvas! Great tutorial, thanks for sharing with us! barbarayaya
ReplyDeleteAnna-Karin, this is breathtaking! I am excited to try the transfer technique ... thanks for explaining how to do it!
ReplyDeleteI absolutely love this!great tutorial.
ReplyDeleteWow! So many layers of visual yumminess here! And I really liked seeing the step-by-step journey of how it came together. I'm always amazed at your ability to create an entire scene and an entire feeling through your images and techniques. I especially love the color palette you chose for this one!
ReplyDeleteThis is such a beautiful work! I love the texture of the flowers, I use modeling paste over stencils to get this effect:-) Thank you for sharing. Best Wishes
ReplyDeleteMalgorzata
mycolourfultexture@blogspot.con
Another fabulous piece of art!! Again, there is just so much to look at and so many details! I adore the stencils you've used to give that wonderful texture and it all combines so well to give a beautiful piece...I love it Anna-Karin, it's stunning! :)
ReplyDeleteWow Anna-Karin! What a work of art! Love all the texture! Thanks for sharing your creative process!
ReplyDeleteThis is really brillant ! So many details, layers and techniques. Thank you so much for the step-by-step, I read everything you publish on your blog and every time is a new and great surprise. You inspire me, thank you again.
ReplyDeleteWow - that is so gorgeous, Anna-Karin - the texture paste is so cool, and I love all the layers of paint, paper, inking, stencilling and stamping. The overall effect is just beautiful. Love that altered metal plaque too - fabulous piece!
ReplyDeleteAlison xx
WOW! you are such an artist - this tutorial is wonderful!
ReplyDelete