Monday, April 6, 2015

Watercolour Canvas Tutorial

Hello friends!! I hope you are having a good Easter weekend! It is Monday and a new Simon Says Stamp Monday challenge. We are doing a letter challenge this week, A is for....  I did a watercolour canvas tutorial.
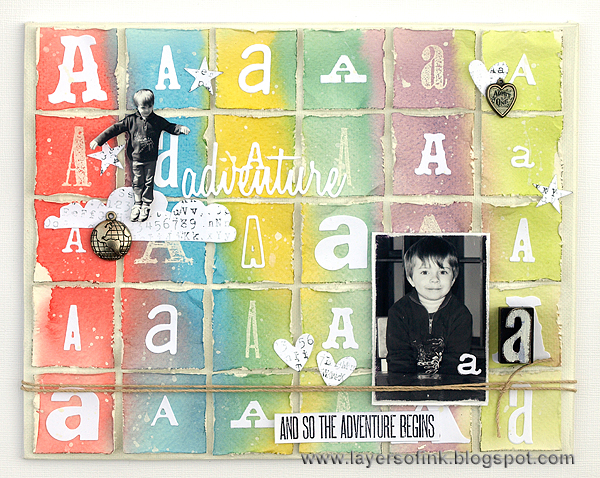
'A' happens to be the favourite letter of two of our family members (Anton and me), since our names start with 'A'. Anton is very interested in letters and how to write different words, so I thought I would make him a canvas where his own letter is the star. The canvas is an 8 x 10 in board, coated with gesso and painted white. The striped background was inspired by one of Anton's art works and uses almost the same colours as his piece did. I liked the background and would probably not have thought of it without this inspiration. I had fun using most of my alphabet dies. 
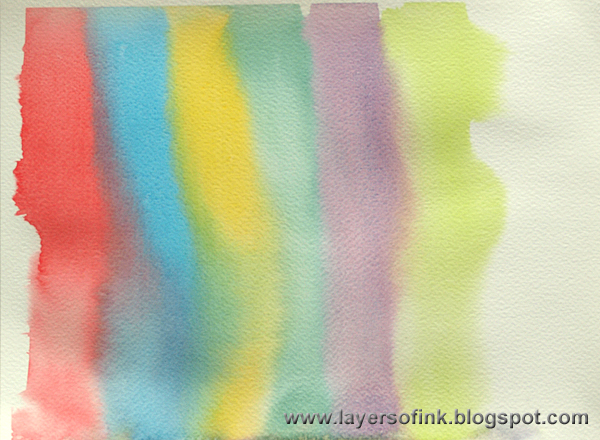
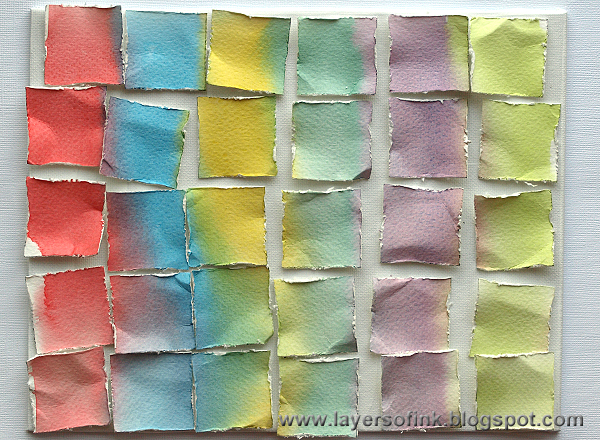
Mix up six colours watercolour paint. All the mixes have to be ready before you start since you need to work quite fast. Test your colours on a piece of scrap paper first, to make sure that they don't create mud when placed next to each other. Use a broad paintbrush and paint broad lines of each colour. Let them flow into each other, amd don't go back over an area where you have already coloured, leave it to let the watercolour paint do its magic. If you fiddle around with the paint, you will get run-backs (cauliflowers).  
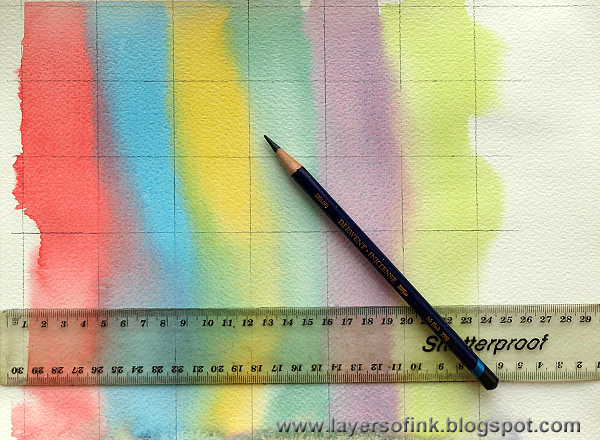
When my paint was dry, I draw a grid on the paper with an Inktense pencil. Measure your canvas first, so that you can decide how large the squares should be.

Cut the squares with a craft knife, making sure to keep them in their original order. If they get messed up, it will be quite a puzzle to get everything in the right place again. Distress all the edges with an edge distress tool. I was planning for more of the pencil marks to show, but then decided that I wanted the extra texture you get from distressing the edges of watercolour paper.
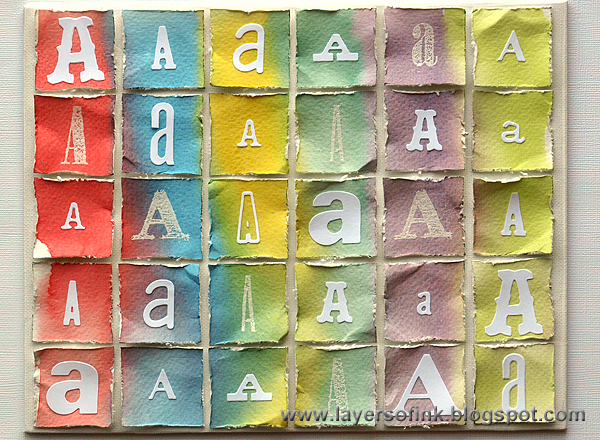
 
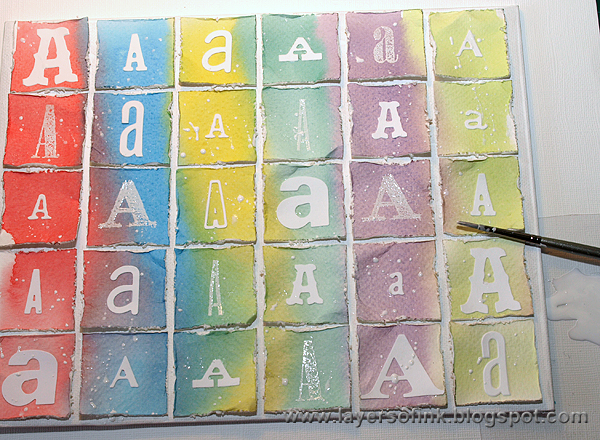
Time to take out your alphabet dies and stamps. Die cut your chosen letter with various dies, including both upper and lower case letters. I decided to use white paper, but you can go with any colour that fits your project. I also white embossed letters on some of the squares, for a different look.

Glue the squares down by applying some multi medium to the middle of the squares, leaving the edges lose to add dimension. Splatter with Picket Fence Distress Paint.

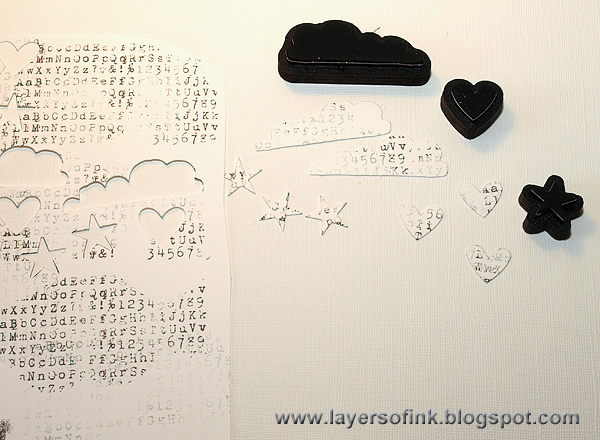
Stamp a piece of white paper with an alphabet background stamp, using Watering Can ink. I mainly used second and third generation stamping, stamping it off on scrap paper first. I die cut clouds with the new Airplane & Cloud Movers and Shapers die, and hearts and stars with the Tiny Shapes dies.
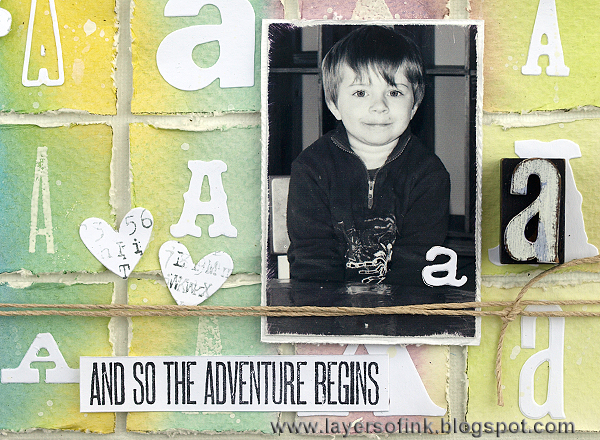
 
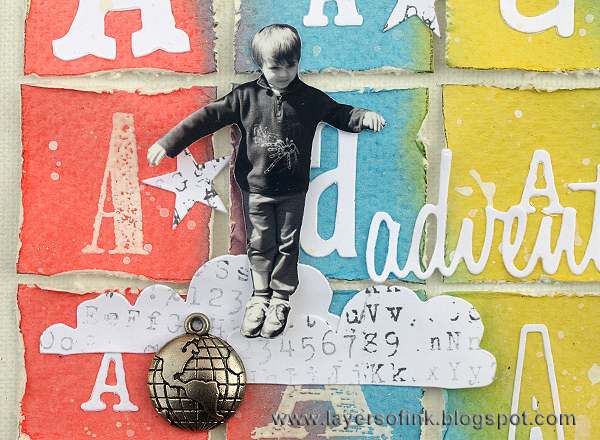
My choice of photos wasn't random. Anton is wearing the first piece of clothing he spotted on his own in a shop, because there was a big red 'A' on the sweater, and a spider. A perfect sweater for him, which is unfortunately starting to get too small. I used the same sentiment stamp as on last week's layout.  It worked extra well here because of the 'A' in adventure.

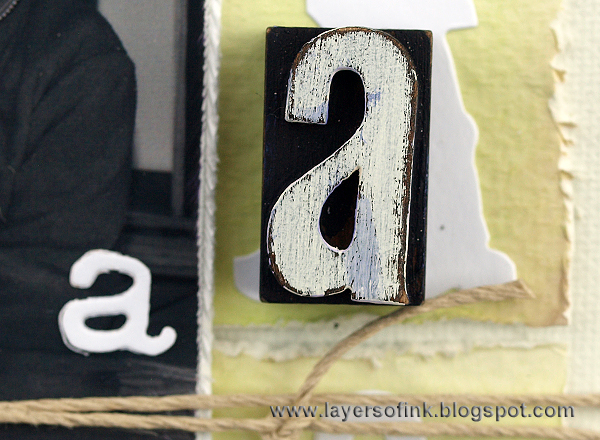
The letterpress letter was painted white and sanded when dry. I painted the rest of it black, because I didn't want any brown on this canvas.

For a fun touch, I cut out another photo and placed it up among the clouds, fitting with the adventure theme of the canvas. Isn't that new globe idea-ology embellishment great?
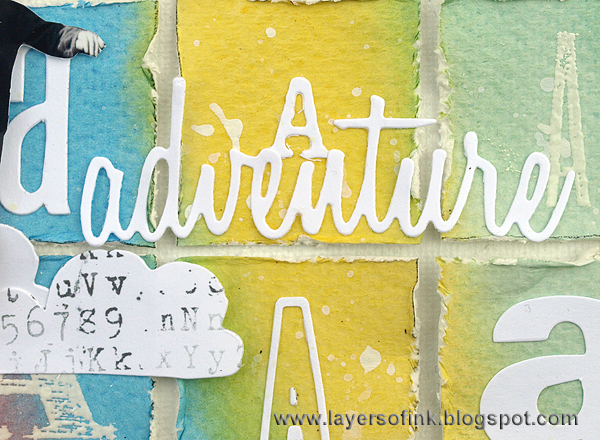
This word was die cut with the Adventure Words set.
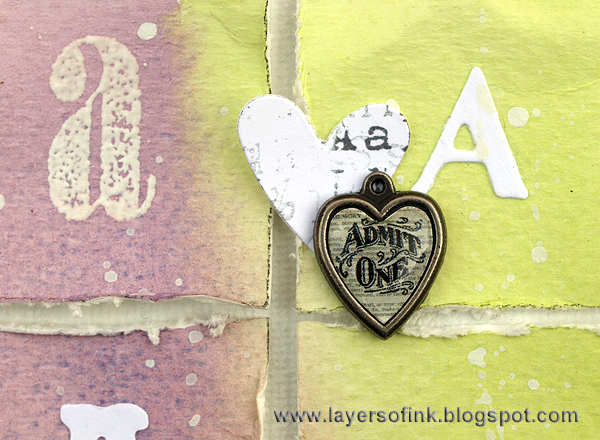
I also used a heart charm, with another sentiment starting with an 'A'.
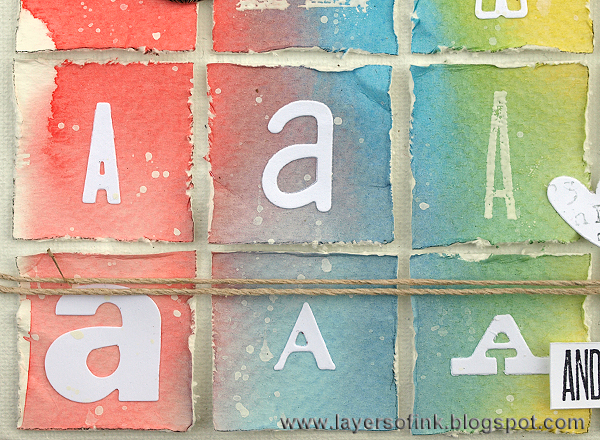
The mixture of all the different 'A's together looks so much fun and it is also good for him to see that the same letter can be written in many different ways. I also really like the added dimension from the distressed edges. It takes a while to distress all the edges, but totally worth it, and you also don't need to worry as much about placing all the squares out evenly, since the distressed edges hide any mistakes.

I hope you will join us this week in our 'A' challenge, it is an easy letter to be inspired by and I am sure you can come up with lots of interesting ideas. As always, one random participant wins a $50 gift voucher from Simon Says Stamp. 

Thank you for stopping by today!

Happy crafting!

Anna-Karin

Supplies: 


Wednesday, April 1, 2015

Fold-a-Long Interactive Cards

Hello everyone! I have two interactive cards to share today, made with new Sizzix dies and papers by Graphic 45.

I wanted to make some thank you cards, to thank people who did special things for Leo, or me, when he was born. And also to send to loved ones who are far away. The new Fold-a-Long card dies by Jen Long are wonderful if you like to make interactive cards. They also double as ornaments or photo frames since they stand on their own. 

Here you can see both of them closed. They fold down flat so they are easy to send in an envelope. I used the Ticket Fold-a-Long and the Rounded Label Fold-a-Long.

When you open the cards they look like this, with the star of the show in the middle. They are really fun to decorate and the set comes with all the dies that you need. I die cut the base from manila cardstock which had been inked with Distress Inks. I smeared the inks on my craft sheet, misted with water and pressed the paper into the ink. Repeat on the back too. This die is the Ticket Fold-a-Long Thinlits set.

If you put the card down flat, it looks like this. The die both cuts and scores the paper, making assembly very easy. You need to fold the cardstock once when you die cut the base, there are clear instructions on the packaging. Use this sandwich: Magnetic Platform, Cutting Pad, paper, die facing down, second Cutting Pad.

From above the card looks like this. Isn't it a fun shape?

I stamped hearts using the Be Mine set and Potting Soil and Cornflower Blue inks. They were adhered with foam dots. 

All the papers are from the Precious Memories 8 x 8 collection by Graphic 45, such sweet baby papers. I inked the edges with Gathered Twigs. 

You can decorate the inside flaps too. 
 
The second card was made with the Rounded Label Fold-A-Long set.

I used the same photo on the inside, taken a few days ago. You could also die cut the whole panel from a photo. 

You might see the details a little better when the card is flatter.

This image is hiding behind the front panel.

I love that little image of a boy with his dog. The sentiments also comes from the same paper pad. 

Thank you so much for stopping by today!

Happy crafting!

Anna-Karin

Supplies: