Sunday, February 23, 2025

Vintage Floral Card

Hello stampers! Today, I have a card to share with a watercolored flower and a nice textured background.

Please note: this post has affiliate links, for which I receive a small percentage of sales generated by the link, at no extra cost to you.

Layers of ink - Vintage Floral Card Tutorial by Anna-Karin Evaldsson.

I had this idea of a background looking like old wallpaper. We had wallpaper similar to this in the house where I grew up. The flower was watercolored and die cut; with these types of images, coordinating dies are very handy. 

Stamp Tim Holtz French Garden.

Start by stamping one of the flowers and the berries from Tim Holtz French Garden on watercolor paper with Jet Black Archival Ink.

Paint with watercolor paint.

Paint with watercolors and remember to add darker colors to the ares that are in shadow. The stamped image will help to determine where those areas are. 

Die cut with Simon Says Stamp coordination French Garden dies.

Die cut with the coordinating Simon Says Stamp French Garden dies. I wanted to lengthen the stem of the flower and didn't die cut all the way down. Leave the edge of the die over the the edge of the cutting pad. I use Simon Says Stamp Very Very Low Tack Tape to hold the die in place.

Ink with Distress Ink.

Extend the stem of the flower with a black pen and paint. Paint Antique Linen Distress Ink in the areas around the berries and flowers, so that they will blend better into the background.

Color paper with Distress Ink.

For the background, I colored watercolor paper with Distress Ink. Smear Distress Ink on a non-stick craft sheet, mist with water and press the paper into the ink. Let dry and repeat.

Emboss in Tim Holtz Tapestry folder.

Apply Potting Soil ink to Tim Holtz Tapestry embossing folder. Mist the back of the watercolor paper with water and emboss.

Die cut Simon Says Stamp Hello.

Die cut Simon Says Stamp Simple Hello from Simon Says Stamp Rainforest cardstock, white cardstock and Shimmer Vellum. The Shimmer Vellum is so pretty. 


Stamp a sentiment from Simon Says Stamp Beautiful Blooms, but don't ink the word 'hello'. 

Watercolored stamped vintage image.

Glue the flower to the page. 

Add the watercolored berries.

Glue the berries to background. 


Layer the 'hello' word, offsetting the Rainforest cardstock. Add some sheer ribbons and a piece of fiber.

Layers of ink - Vintage Floral Card Tutorial by Anna-Karin Evaldsson.

I hope you enjoyed this tutorial, it works well with lots of embossing folders and flower stamps.


Thank you for visiting!

Happy crafting!

Anna-Karin

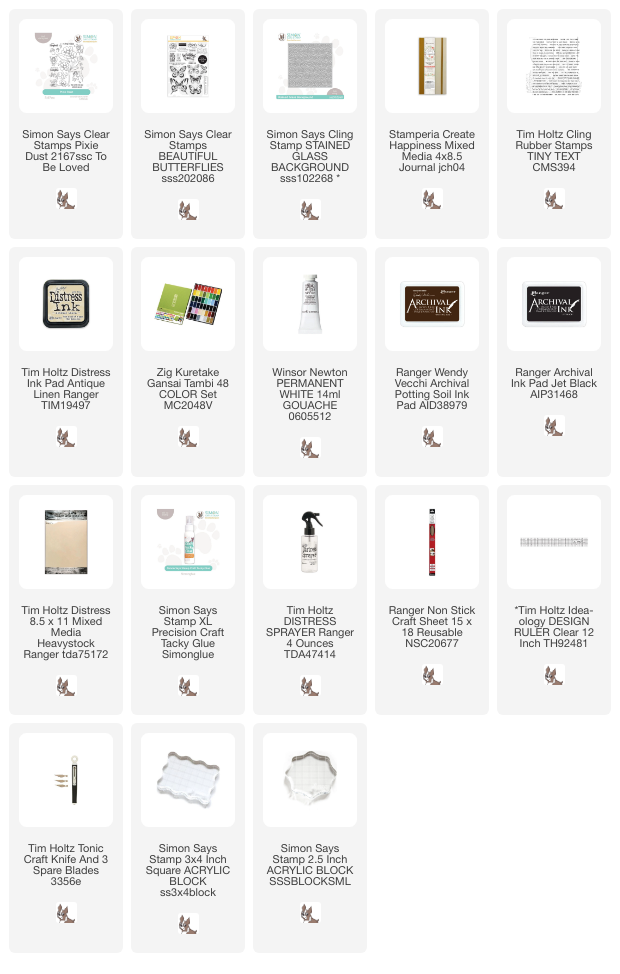
Supplies:

* Please note: the links are affiliate links, for which I receive a small percentage of sales generated by the link, at no extra cost to you.


Thursday, February 20, 2025

No-line watercolored flowers

Hi friends! I hope you are well! After a winter with almost no snow, we suddenly got plenty of snow. But I am in the mood for flowers, so here is a no-line flower watercolor tutorial.

Please note: this post has affiliate links, for which I receive a small percentage of sales generated by the link, at no extra cost to you.

Layers of ink - Watercolor flowers tutorial by Anna-Karin Evaldsson.

I made an art journal page in my new Stamperia Happiness Mixed Media 4x8.5 Journal. I like the tall narrow pages in this journal and they have a similar proportion to tags, which is one of my favorite sizes. The pages are watercolor paper, which is also great. If you don't want to make an art journal page, you can of course do a card instead. 

Recently I watercolored this same flower stamp from Simon Says Stamp Pixie Dust, in a pen and ink style and with a dark background. You can find that tutorial here. Today, I did no-line watercolor instead, with a light background.

Paint the background with watercolors.

Start by painting the background with a very light brown shade.

Stamp the flower from Simon Says Stamp Pixie Dust.

When dry, stamp the flower from Simon Says Stamp Pixie Dust on the background with Antique Linen ink. Mist with water before stamping.

Paint with watercolors.

Paint with a first layer of watercolor paint. I aimed for a fairly loose look and also left some of the paper unpainted.

Add shading.

Darken some areas and add shading to the flower.

Add highlights with Winsor & Newton guache.

Paint grass with the same colors used for the leaves. I wanted more highlights and decided to use Winsor & Newton Permanent White gouache for that. Mix a tiny bit of water into the paint. Also add some strands of grass with the white paint. 

Stamp with Simon Says Stamp Stained Glass.

Stamp sentiments on the background. I used stamps from Tim Holtz Tiny Text and Simon Says Stamp Beautiful Butterflies. Stamp the background with Simon Says Stamp Stained Glass, mainly avoiding the flower.

Splatter paint on the background.

Splatter the background with watercolor paint, a dark brown-grey and the same blue as you used on the flowers.


The flower might look a little messy up close.


Some of the Antique Linen stamped outline still shows and I kind of like that.


The white gouache is opaque and give a chalky look to the white areas.


Drop in darker shades of blue and purple while the paint is still wet. If the colors are too dark, you can dabb some off with a paper towel before the paint dries.

Stamp a sentiment.

Add some highlights to the stem of the flower too and make one side darker than the other.

Layers of ink - Watercolor flowers tutorial by Anna-Karin Evaldsson.

I hope you enjoyed this tutorial! If you want to, you can make a tag or a tall card instead using the same techniques. 


Thank you for visiting!

Happy crafting!

Anna-Karin

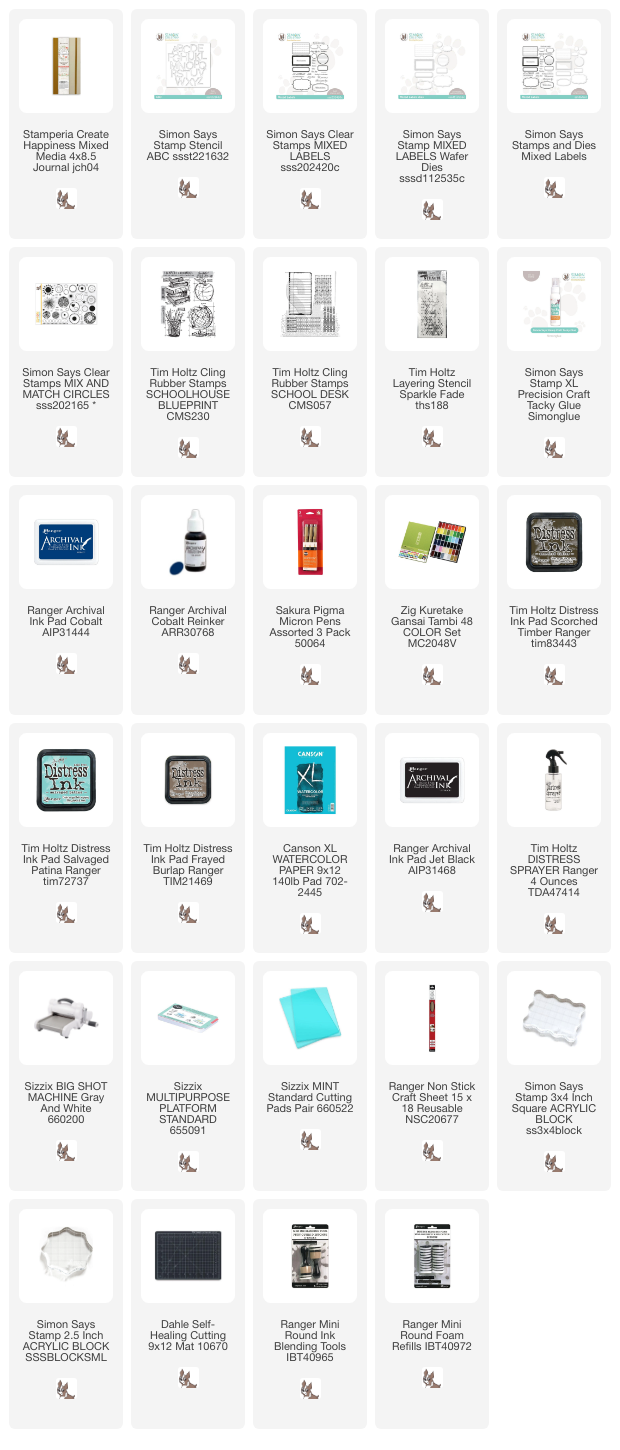
Supplies:

* Please note: the links are affiliate links, for which I receive a small percentage of sales generated by the link, at no extra cost to you.


Monday, February 17, 2025

Books and Reading Art Journal Page

Hello crafters and welcome to my blog! We have had sunny, snowy and cold weather this weekend. Finally a bit of winter.

Please note: this post has affiliate links, for which I receive a small percentage of sales generated by the link, at no extra cost to you.


This week we have a Bookmark/Inspired by books theme at the Simon Says Stamp Monday Challenge Blog. Don't miss the bookmark created by our February guest designer Cassie Lynch aka mk_knits.


Layers of ink - Books and Reading Art Journal Page Tutorial by Anna-Karin Evaldsson.

Books and reading is the theme of this art journal page. I love to read, and I am also very fond of reading-, alphabet- and word-themed stamps, stencils and dies. The page was done in my new Stamperia Create Happiness Mixed Media 4x8.5 Journal, which has a great tall shape, reminding me of both bookmarks and tags. I also like that the pages are watercolor paper.

Stamp with Tim Holtz Schoolhouse Blueprint.

Start by stamping the stack of books from Tim Holtz Stamper's Anonymous Schoolhouse Blueprint set. 

Paint the books with watercolor paint.

Paint with watercolors, dropping in darker shades before the first layer is dry.

Paint the background with watercolor paint.

Paint the background with watercolors.

Add marks with a black pen.

When dry, add some marks with a black pen, such as the edge of the table, and darken some of the shadow areas.

Ink through Simon Says Stamp ABC stencil.

Ink through Simon Says Stamp ABC stencil with first Salvaged Patina and then just a hint of Frayed Burlap.

Ink through Tim Holtz Sparkle Fade.


Stamp with Tim Holtz School desk set.

Stamp the background here and there with Tim Holtz School Desk alphabet stamp. This is one of my all time favorite stamps. 


Splatter watercolor paint on the background.

Stamp and die cut with Simon Says Stamp Mixed Labels.

Stamp labels and a ticket from Simon Says Stamp Mixed Labels with Archival Cobalt ink. Die cut with the coordinating dies and stamp sentiments on the labels with black ink. The labels were stamped on watercolor paper which had been painted with the same paint as used in the background of the page.

Note: this ink pad is one of my oldest, reinked many times. 

Splatter with watercolor paint.

Ink the edges of the labels. I also stamped a circle stamp from Simon Says Stamp Mix and Match Circles stamp set with Cobalt ink in a few places on the background.


Some of the sentiments were stamped right on the background.


Shadows add dimension and can also give a distressed look to the project, such as here with the books.

Add more shading if needed.

I really like the Blueprint stamps and they are fun to color. 


The main sentiment was placed at the bottom of the page. 

Join us this week in our Make a Bookmark/Inspired by books challenge! You have a chance to win a $25 gift voucher to do some fun shopping at Simon Says Stamp. You have until Monday 8am Ohio time. 1pm UK time, 2 pm CET to join in.


Do you use Instagram? If so please add #sssmchallenge so we can see your entries there too.


Thank you so much for visiting today! 

Happy crafting!

Anna-Karin

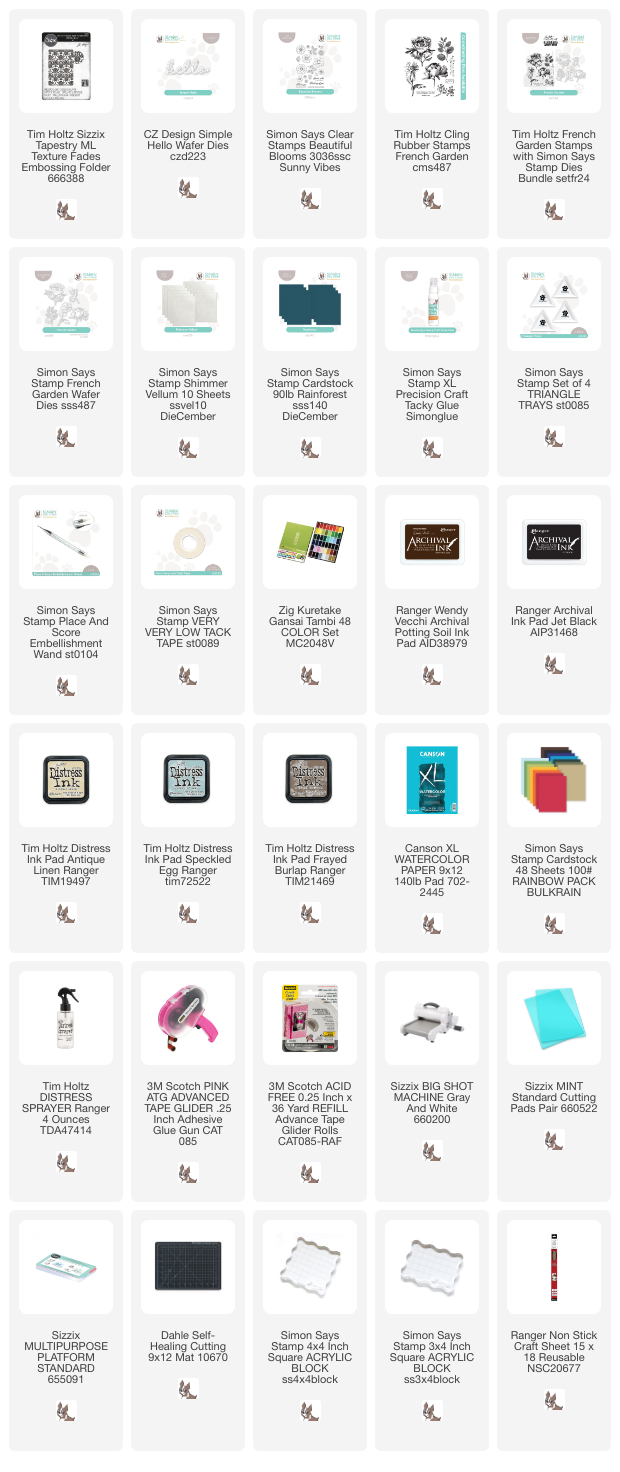
Supplies:

* Please note: the links are affiliate links, for which I receive a small percentage of sales generated by the link, at no extra cost to you.