
Hello stampers! Today, I have a card to share with a watercolored flower and a nice textured background.
Please note: this post has affiliate links, for which I receive a small percentage of sales generated by the link, at no extra cost to you.

I had this idea of a background looking like old wallpaper. We had wallpaper similar to this in the house where I grew up. The flower was watercolored and die cut; with these types of images, coordinating dies are very handy.

Start by stamping one of the flowers and the berries from Tim Holtz French Garden on watercolor paper with Jet Black Archival Ink.

Paint with watercolors and remember to add darker colors to the ares that are in shadow. The stamped image will help to determine where those areas are.

Die cut with the coordinating Simon Says Stamp French Garden dies. I wanted to lengthen the stem of the flower and didn't die cut all the way down. Leave the edge of the die over the the edge of the cutting pad. I use Simon Says Stamp Very Very Low Tack Tape to hold the die in place.

Extend the stem of the flower with a black pen and paint. Paint Antique Linen Distress Ink in the areas around the berries and flowers, so that they will blend better into the background.

For the background, I colored watercolor paper with Distress Ink. Smear Distress Ink on a non-stick craft sheet, mist with water and press the paper into the ink. Let dry and repeat.

Apply Potting Soil ink to Tim Holtz Tapestry embossing folder. Mist the back of the watercolor paper with water and emboss.

Die cut Simon Says Stamp Simple Hello from Simon Says Stamp Rainforest cardstock, white cardstock and Shimmer Vellum. The Shimmer Vellum is so pretty.

Stamp a sentiment from Simon Says Stamp Beautiful Blooms, but don't ink the word 'hello'.

Glue the flower to the page.

Glue the berries to background.

Layer the 'hello' word, offsetting the Rainforest cardstock. Add some sheer ribbons and a piece of fiber.


Thank you for visiting!
Happy crafting!
Anna-Karin
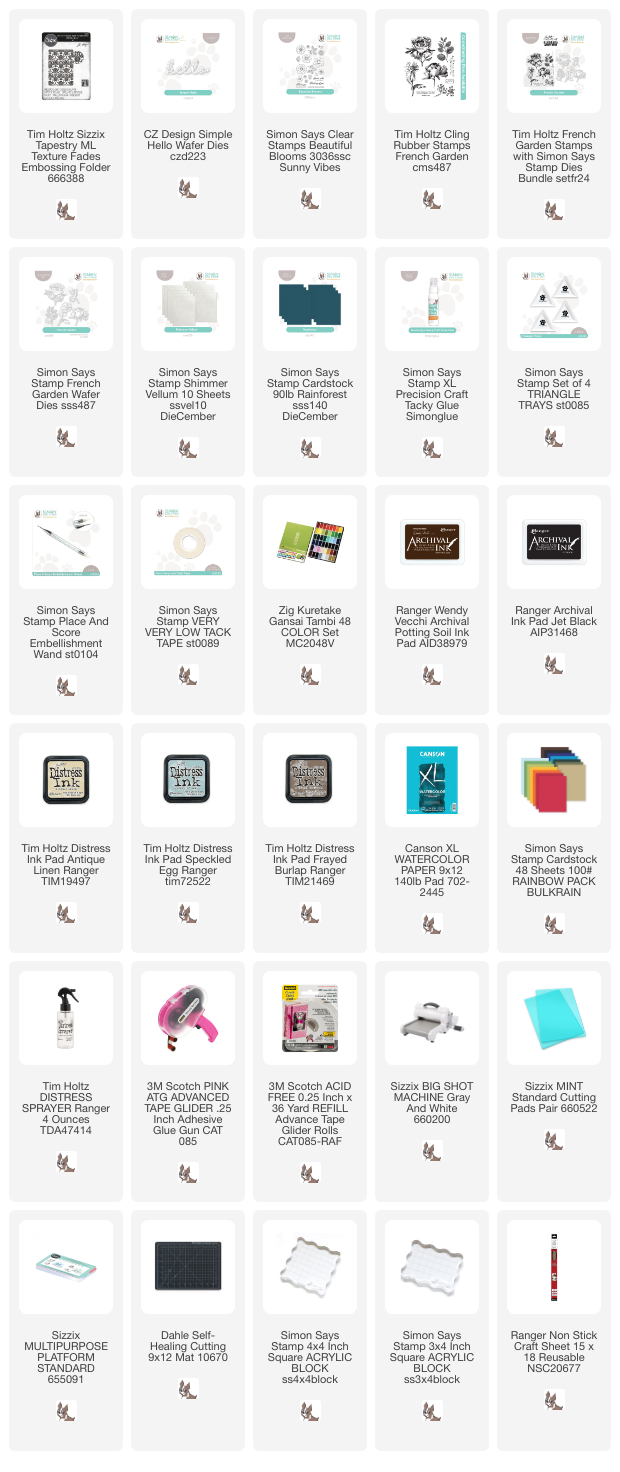
Supplies:
* Please note: the links are affiliate links, for which I receive a small percentage of sales generated by the link, at no extra cost to you.
* Please note: the links are affiliate links, for which I receive a small percentage of sales generated by the link, at no extra cost to you.
No comments:
Post a Comment
Thank you so much for leaving a comment! Happy Crafting!