Hello crafters! There is a brand new release by Simon Says Stamp called Favorite Things and today I am sharing two cards that I made with it.
Please note: this post has affiliate links, for which I receive a small percentage of sales generated by the link, at no extra cost to you.
I made two circle cards with similar designs, but different color schemes. I used lots of scrap papers for both cards.
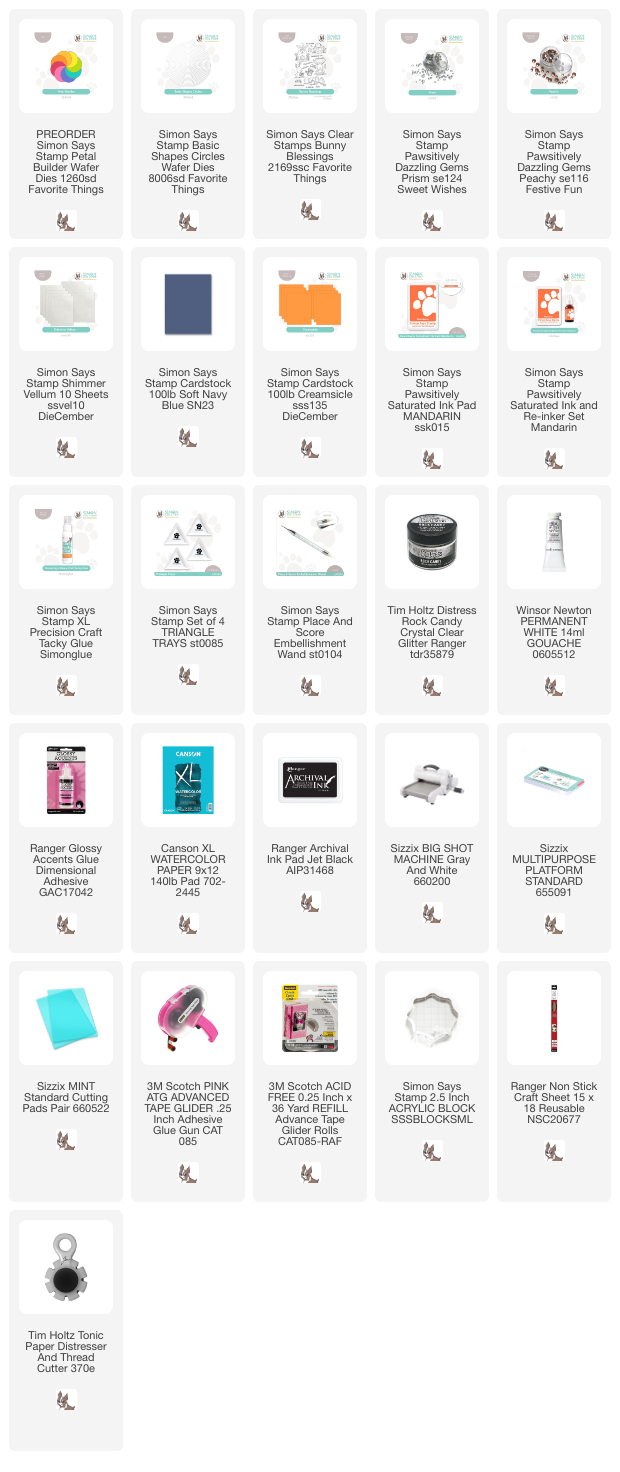
I used the new Simon Says Stamp Petal Builder, Basic Shapes Circles and Bunny Blessings from the Favorite Things release, for both cards. The first card has a blue, purple and grey color combo.
The second card has a orange, pink and peach color combo and also the addition of glitter.

This is a great way to use small, but interesting, scraps. I picked out a pile of both watercolor and ink scrap papers and die cut the half-moons of the Petal Builder from them. I die cut the base from blue cardstock, but later switched it to a circle instead.
For the second card, I did the same, just with different colors. I die cut the back piece from Simon Says Stamp Creamsicle cardstock.
Plan where to place each petal and then glue them down. I left a small gap between the petals on the card to the left.
Here you can see the back pieces, the flower shape from the Petal Builder set for the orange card and a circle from the Simon Says Stamp Basic Shapes Circles for the blue card.
The Simon Says Stamp Basic Shapes Circles have 18 circle dies! and they can be used and layered in so many ways. I die cut the card base from one of the larger circles. Fold the cardstock and place the cutting pad just inside the fold. The rest of the circles were die cut from watercolored papers and from Simon Says Stamp Shimmer Vellum.
Splatter the design with Winsor & Newton Permanent White Gouache. Add a little water to the paint first.
The cardbase was die cut from Simon Says Stamp Creamsicle cardstock and the rest of the pieces from inky or watercolored papers.
Use Glossy Accents to fill in the space between the petals and sprinkle with Ranger's Rock Candy glitter. Splatter with white gouache.
Distress the edges of the watercolor circles and layer together. The Simon Says Stamp Shimmer Vellum is very pretty.
I glued a button to the center and added Simon Says Stamp Pawsitively Dazzling Prism Gems around the button, with a larger one on top of the button.
The sentiment comes from Simon Says Stamp Bunny Blessings and was stamped on scrap paper.
Even the smallest scrap can be interesting when die cutting. Quite a few of these came from testing combinations of watercolor paint.
The Rock Candy Glitter adds a nice touch to the pink and orange design.
Here I used an orange buttons and Simon Says Stamp Pawsitively Dazzling Peachy Gems.
The sentiments comes from Simon Says Stamp Bunny Blessings and was stamped with Mandarin Pawsitively Saturated ink.
You can make these in any color combo imaginable.


No comments:
Post a Comment
Thank you so much for leaving a comment! Happy Crafting!