
Hi friends! I hope you are well! After a winter with almost no snow, we suddenly got plenty of snow. But I am in the mood for flowers, so here is a no-line flower watercolor tutorial.
Please note: this post has affiliate links, for which I receive a small percentage of sales generated by the link, at no extra cost to you.

Recently I watercolored this same flower stamp from Simon Says Stamp Pixie Dust, in a pen and ink style and with a dark background. You can find that tutorial here. Today, I did no-line watercolor instead, with a light background.


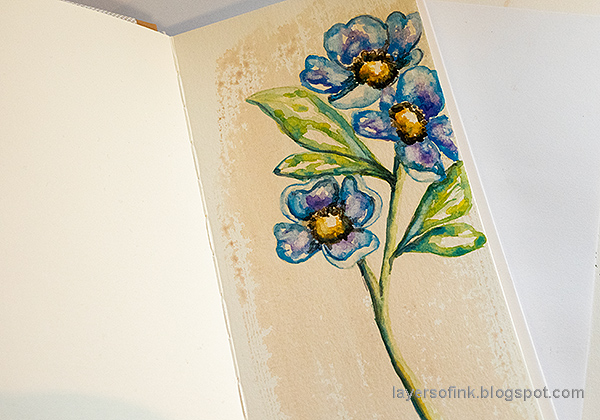


The flower might look a little messy up close.


Start by painting the background with a very light brown shade.

When dry, stamp the flower from Simon Says Stamp Pixie Dust on the background with Antique Linen ink. Mist with water before stamping.

Paint with a first layer of watercolor paint. I aimed for a fairly loose look and also left some of the paper unpainted.

Darken some areas and add shading to the flower.

Paint grass with the same colors used for the leaves. I wanted more highlights and decided to use Winsor & Newton Permanent White gouache for that. Mix a tiny bit of water into the paint. Also add some strands of grass with the white paint.

Stamp sentiments on the background. I used stamps from Tim Holtz Tiny Text and Simon Says Stamp Beautiful Butterflies. Stamp the background with Simon Says Stamp Stained Glass, mainly avoiding the flower.

Splatter the background with watercolor paint, a dark brown-grey and the same blue as you used on the flowers.


Some of the Antique Linen stamped outline still shows and I kind of like that.

The white gouache is opaque and give a chalky look to the white areas.

Drop in darker shades of blue and purple while the paint is still wet. If the colors are too dark, you can dabb some off with a paper towel before the paint dries.

Add some highlights to the stem of the flower too and make one side darker than the other.

I hope you enjoyed this tutorial! If you want to, you can make a tag or a tall card instead using the same techniques.

Thank you for visiting!
Happy crafting!
Anna-Karin
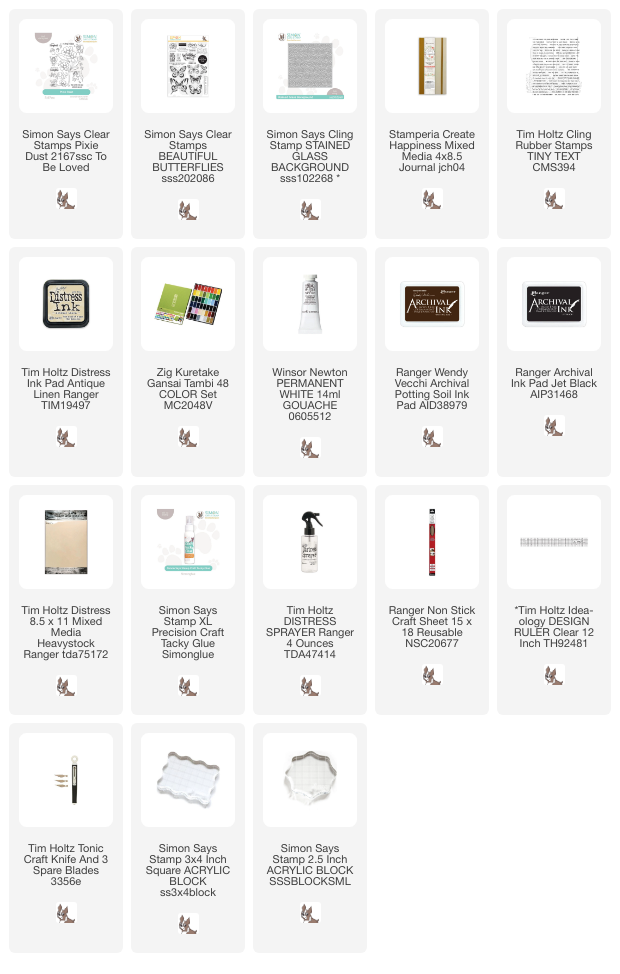
Supplies:
* Please note: the links are affiliate links, for which I receive a small percentage of sales generated by the link, at no extra cost to you.
* Please note: the links are affiliate links, for which I receive a small percentage of sales generated by the link, at no extra cost to you.
No comments:
Post a Comment
Thank you so much for leaving a comment! Happy Crafting!