Monday, November 1, 2021

Butterfly Scribbles Tutorial

Hi crafters! I hope you are well and had a good Halloween. We had cousins visiting and the two little ones had a great time trick and treating. 

Please note: this post has affiliate links, for which I receive a small percentage of sales generated by the link, at no extra cost to you.


This week we have a Any Holiday Occasion theme at the Simon Says Stamp Monday Challenge Blog. The first Monday of a new month the team is showcasing products from a specific designer and this week it is Visible Image. You can find their gorgeous stamps here. You don't have to use their products to join, but it is always fun if you do. 

Since it is a new month, we also have a new guest designer and during November Laura Cassina will join us. Don't miss the project that she has created for you.

Layers of ink - Butterfly Scribbles Art Journal Tutorial by Anna-Karin Evaldsson.

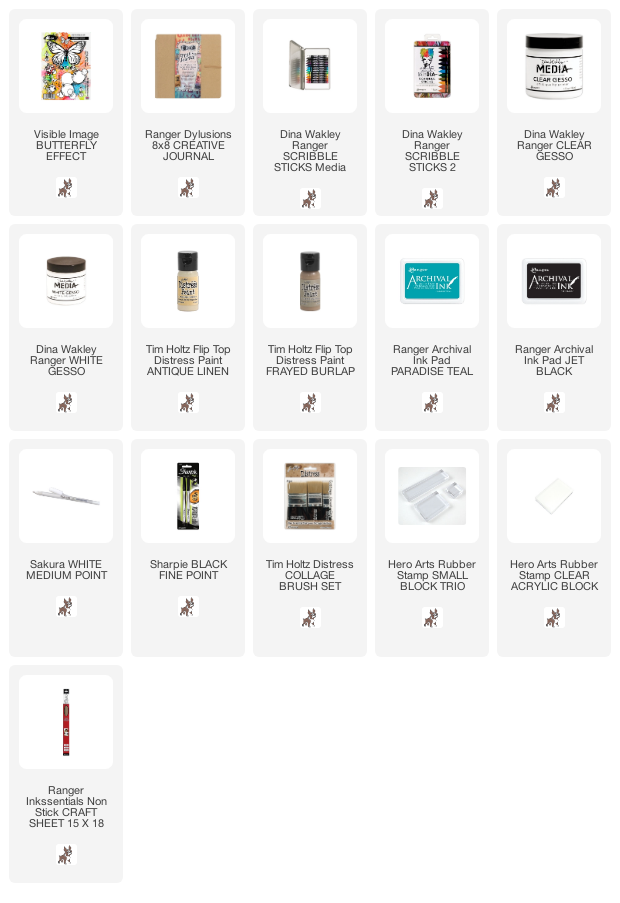
This project got its own life. I started out being inspired by the current week-long autumn school holiday, but then the art journal page and the gorgeous stamps took over and the colors went a little crazy, and no longer very autumn-like. So here is an autumn page, which turned into something of a spring page. I used the Visible Image Butterfly Effect stamp set. I worked in my 8x8 in my Square Creative Journal.

Layers of ink - Butterfly Scribbles Art Journal Tutorial by Anna-Karin Evaldsson. Coat with clear gesso.

I started out with a page which had been gessoed and then painted with Distress Paints and misted heavily. Coat with clear gesso. The clear gesso gives more tooth for the Scribble Sticks, but you can also skip it.

Layers of ink - Butterfly Scribbles Art Journal Tutorial by Anna-Karin Evaldsson.

Stamp with images from Visible Image Butterfly Effect.

Layers of ink - Butterfly Scribbles Art Journal Tutorial by Anna-Karin Evaldsson. Color with Scribble Sticks.

Pick up the paint directly from the Scribble Sticks with a paint brush and start painting the design. Use water to blend.

Layers of ink - Butterfly Scribbles Art Journal Tutorial by Anna-Karin Evaldsson.

Stamp with sentiments from the same stamp set. I really like these sentiments.

Layers of ink - Butterfly Scribbles Art Journal Tutorial by Anna-Karin Evaldsson.

Add a lot of splatters with Scribble Sticks. Dip in water and flick a paint brush against the sticks. I added even more splatters later. Stamp with one of the texture stamps and teal ink.

Layers of ink - Butterfly Scribbles Art Journal Tutorial by Anna-Karin Evaldsson.

These overlapping circles are cool and I like all the numbers and dots you see in clusters.

Layers of ink - Butterfly Scribbles Art Journal Tutorial by Anna-Karin Evaldsson.

I used a white and a black pen to add some details to the butterfly. 

Layers of ink - Butterfly Scribbles Art Journal Tutorial by Anna-Karin Evaldsson.

Don't worry if the stamping isn't perfect. I like how it picked up the background texture here.

Layers of ink - Butterfly Scribbles Art Journal Tutorial by Anna-Karin Evaldsson.

The sentiments were stamped so that they overlap the circles.

Layers of ink - Butterfly Scribbles Art Journal Tutorial by Anna-Karin Evaldsson.

Here you can see how visible the Scribble Stick splatters are. They don't disappear on the background.


I hope you will join us this week in our Any Holiday Occasion challenge. You have a chance to win a $25 gift voucher to do some fun shopping at Simon Says Stamp. You have until Monday 8am Ohio time. 1pm UK time, 2 pm CET to join in.


Do you use Instagram? If so please add #sssmchallenge so we can see your entries there too.


Thank you so much for visiting my blog today! 

Happy crafting!

Anna-Karin

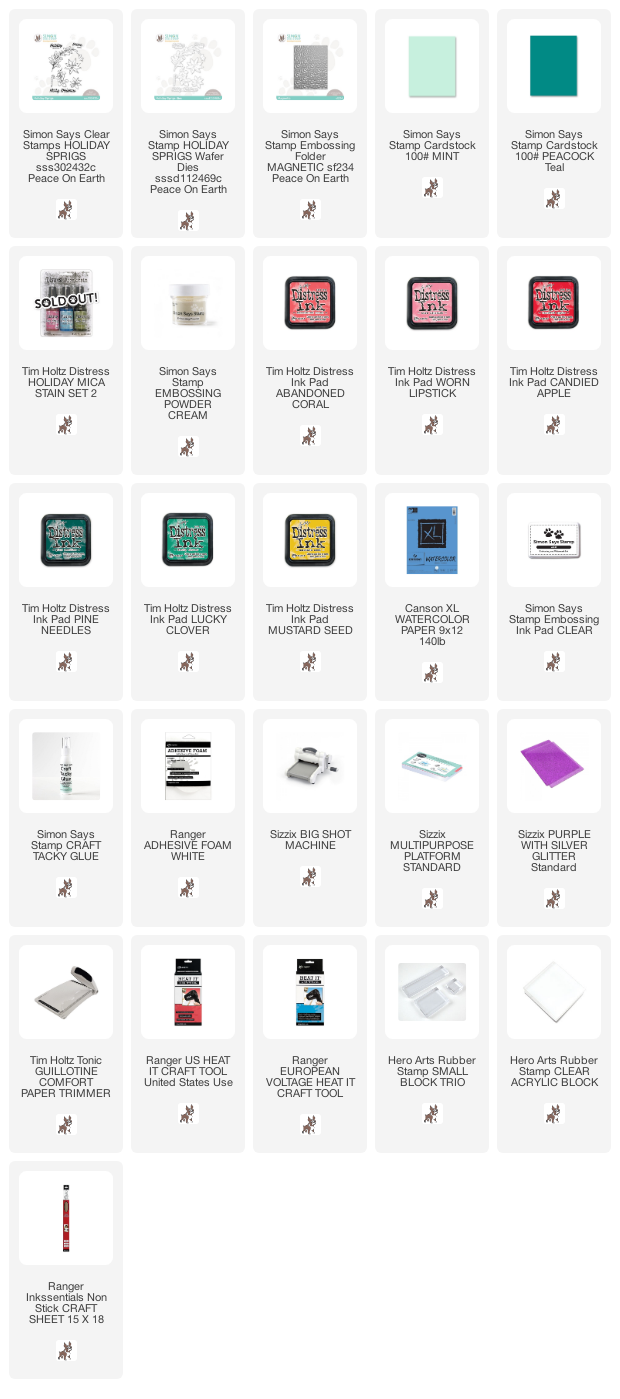
Supplies:

* Please note: the links are affiliate links, for which I receive a small percentage of sales generated by the link, at no extra cost to you.

Saturday, October 30, 2021

Poinsettia Card Tutorial

Hi friends! Today I have an embossed poinsettia card to share with you.

Please note: this post has affiliate links, for which I receive a small percentage of sales generated by the link, at no extra cost to you.

Layers of ink - Poinsettia Card Tutorial by Anna-Karin Evaldsson.

I love poinsettias and these flowers from Simon Says Stamp Holiday Sprigs from the Peace On Earth release are so pretty. For the background, I used a new Simon Says Stamp 3-D embossing folder, called Magnetic. 

Layers of ink - Poinsettia Card Tutorial by Anna-Karin Evaldsson.

Mist the Magnetic embossing folder with WinterBerry Mica Stain. Mist the paper with water and emboss. This gives you instant coloring and embossing in one step.

Layers of ink - Poinsettia Card Tutorial by Anna-Karin Evaldsson.

Emboss the images with Cream powder on watercolor paper.

Layers of ink - Poinsettia Card Tutorial by Anna-Karin Evaldsson. Color with Distress Ink.

Smear Distress Inks on a non-stick craft sheet and mist with water. Pick up with a paint brush and watercolor the images.

Layers of ink - Poinsettia Card Tutorial by Anna-Karin Evaldsson.

Die cut with the coordinating dies, or cut with scissors.

Layers of ink - Poinsettia Card Tutorial by Anna-Karin Evaldsson.

I used a Tonic tool set to shape the flowers and leaves, which gives the more life and dimension.

Layers of ink - Poinsettia Card Tutorial by Anna-Karin Evaldsson.

I splattered a little bit of Abandoned Coral on the background.

Layers of ink - Poinsettia Card Tutorial by Anna-Karin Evaldsson.

This type of carefree watercoloring is so fun. I even intentionally went over the lines here and there, to make them more visible.

Layers of ink - Poinsettia Card Tutorial by Anna-Karin Evaldsson.

Ink the sentiment with Lucky Clover and mist with water. Stamp on watercolor paper.

Layers of ink - Poinsettia Card Tutorial by Anna-Karin Evaldsson.

Here you can see the dimension better. I layered the flowers together.


Thank you so much for taking the time to stop by here today!

Happy crafting!

Anna-Karin

Supplies:

* Please note: the links are affiliate links, for which I receive a small percentage of sales generated by the link, at no extra cost to you.

Friday, October 29, 2021

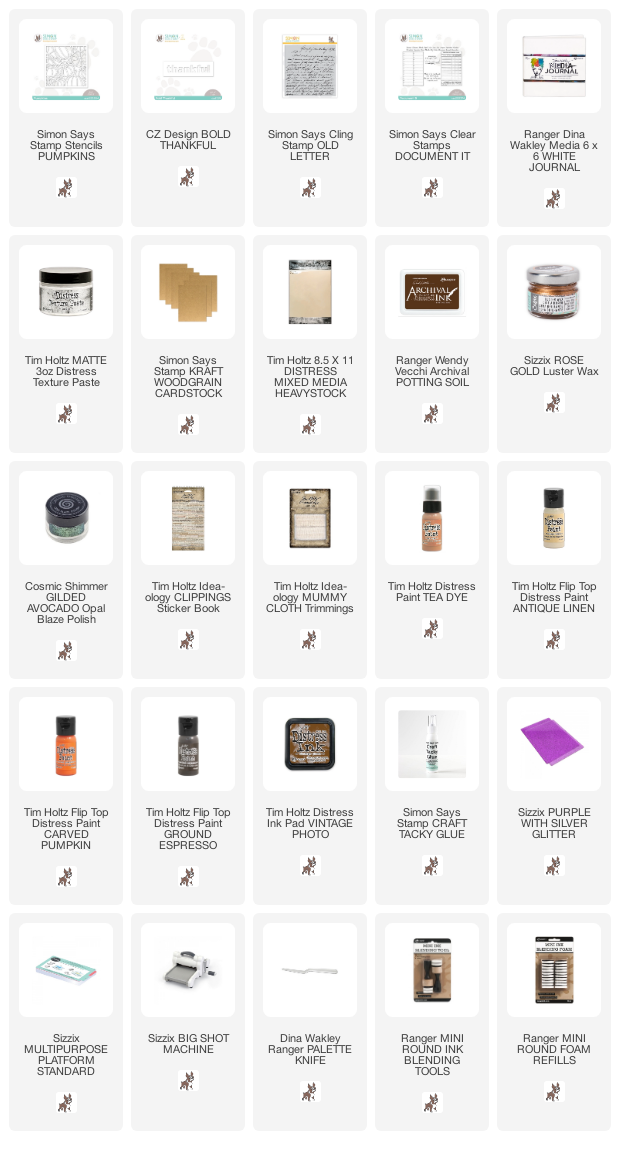
Pumpkin Art Journal Page

Hi friends! I have an art journal tutorial to share today, but it would work great as a card too.

Please note: this post has affiliate links, for which I receive a small percentage of sales generated by the link, at no extra cost to you.


Layers of ink - Pumpkin Art Journal Tutorial by Anna-Karin Evaldsson.

I wanted to combine this gorgeous Simon Says Stamp Pumpkins stencil with fairly neutral colors and quite a bit of texture. Instead of making all the pumpkins orange, I let some of the be cream and brown. This was done in my Dina Wakley White 6 x 6 in journal, but you could make a square card instead. I had a page which had once been a failure and which had been coated with gesso. It gave just a hint of color to the background. 

Layers of ink - Pumpkin Art Journal Tutorial by Anna-Karin Evaldsson.

Add a little brown paint to texture paste and apply through the stencil with a palette knife. Let dry.

Layers of ink - Pumpkin Art Journal Tutorial by Anna-Karin Evaldsson.

Place the stencil back over the design and use a small foam applicator to paint the pumpkins. 

Layers of ink - Pumpkin Art Journal Tutorial by Anna-Karin Evaldsson.

When dry, stamp the Simon Says Stamp Old Letter Background stamp with Potting Soil ink.

Layers of ink - Pumpkin Art Journal Tutorial by Anna-Karin Evaldsson.


Layers of ink - Pumpkin Art Journal Tutorial by Anna-Karin Evaldsson.

I used Tim Holtz Clippings Stickers for my sentiment.

Layers of ink - Pumpkin Art Journal Tutorial by Anna-Karin Evaldsson.

The texture paste, combined with the paint and stamping, gives a nice texture to the background, something you want to reach out and touch.

Layers of ink - Pumpkin Art Journal Tutorial by Anna-Karin Evaldsson.

Die cut the Bold Thankful from Simon Says Stamp Kraft Wood Grain paper and heavystock paper. Stamp 'October' three times, it comes from the Document It set. The cheese cloth was dyed with brown Distress Inks, misted and left to dry.

Layers of ink - Pumpkin Art Journal Tutorial by Anna-Karin Evaldsson.

Here you can see a little of the shine from the Luster Wax and Opal Blaze Polish.


Thank you so much for taking the time to stop by here today!

Happy crafting!

Anna-Karin

Supplies:

* Please note: the links are affiliate links, for which I receive a small percentage of sales generated by the link, at no extra cost to you.

Wednesday, October 27, 2021

Halloween Silhouettes

 Hi friends! I have fun tag tutorial to share with you, using glossy paper.

Please note: this post has affiliate links, for which I receive a small percentage of sales generated by the link, at no extra cost to you.

Layers of ink - Halloween Silhouettes on glossy cardstock by Anna-Karin Evaldsson.

I really like glossy paper, and particularly the effect of dye ink on glossy paper, so I was happy to see that Simon Says Stamp now sells glossy cardstock. You can do so many techniques on glossy cardstock and you'll often get a different result than you would on ordinary cardstock. Here I created an easy Halloween scene, but the background would work well for any winter project, if you just remove the bats.

Layers of ink - Halloween Silhouettes on glossy cardstock by Anna-Karin Evaldsson. Ink with Distress Ink.

Start by cutting or die cutting a tag from the glossy paper. Ink with various shades of Distress Ink. When I ink on glossy paper, I always start with the lightest ink first, which almost acts as a conditioner and makes it easier to get a smooth application of the darker inks. You can also use the lightest ink to blend the darker inks.

Layers of ink - Halloween Silhouettes on glossy cardstock by Anna-Karin Evaldsson. Mist with water.

Mist with water and add water droplets. Dabb with a paper towel.

Layers of ink - Halloween Silhouettes on glossy cardstock by Anna-Karin Evaldsson. Stamp with Simon Says Stamp All Seasons Tree.

Stamp trees from Simon Says Stamp All Seasons Tree, with Archival Night ink. The stamp them again with Cobalt ink. The Night ink is a very dark blue, almost black, while the Cobalt is lighter, creating a sense of distance. In case you don't have the Night ink, you can use Jet Black instead.

Layers of ink - Halloween Silhouettes on glossy cardstock by Anna-Karin Evaldsson. Stamp with Simon Says Stamp Crackle Background.

Stamp the ground area with the Simon Says Stamp Crackle Background and Watering Can ink. You can stamp it more than once if you want more texture. Stamp bats and sentiments with black ink.

Layers of ink - Halloween Silhouettes on glossy cardstock by Anna-Karin Evaldsson.

The stars were added with a white gel pen. 

Layers of ink - Halloween Silhouettes on glossy cardstock by Anna-Karin Evaldsson.

This design of funny trick or treaters is one of my favorites among Tim Holtz's Halloween designs. It comes in a stamp form too, but here I used the die from Halloween Vault Series. Die cut from heavystock paper. Ink with Black Soot and then add embossing powder in several layers. I used clear, Gunmetal, Mixed Media Hammered and Mixed Media Sea powder. Be very careful when using a heat tool and never ever touch the melted powder until it has cooled down completely.

Layers of ink - Halloween Silhouettes on glossy cardstock by Anna-Karin Evaldsson.

Inks don't always act the same way on glossy cardstock. You can see that the Cobalt ink has almost 'melted' into the cardstock, while the Night ink sits more on top. This adds to the effect of creating distance.

Layers of ink - Halloween Silhouettes on glossy cardstock by Anna-Karin Evaldsson.

I scribbled a border and a shadow with a black pen.

Layers of ink - Halloween Silhouettes on glossy cardstock by Anna-Karin Evaldsson.

Die cut the design from black cardstock too, and offset slightly for a shadow effect.


Thank you so much for taking the time to stop by here today!

Happy crafting!

Anna-Karin

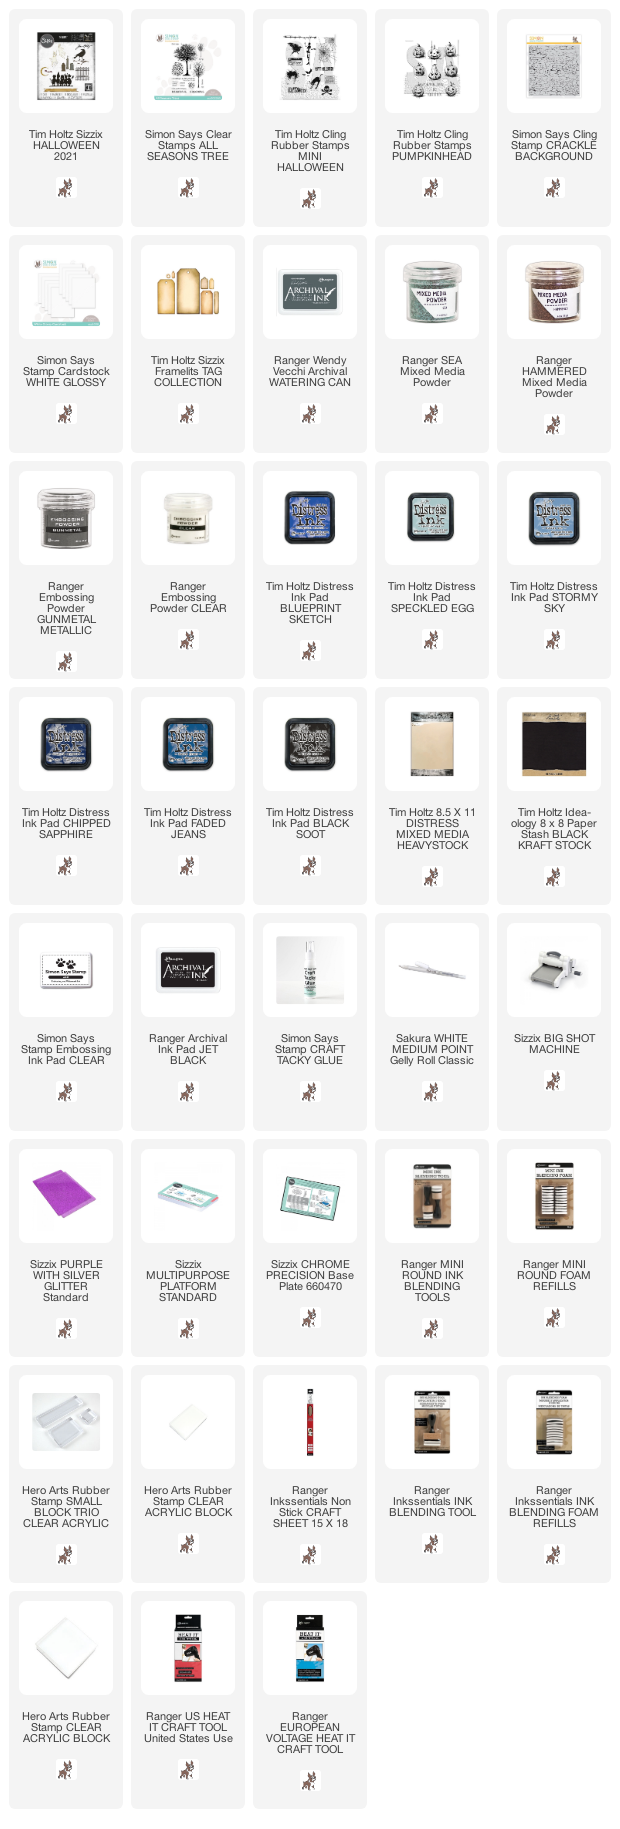
Supplies:

* Please note: the links are affiliate links, for which I receive a small percentage of sales generated by the link, at no extra cost to you.

Monday, October 25, 2021

Dry embossed color blocks

Hi friends! The leaves are falling and it gets darker a little earlier every evening. The reduced amount of daylight is my least favorite part of winter, but it might make you appreciate the light during the rest of the year more.

Please note: this post has affiliate links, for which I receive a small percentage of sales generated by the link, at no extra cost to you.


This week we have a 'Thinking of you' theme at the Simon Says Stamp Monday Challenge Blog. I hope you will join us! Don't miss the last project by our October guest designer Lyla aka A Chief’s Wife’s Heart’s A Fire.
Layers of ink - Dry embossed color blocks card tutorial by Anna-Karin Evaldsson.

I made a thinking of you card this week, with a dry embossed color blocked background. It's a fun and easy technique. You can skip the distressing if you want a cleaner look.

Layers of ink - Dry embossed color blocks card tutorial by Anna-Karin Evaldsson.

Start by adhering Tim Holtz Warm kraft stock papers to a piece of kraft cardstock. It is better to let them overlap a little, which I forgot.

Layers of ink - Dry embossed color blocks card tutorial by Anna-Karin Evaldsson. Emboss in Simon Says Stamp Magnetic folder.

Emboss in the Simon Says Stamp Magnetic folder. The reasons for why it is better to let the papers overlap slightly is that the 3-D embossing folders emboss so deeply that you might get a small gap in between the panels otherwise, which I got in a a few places. Since I distressed the papers, it doesn't really show in the end, but to avoid the gap, it is better to overlap the papers.

Layers of ink - Dry embossed color blocks card tutorial by Anna-Karin Evaldsson.

Sand and ink the papers.

Layers of ink - Dry embossed color blocks card tutorial by Anna-Karin Evaldsson. Stamp with Simon Says Stamp Document It stamp set.

Stamp the 'Record of books used' stamp from Simon Says Stamp Document It on a Tim Holtz Journal Card, with brown ink.

Layers of ink - Dry embossed color blocks card tutorial by Anna-Karin Evaldsson.

Stamp a sentiment from Simon Says Stamp So Talkative and ink with Spiced Marmalade and Vintage Photo.

Layers of ink - Dry embossed color blocks card tutorial by Anna-Karin Evaldsson.

Die cut leaves with the Simon Says Stamp Tender Leaves die, sand and ink slightly. Shape with a ball embossing tool to give them life.

Layers of ink - Dry embossed color blocks card tutorial by Anna-Karin Evaldsson.

The main panel was mounted on a piece of burlap that I found on my desk. I also used a Tim Holtz Quote Flair button.

Layers of ink - Dry embossed color blocks card tutorial by Anna-Karin Evaldsson.

The card was finished some sequins and pearls.

I hope you will join us this week in our Thinking of you challenge. You have a chance to win a $25 gift voucher to do some fun shopping at Simon Says Stamp. You have until Monday 8am Ohio time. 1pm UK time, 2 pm CET to join in.


Do you use Instagram? If so please add #sssmchallenge so we can see your entries there too.


Thank you so much for visiting my blog today! 

Happy crafting!

Anna-Karin

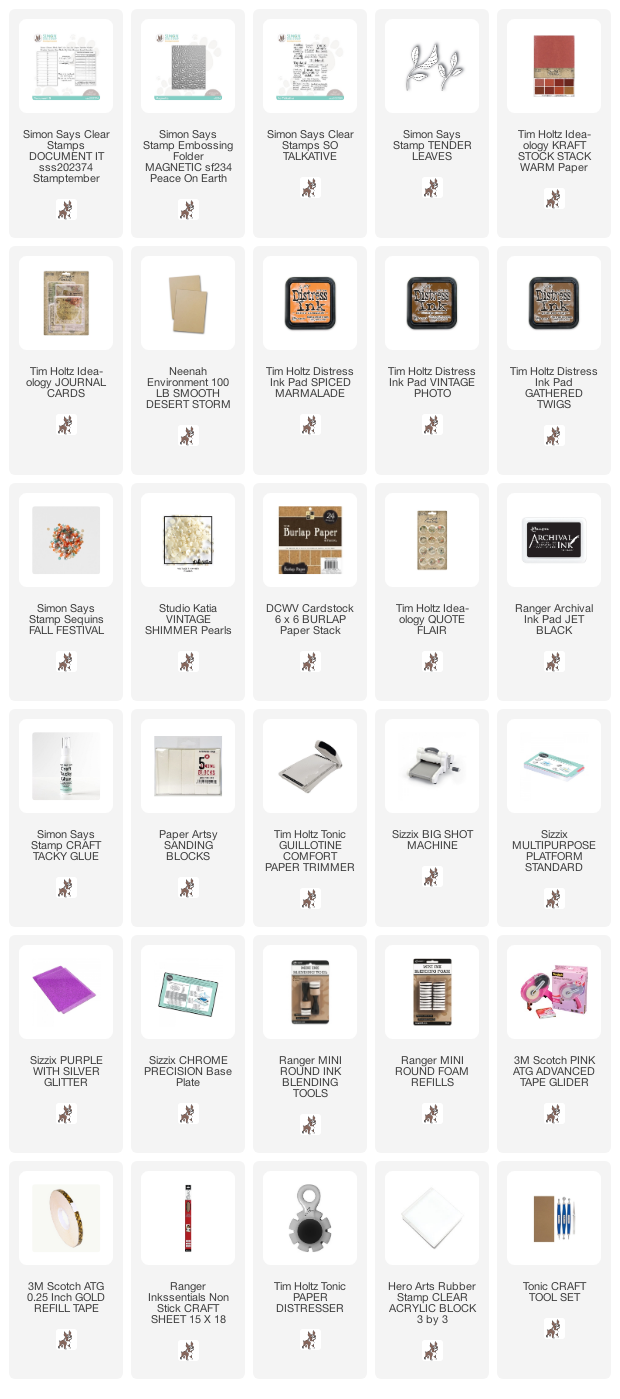
Supplies:

* Please note: the links are affiliate links, for which I receive a small percentage of sales generated by the link, at no extra cost to you.