Monday, April 13, 2020

Embossed Garden Tutorial

Hello friends! I hope you are well and that your Easter has been good. This was a different Easter, not seeing family or friends. In Sweden, children also knock on the neighbors' doors dressed out and handing out Easter cards, getting sweets in return (a bit like Halloween, but not spooky). This year, that had to be cancelled. Instead the Easter bunny has been hiding eggs and sweets both in the garden and in the forest. 

The boys also crafted an Easter robot which can be filled with sweets. I posted some photos of that in my Instagram account, if you want to have a look.



This week at the Simon Says Stamp Monday Challenge Blog we have an 'E is for' challenge. Lots of options here! I went with Embossing (both dry and heat) and Ephemera. Don't miss the project by our April guest designer Tracey Sabella, with her beautiful blog Garden of Grace.

Layers of ink - Embossed Card Tutorial by Anna-Karin Evaldsson.

I combined dry and heat embossing on this card and used some fun techniques. It started out as a tag, but then I liked one of the non-tag technique experiment pieces best and decided to make a card instead. Ranger's Mixed Media powders are so cool and I really like their multi-colored look.

Layers of ink - Embossed Card Tutorial by Anna-Karin Evaldsson. Apply Scribble Sticks to Lumber 3-D Texture Fade.

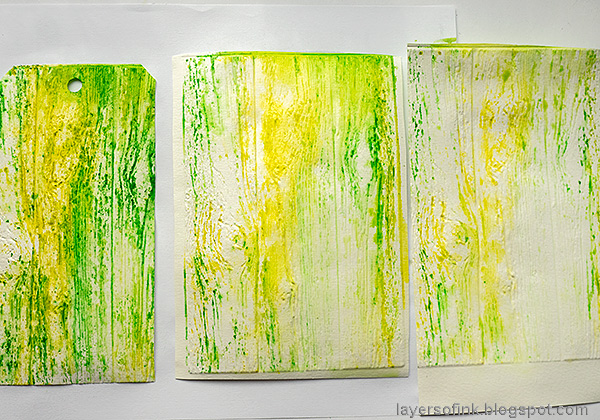
For the background, I got the idea of trying to apply color directly to an embossing folder with Scribble Sticks. I used Tim's Lumber 3-D folder and simply scribbled the sticks over the folder. The colors come from Scribble Sticks 1 and Scribble Sticks 2. Some tiny pieces of pigment will be sprinkled over the folder as they are shaved off from the sticks. Don't shake these off, since they add to the effect.
Layers of ink - Embossed Card Tutorial by Anna-Karin Evaldsson.

Mist a piece of watercolor paper generously with water on both sides. You can also soak the paper in water in a basin. Place it in the folder and emboss. Repeat with more pieces of paper, until there is no more pigment on the folder. Here you can see the first, second and third impression that I made, with the colors going continuously lighter. Today, I wanted a light background, so I used the piece to the right. The other two will be great starting points for other projects.
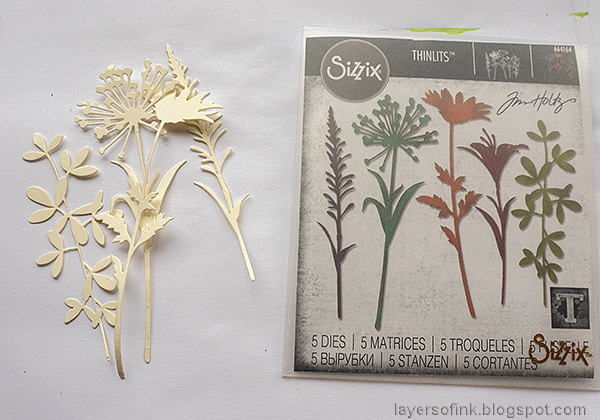
Layers of ink - Embossed Card Tutorial by Anna-Karin Evaldsson. Die cut Wildflower Stems 2.

Die cut flowers from heavystock paper with Tim Holtz Wildflower Stems 2 set.

Layers of ink - Embossed Card Tutorial by Anna-Karin Evaldsson. Emboss with Ranger embossing powders.

Apply embossing ink to one area at a time and emboss with various powders. Add tiny bits of other powders here and there for a varied look. I used these powders by Ranger Mixed Media: Lime, Scarlet, Sea and Hammered, as well as Mint Chip Speckle and glittery Aqua Tinsel. Always take great care when heat embossing and NEVER touch the melted powder until it has cooled down completely.

Layers of ink - Embossed Card Tutorial by Anna-Karin Evaldsson.

For this flower, I used Mint Chip, a little bit of white SSS powder and Sea. The sentiment comes from a SSS Sentiment Strip.
Layers of ink - Embossed Card Tutorial by Anna-Karin Evaldsson.

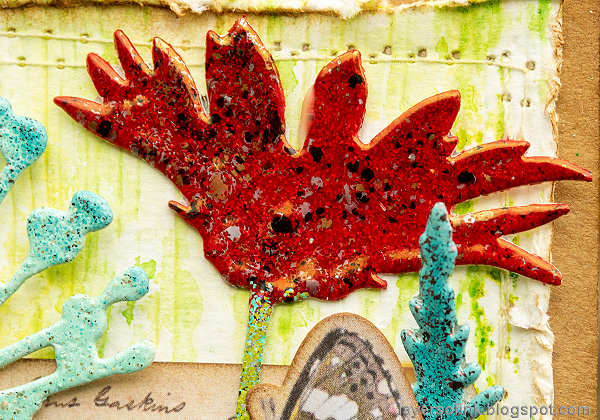
The Mixed Media Scarlet powder is a favorite of mine. I love the bits of other colors in that gorgeous shade of red.
Layers of ink - Embossed Card Tutorial by Anna-Karin Evaldsson.

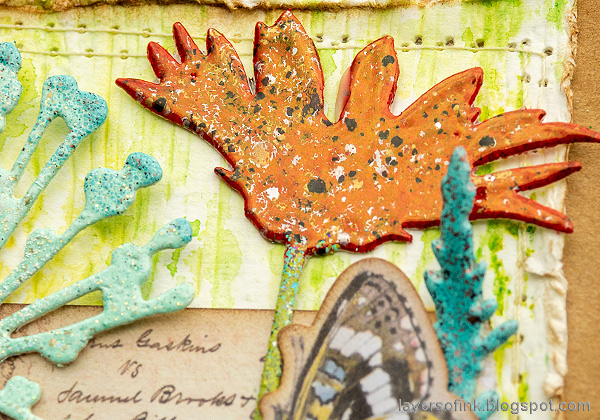
Here you can see that the powder has a metallic shine if you angle it in the light.

Layers of ink - Embossed Card Tutorial by Anna-Karin Evaldsson.

I also die cut and embossed two Adorned swirls, but ended up using just one of them, to function as extra greenery. The darker specks comes from the Hammered powder.
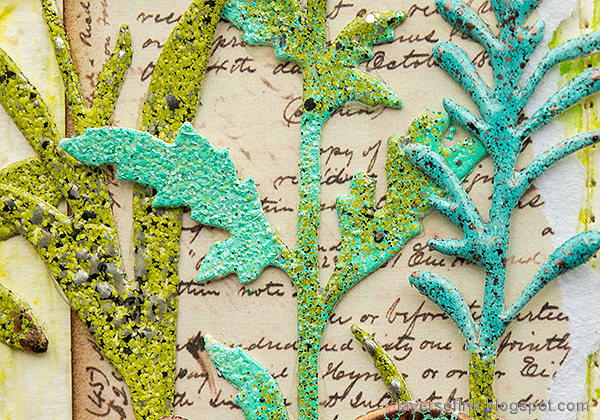
Layers of ink - Embossed Card Tutorial by Anna-Karin Evaldsson. Ranger Mixed Media Powder.

Here you can see both Lime, Aqua Tinsel and Sea. Don't they look great together? The ephemera letter in the background comes from Tim's Field Notes pack.
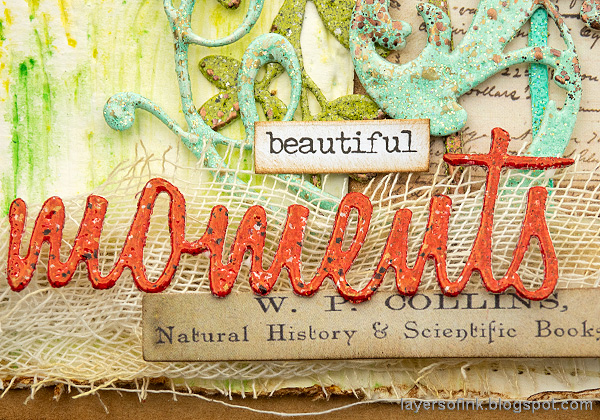
Layers of ink - Embossed Card Tutorial by Anna-Karin Evaldsson. Emboss the die cut word.

At the bottom of the card there are three pieces of mummy cloth, first colored with Antique Linen. The word from Friendship Words Script was embossed with Scarlet powder. I also used a Small Talk sticker and a piece of ephemera.
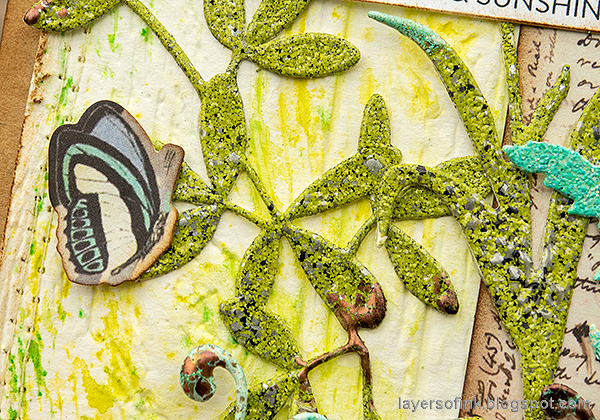
Layers of ink - Embossed Card Tutorial by Anna-Karin Evaldsson. Tim Holtz Field Notes ephemera.

The butterflies comes from the Field Notes Snippets set.
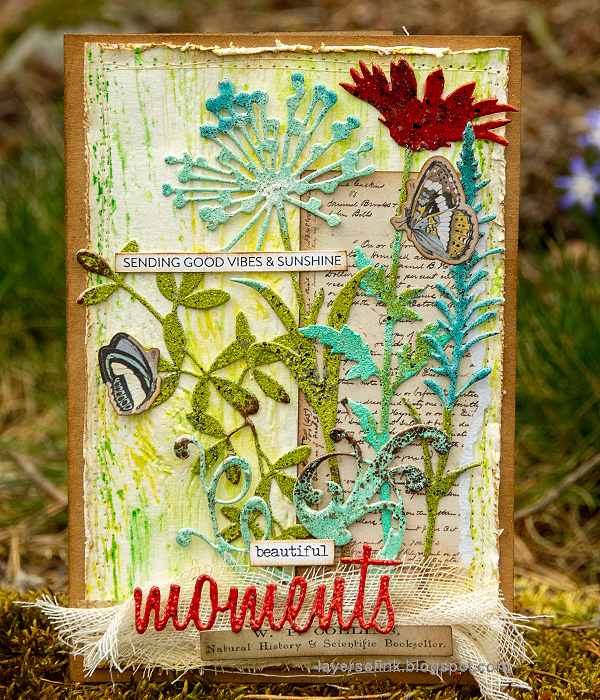
Layers of ink - Embossed Card Tutorial by Anna-Karin Evaldsson.

Can you spot the blue flowers in the background? We finally have some spring flowers in the lawn and the deer don't seem to eat these luckily.

I hope you will join us this week in our E Is For challenge. As always, you have a chance to win a $50 gift voucher to do some fun shopping at Simon Says Stamp. You have until next Monday 8am Ohio time. 1pm UK time, 2 pm CET to join in.

As you may know, the Simon Says Stamp Store is accepting new orders, but have longer shipping times for the moment due to the coronavirus. With this in mind we have made the difficult decision to suspend the $50 voucher for this challenge.

We know that many people are staying safe at home and we would love it if you would continue to enter the challenges and have fun! We are all in this together!


Don't forget to follow Simon Says Stamp on Instagram, they post great stuff daily. We also have a new hashtag #SSSUnitedWeCraft


Do you use Instagram? If so please add #sssmchallenge so we can see your entries there too.


Thank you so much for taking the time to visit my blog today!  

Happy crafting!

Anna-Karin

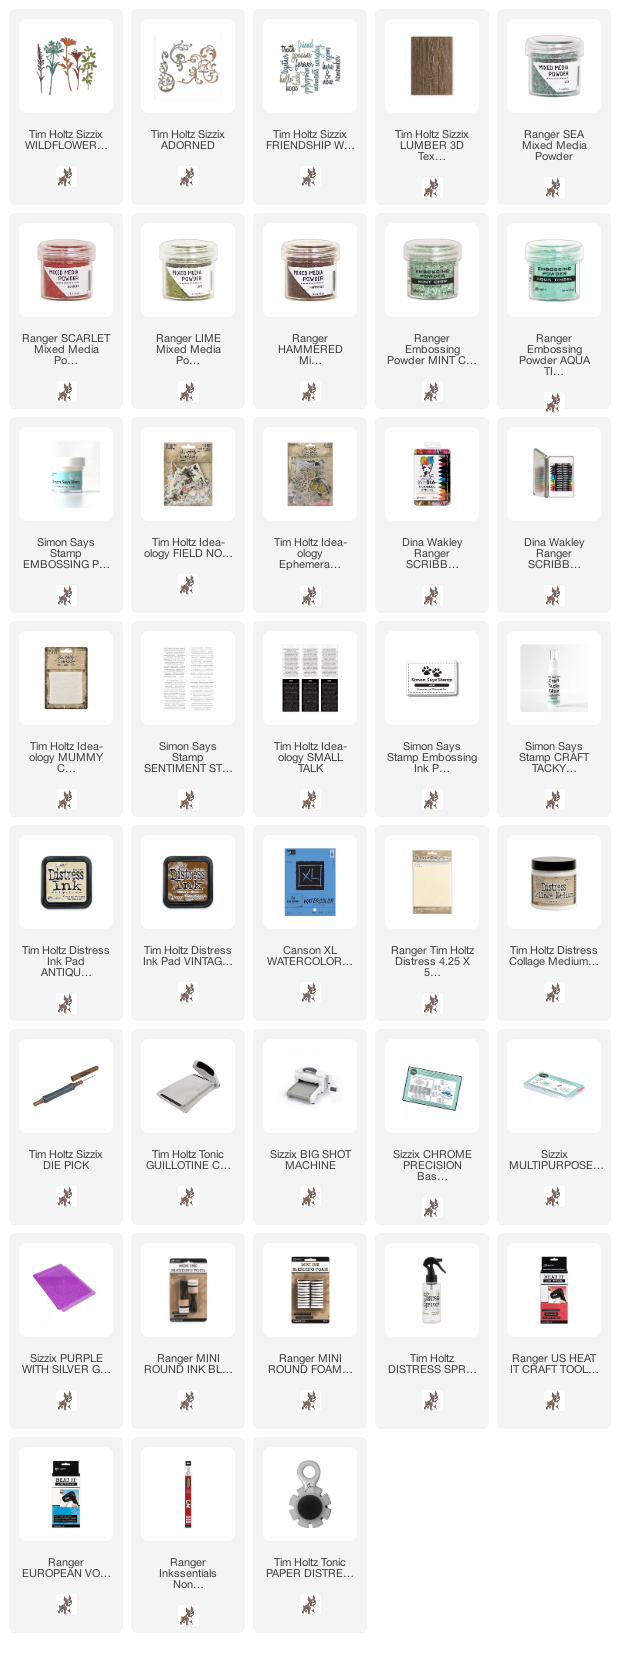
Supplies:

* Please note: the links are affiliate links, for which I receive a small percentage of sales generated by the link, at no extra cost to you.


Tuesday, April 7, 2020

Lavender Art Journal Page

Hello friends! Today I have a quick and simple art journal tutorial to share with you, combining Distress Ink and Distress Oxide Inks. 

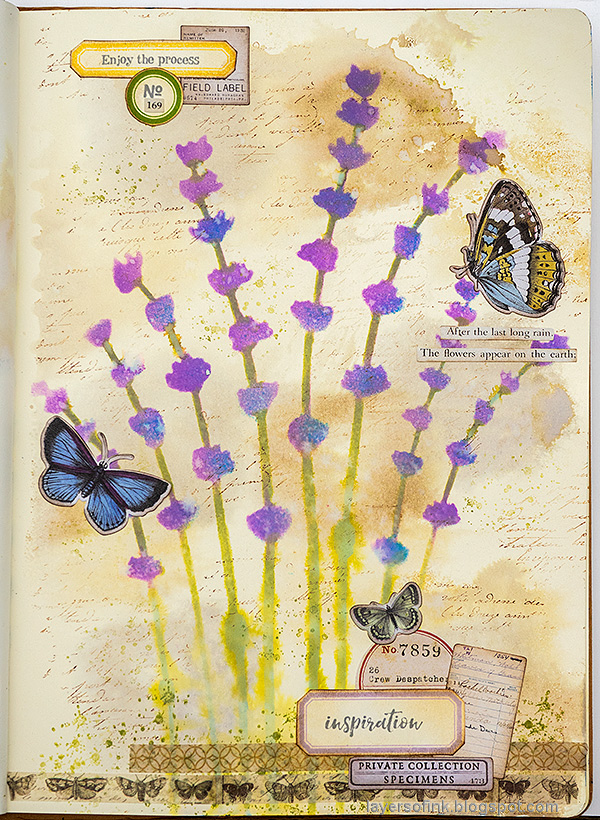
Layers of ink - Lavender Art Journal Page by Anna-Karin Evaldsson.

I used the Darkroom Door Lavender Large stencil for the flowers and worked in my Large Dylusions Journal. If you want to make a smaller project, use the Lavender Small stencil instead, which is perfect for a smaller page or for a card. You can see a project I made with that stencil here. The page was embellished with Field Notes ephemera by Tim Holtz.

Layers of ink - Lavender Art Journal Page by Anna-Karin Evaldsson.

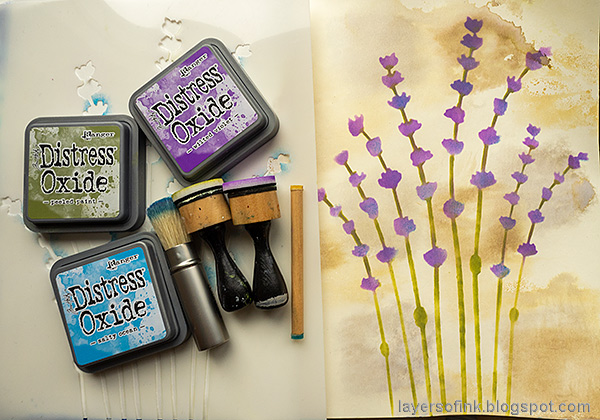
Start by smearing three shades of Distress Ink on a non-stick craft sheet. Mist with water and press the paper into the ink.

Layers of ink - Lavender Art Journal Page by Anna-Karin Evaldsson. Ink with Distress Oxide.

When dry, place the stencil over the background and start applying Distress Oxide Inks. I used a combination of mini round ink-blending tools (for the purple of the flowers and for some of the green), a blending brush to add some blue texture to the flowers, and finally also a Detail Blending Tool for the fine details, especially with the green ink.

Layers of ink - Lavender Art Journal Page by Anna-Karin Evaldsson. Mist with water.

Mist lightly with water to activate the Oxide Ink. I misted heavier on the stems, since I wanted them to be more diffuse.

Layers of ink - Lavender Art Journal Page by Anna-Karin Evaldsson. Stamp more texture.

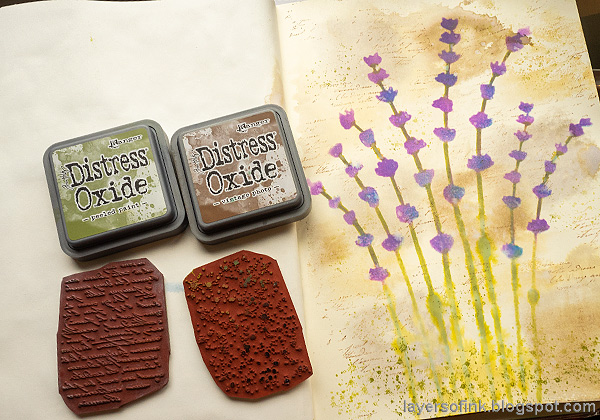
When dry, add texture with the Darkroom Door French Script and Splatter Texture stamps.

Layers of ink - Lavender Art Journal Page by Anna-Karin Evaldsson. Stamp labels.

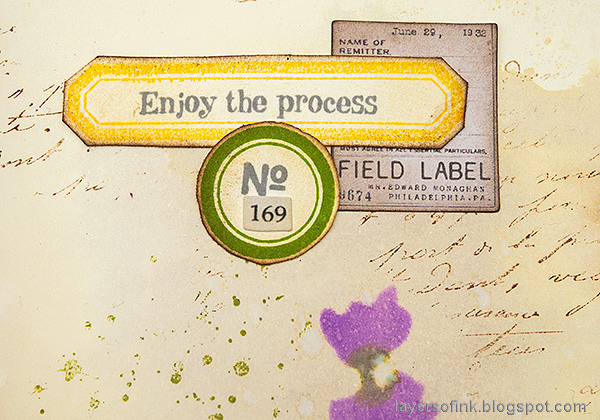
Stamp labels on cream paper with the Darkroom Door Lots of Labels set and sentiments with the Make Art set and grey ink.

Layers of ink - Lavender Art Journal Page by Anna-Karin Evaldsson.

Combine the labels with ephemera from Tim's Field Notes and Field Notes Snippets packs.

Layers of ink - Lavender Art Journal Page by Anna-Karin Evaldsson.

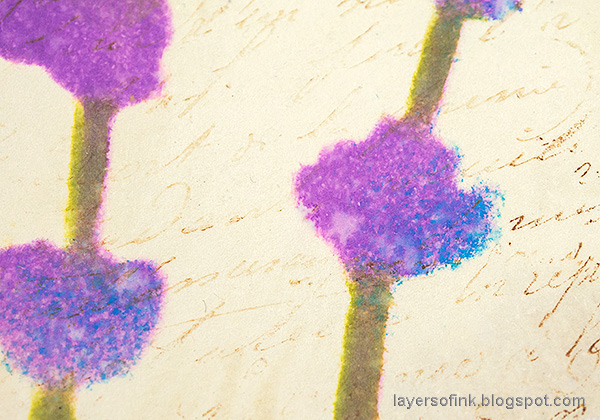
Here you can see the cool effect of the combination of purple and blue. Those blue textured dots are my favorite part of this page.

Layers of ink - Lavender Art Journal Page by Anna-Karin Evaldsson.

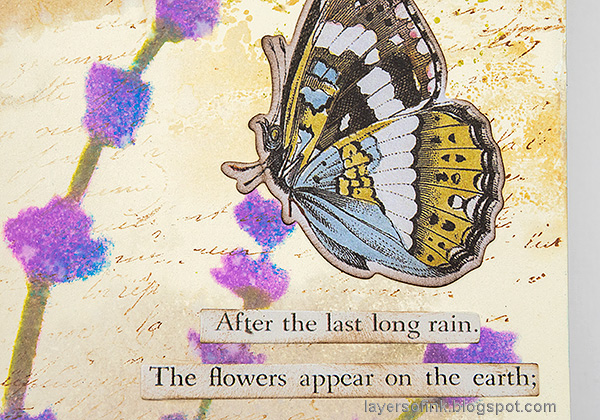
I also used butterflies from Field Notes and Field Notes Snippets, as well as two Clippings Stickers.

Layers of ink - Lavender Art Journal Page by Anna-Karin Evaldsson.

At the bottom of the page there are two strips of Rose Design Tape and more labels and ephemera.


Thank you so much for taking the time to visit my blog today!  

Happy crafting!

Anna-Karin

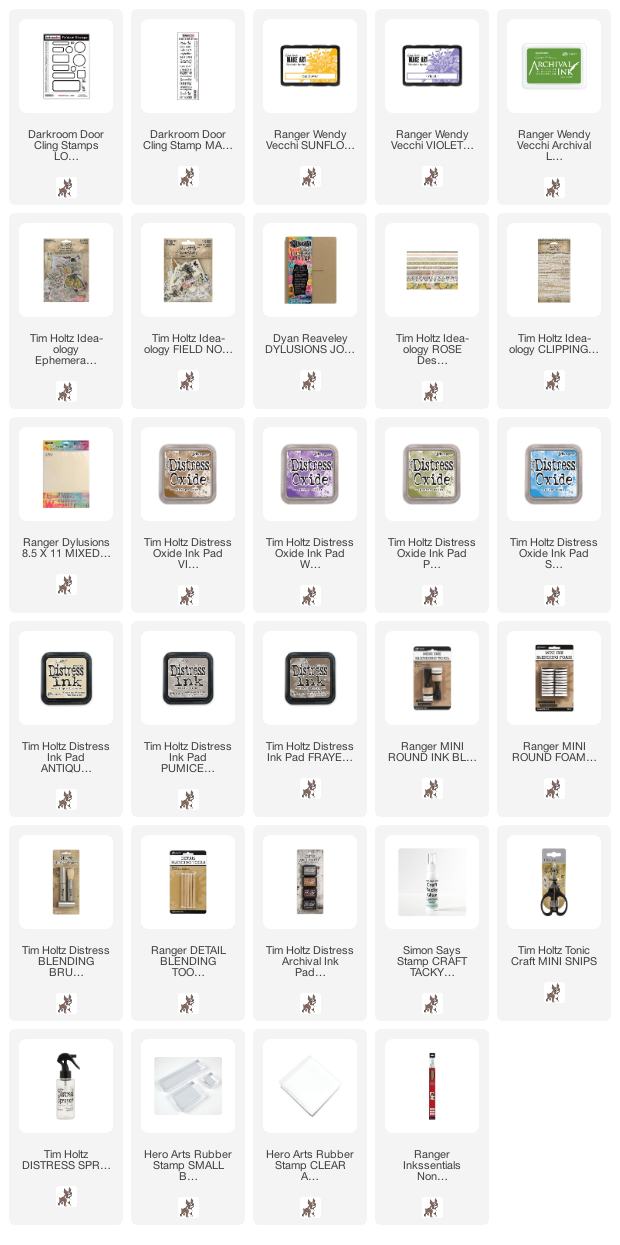
Supplies:

* Please note: the links are affiliate links, for which I receive a small percentage of sales generated by the link, at no extra cost to you.


Other supplies:

Darkroom Door: Lavender Stencil Large, French Script Texture Stamp, Splatter Texture Stamp.

Monday, April 6, 2020

Magical Nature Wall-hanging

Hello friends! I hope you are well and healthy. We had a quiet weekend. Today the sun is shining. A few crocus flowers are showing up in the garden, but they quickly disappear again since the deer think they are a fantastic snack.


This week at the Simon Says Stamp Monday Challenge Blog we have an Add Some Texture challenge. So many options with this one! I love texture and you can create it in many ways. I hope you will join us. Since it is the first Monday of a new month, the team is showcasing products by a specific designer/company, and this week it is Stamperia. You can see Stamperia's gorgeous papers, stamps and other products here. You don't have to use their products to join us. 

We also have a new guest designer and its Tracey Sabella, with her gorgeous blog Garden of Grace. I hope you will stop by and visit her. 

Layers of ink - Magical Nature Wall-Hanging Tutorial by Anna-Karin Evaldsson.

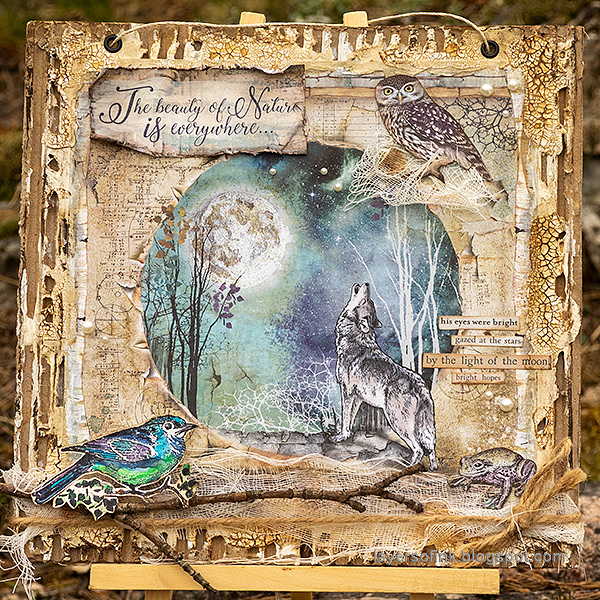
I made a wall-hanging for the children, to convey the beauty and magic of nature. I used papers from the Cosmos paper pack, which is filled with fantastic nature themed papers. I picked my favorite of the papers and made it the focal point of this project. It was fun to use various media to almost make the paper a part of the cardboard background. The project is 9.5 x 9.5 in.

Layers of ink - Magical Nature Wall-Hanging Tutorial by Anna-Karin Evaldsson.

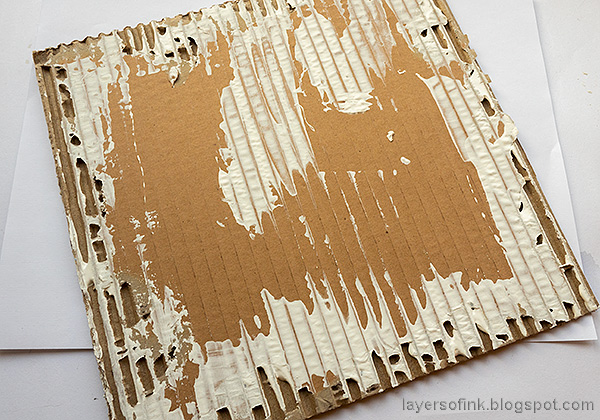
Cardboard is great for instant texture and it is also a great way to recycle a box. Tear off some of the top layer and then add gesso.

Layers of ink - Magical Nature Wall-Hanging Tutorial by Anna-Karin Evaldsson. Color the bird with watercolor pencils.

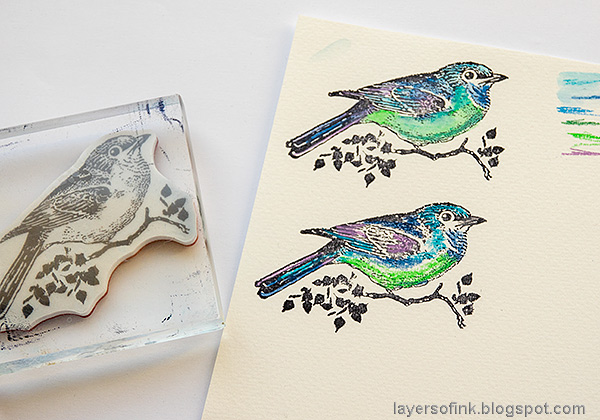
Stamp the bird from the Cosmos Bird set on watercolor paper with Jet Black ink. Color with watercolor pencils. Here you can see that I have already added water to the bird at the top, and not yet to the second bird.

Layers of ink - Magical Nature Wall-Hanging Tutorial by Anna-Karin Evaldsson.

Blend with water and add more shading and details.

Layers of ink - Magical Nature Wall-Hanging Tutorial by Anna-Karin Evaldsson. Stamperia Cosmos papers.

Here's the Cosmos paper I used and I also cut out an owl and a frog from two other patterned papers.

Layers of ink - Magical Nature Wall-Hanging Tutorial by Anna-Karin Evaldsson.

Glue to the cardboard with matte medium.

Layers of ink - Magical Nature Wall-Hanging Tutorial by Anna-Karin Evaldsson.

When dry, add Matte Texture paste around the edges, for texture and to hide the edges of the paper.

Layers of ink - Magical Nature Wall-Hanging Tutorial by Anna-Karin. Add crackle paste. Evaldsson.

When dry, continue with Distress crackle paste, which will hide the edges even more. But don't use it everywhere.

Layers of ink - Magical Nature Wall-Hanging Tutorial by Anna-Karin Evaldsson.

Crackles appear as the paste dries. Water down Distress Paint and paint. Mist with more water if needed.

Layers of ink - Magical Nature Wall-Hanging Tutorial by Anna-Karin Evaldsson.

I added some mummy cloth under the owl.

Layers of ink - Magical Nature Wall-Hanging Tutorial by Anna-Karin Evaldsson.

The sentiment was stamped on another piece of patterned paper, which was washed with white paint first, to tone down the pattern, so that the text would be easy to read.

Layers of ink - Magical Nature Wall-Hanging Tutorial by Anna-Karin Evaldsson. Clippings stickers found poetry.

I picked out a sentiment using Clippings Stickers. You can combine them in so many ways, like found poetry.

Layers of ink - Magical Nature Wall-Hanging Tutorial by Anna-Karin Evaldsson.

I added two strips of mummy cloth to the bottom and colored it a little with left-over watered down paint. The twine was recycled from packaging.

Layers of ink - Magical Nature Wall-Hanging Tutorial by Anna-Karin Evaldsson.

I got a stick from the garden and used it as a home for the bird. The bird was adhered with two layers of foam tape.

Layers of ink - Magical Nature Wall-Hanging Tutorial by Anna-Karin Evaldsson. Crackle texture.

Here you can see the cool texture of the gesso, matte paste, crackle paste and cardboard.

I hope you will join us this week in our Add Some Texture challenge. As always, you have a chance to win a $50 gift voucher to do some fun shopping at Simon Says Stamp. You have until next Monday 8am Ohio time. 1pm UK time, 2 pm CET to join in.
As you may know, the Simon Says Stamp Store is accepting new orders, but have longer shipping times for the moment due to the coronavirus. With this in mind we have made the difficult decision to suspend the $50 voucher for this challenge.

We know that many people are staying safe at home and we would love it if you would continue to enter the challenges and have fun! We are all in this together!


Don't forget to follow Simon Says Stamp on Instagram, they post great stuff daily. We also have a new hashtag #SSSUnitedWeCraft


Do you use Instagram? If so please add #sssmchallenge so we can see your entries there too.


Thank you so much for taking the time to visit my blog today!  

Happy crafting!

Anna-Karin

Supplies:

* Please note: the links are affiliate links, for which I receive a small percentage of sales generated by the link, at no extra cost to you.