
Hi crafters! Today I have a colorful card to share using a background from a gel printing session and a great hummingbird die.
Please note: this post has affiliate links, for which I receive a small percentage of sales generated by the link, at no extra cost to you.

This background has been on my desk since my last gel printing session. It is one of the dry embossed papers that I used to add a pattern to the printing plate. I liked the random colors and the mix of color, but hadn't found a project for it yet. Then I happened to look at this new Simon Says Stamp Flourish Hummingbird die and thought it would work good with the background.

I die cut the Simon Says Stamp Flourish Hummingbird from various inky or watercolored papers.


I die cut the sentiment from the same leftover paper as the head of the humming bird, using Simon Says Stamp Paper Cut Word Mix 1. The word was then misted with Distress Spritz Picked Raspberry. The matte was die cut from Silver Vellum.

I wanted to add some flowers and used these from Simon Says Stamp Country Basket Bouquet. They were die cut from gel printed papers and misted with Distress Spritz.


The dry embossed panel was embossed in Simon Says Stamp Bubble Rings folder. Distress the edges of the dry embossed panel. I stitched around it with my sewing machine.

Shape the flowers with Tim Holtz Shaping Tool Kit and glue together. Add a Simon Says Stamp Pawsitively Dazzling Bubblegum Gems to the center.

Here you can see how shimmery the word and the vellum is. The second part of the title was stamped with Simon Says Stamp A Little Artsy using Salvaged Patina Archival Ink.

Happy crafting!
Anna-Karin
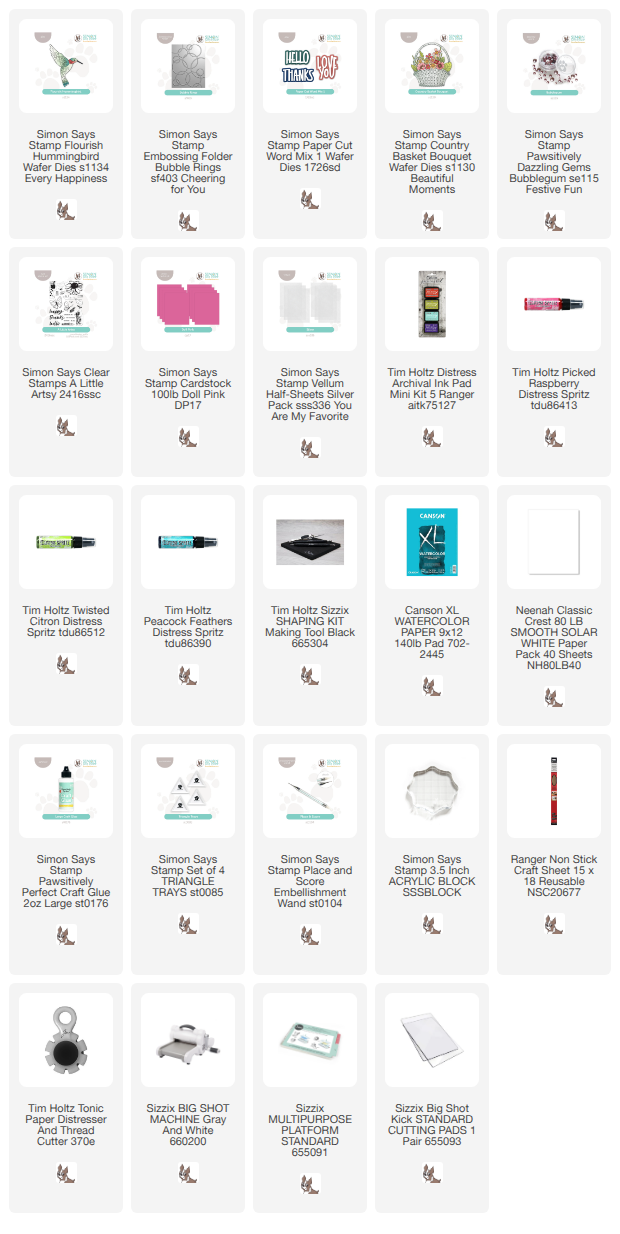
Supplies:
* Please note: the links are affiliate links, for which I receive a small percentage of sales generated by the link, at no extra cost to you.
* Please note: the links are affiliate links, for which I receive a small percentage of sales generated by the link, at no extra cost to you.

No comments:
Post a Comment
Thank you so much for leaving a comment! Happy Crafting!