Hello and welcome to my blog on this Monday! I hope you are well and had a good weekend. The light stays a little longer in the afternoon for each passing week here now, something that I really appreciate.
Please note: this post has affiliate links, for which I receive a small percentage of sales generated by the link, at no extra cost to you.
This week we have a Food or Drink theme at the Simon Says Stamp Monday Challenge Blog. I hope you will join us! Don't miss the last project by our January guest designer Monica aka My Bonnet Bee.
For my project, sweets fall under the category of food. I was inspired by the lollipops that come in the
Simon Says Stamp card kit boxes. My youngest is very fond of the card kit boxes, since he always gets the lollipop. Since I didn't have any lollipop stamps, I made my own lollipops from circle stamps and rolled up paper.
When dry, lightly ink with Distress Ink to darken the embossed areas.
Splatter the tag with Distress Watercolor Pencils.
Stamp circles from
Simon Says Stamp Mix and Match Circles. I was going to use the pink circles first, but then changed my mind and embossed with clear ink and powder instead. A little pink ink had remained on the larger stamp. I liked the soft pink color.
Die cut the circles. Ink with Distress Ink and then emboss with two layers of clear embossing powder. Be very careful when using a heat tool and never touch the melted powder until it has cooled down completely.
The tag has quite a bit of dimension and lots of joy.
I hope you will join us this week in our Food or Drink challenge. You have a chance to win a $25 gift voucher to do some fun shopping at Simon Says Stamp. You have until Monday 8am Ohio time. 1pm UK time, 2 pm CET to join in.
Do you use Instagram? If so please add #sssmchallenge so we can see your entries there too.
Thank you so much for stopping by here today!
Happy crafting!
Anna-Karin
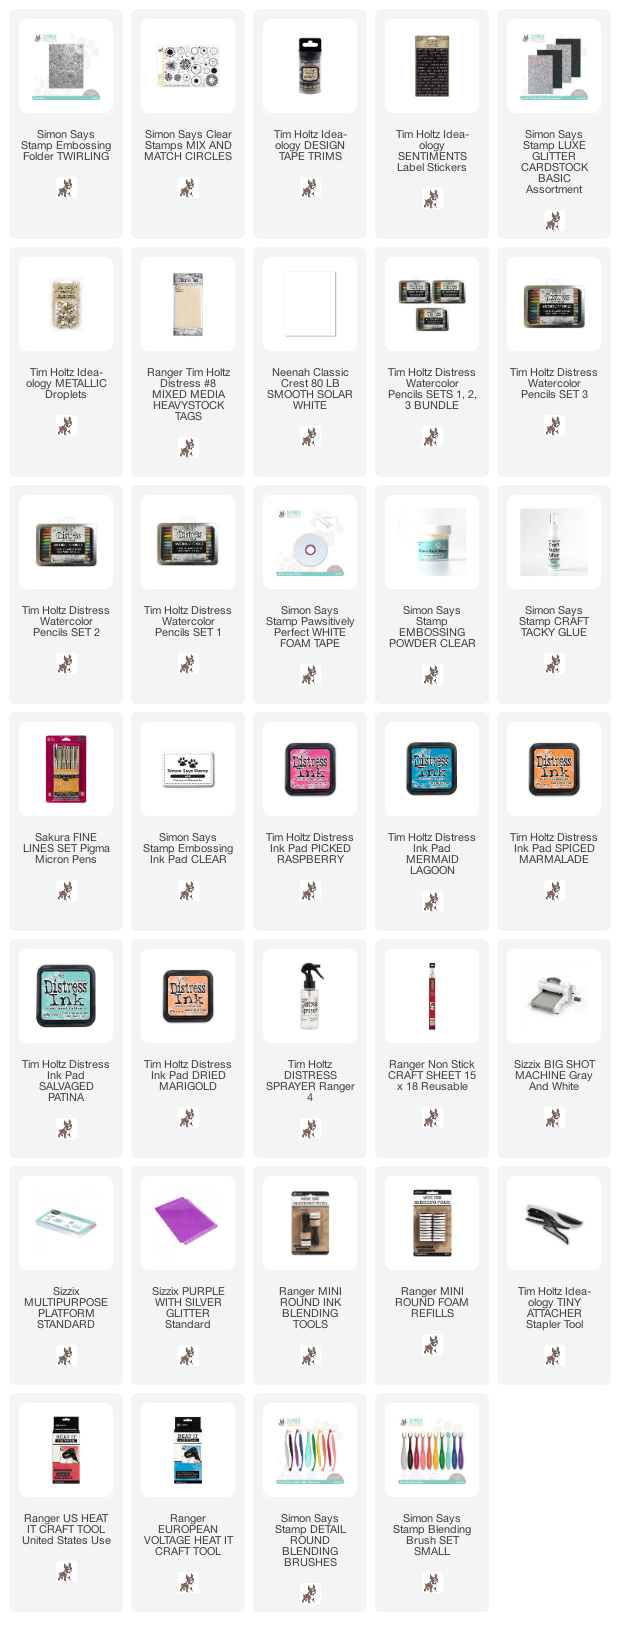
Supplies:
* Please note: the links are affiliate links, for which I receive a small percentage of sales generated by the link, at no extra cost to you.


Fabulous tag Anna-Karin :-) I love the bright colours and the lollipops look delicious!! YUM! :-)
ReplyDeleteHope you have a great week!
luv
Lols x x x