Hello friends! Today is the first of Advent and my Christmas lights are up in the windows. It's a combination of chandeliers and stars. I also put up a bunch of other lights. It is nice when it is dark so early. It was also time to finish my tags for this year's December Countdown Calendar. If you don't want to do a countdown calendar, the tutorial will be perfect for quick and simple Christmas cards. You can make a whole bunch of cards in one go.
The tags do double-duty as a countdown calendar, hanging on the wall in the living room, and as journaling cards for my December Daily journal. I simply take down a tag in the evening and write my journaling on it. Sometimes I add photos or ephemera too, but the words are the focus of my December journal. I document the photos in different ways.
The tags are a little different this year. Usually I use
#8 sized tags and keep them in Tim Holtz's tag page pockets, but I didn't have enough page pockets at home and therefore I decided to cut my own tags in a larger, chunkier format. On these tags there is also more space for journaling. I made sure they would fit on my Countdown Calendar and in the journal before deciding on the size.
Start by smearing three colors Distress Ink on a non-stick craft sheet. I used most of the Speckled Egg ink, less of Faded Jeans, and the least of Pine Needles. These were also the colors I used on my December Journal cover. Mist with water and press
watercolor sheets into the ink. Color both sides of the paper.
For a quick background texture, which won't overwhelm the writing, ink the
SSS Circle Background stamp with Distress Ink, mist pretty heavily with water and stamp repeatedly. I used mainly the Faded Jeans here, since Speckled Egg was a little too light and Pine Needles was a little too dark.
When dry, cut the tags into the size that you want. Mine are 4x6.2 in. Turn them into tags with the
We R Memory Keepers Angle Corner Chomper tool. This tool makes it so easy to make your own tags. It is quite a hassle trying to cut those even angles by hand. Measure the ring binder in your journal to make sure you get the holes in the right place. Punch holes with a
Crop-a-Dile.
Glue the dates in the top right corner of the tag.
The first tag has a hello December sentiment.
I usually stamp the ledger stamp from
Tim's School Desk set on my tags, but this year I used the
Circle Pattern Background instead and I don't have lines to write on. The reason for that is that the tags are wider, so the ledger stamp was a little too narrow.
Each tag is different, but with the same colors.
There is a mix of normal and watercolor stamping, with Faded Jeans being used for the watercolor part.
Every tag has a stamped sentiment.
As we get closer to Christmas Eve, Santa makes his first appearance.
Santa delivers gifts personally on Christmas Eve in Sweden, which is why there is always a Santa stamp on the 24th. Christmas Day is usually a calm day.
Christmas celebrations continue until the 26th, so that is always the end of my December Daily. I made a couple of extra tags if there were days that needed more journaling.
There is only stamping on the front of the tags this year. But you can of course stamp images and words on both sides.
And more tags ready to be filled with memories, from this unusual Christmas.
Now we just need some snow.
I hope you enjoyed this post and that it inspired you to document your month of December in some way. It doesn't have to be a complicated projects that takes a lot of time. A few sentences each day can be enough and when you have time to write more, do that.
Here are the previous countdown calendars:
2015 Christmas Countdown Calendar (the first calendar with a tutorial for the burlap base)
2016 Christmas Countdown Calendar (with a video for how I made the tags)
2018 Christmas Countdown Calendar2019 Christmas Countdown Calendar
Thank you so much for stopping by here today!
Happy Christmas crafting!
Anna-Karin
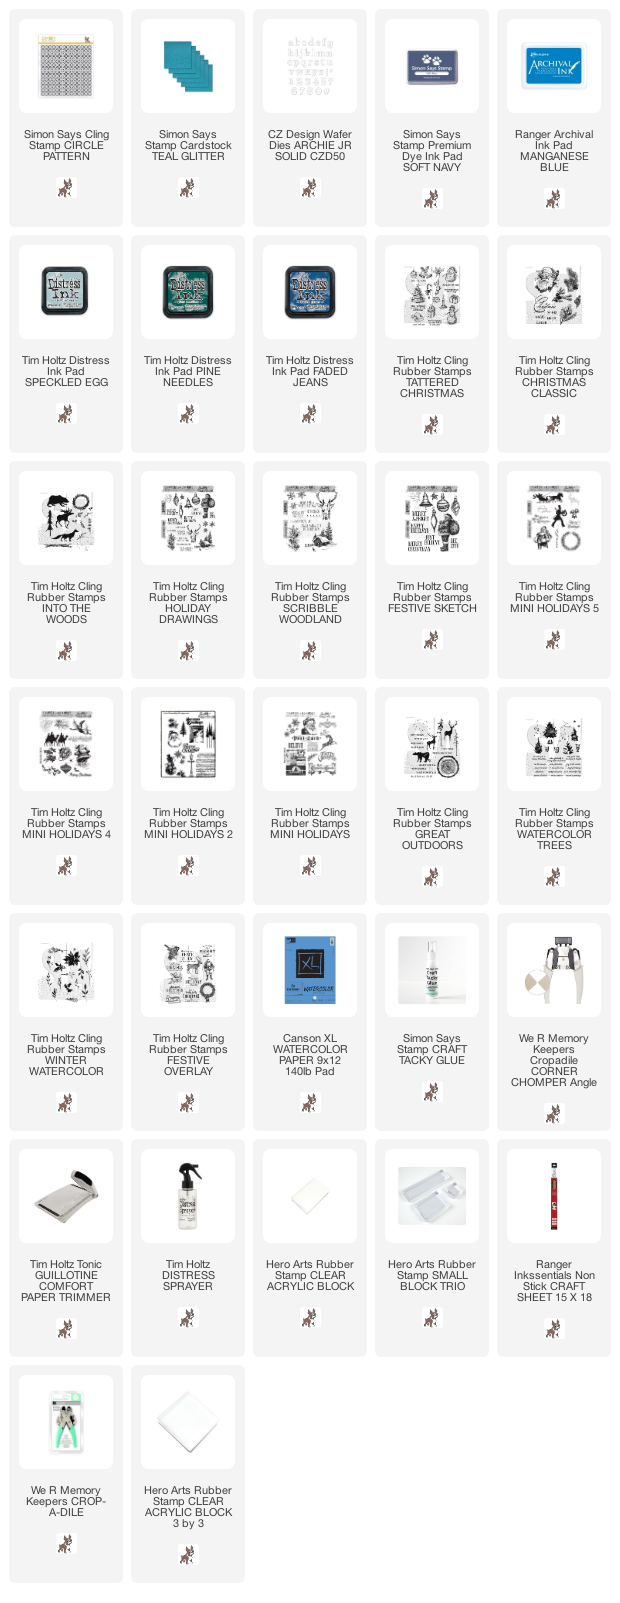
Supplies:
* Please note: the links are affiliate links, for which I receive a small percentage of sales generated by the link, at no extra cost to you.


What a December delight of a project!
ReplyDeleteSally x