Thursday, July 20, 2023

Ladybug Tag

Hi friends! There are some ladybugs in the garden and they inspired me to do a tag. 

Please note: this post has affiliate links, for which I receive a small percentage of sales generated by the link, at no extra cost to you.


Layers of ink - Ladybug Tag Tutorial by Anna-Karin Evaldsson.

There are ladybugs in various colors on this tag out and about in the beautiful summer weather. The background is done with a resist technique and the bugs have some shape and dimension. Seeing ladybugs always makes me happy. 

Layers of ink - Ladybug Tag Tutorial by Anna-Karin Evaldsson. Stamp with Tim Holtz Tiny Prints.

I started out by clear embossing one of Tim Holtz Tiny Print stamps on a tag. You can use white embossing powder instead, I just happened to grab the clear one.

Layers of ink - Ladybug Tag Tutorial by Anna-Karin Evaldsson. Ink with Distress Ink.

Ink the tag with Distress Ink in pink, orange and red shades. The embossing will resist the ink. Wipe left-over ink off with a cloth.

Layers of ink - Ladybug Tag Tutorial by Anna-Karin Evaldsson.

Die cut five ladybugs with Tim Holtz Funky Insects.

Layers of ink - Ladybug Tag Tutorial by Anna-Karin Evaldsson.

All the ladybugs were inked with Distress Ink, using different shades of ink for variety.

Layers of ink - Ladybug Tag Tutorial by Anna-Karin Evaldsson. Shape with Tim Holtz Shaping Kit.

To give the ladybugs dimension, I used Tim Holtz Shaping Kit. 

Layers of ink - Ladybug Tag Tutorial by Anna-Karin Evaldsson.

Glue them together, but don't glue the wings down completely.

Layers of ink - Ladybug Tag Tutorial by Anna-Karin Evaldsson.

The ribbon was dyed with three shades of Distress Ink so that it would coordinate with the tag.

Layers of ink - Ladybug Tag Tutorial by Anna-Karin Evaldsson.

The ladybugs were adhered to the tag with two layers of foam tape

Layers of ink - Ladybug Tag Tutorial by Anna-Karin Evaldsson.

I used a Quote Chip Label as the main sentiment. The edges were inked with brown ink.

Layers of ink - Ladybug Tag Tutorial by Anna-Karin Evaldsson.

Clear Drops were used as trails behind the ladybugs. Summer comes from Simon Says Stamp Forest Scenery and was stamped on a Tim Holtz Journal Card.

Layers of ink - Ladybug Tag Tutorial by Anna-Karin Evaldsson.

You could also make all the ladybugs the same color, or use just one on a project.

Layers of ink - Ladybug Tag Tutorial by Anna-Karin Evaldsson.

Foam tape is great for when it comes to adding dimension, and even more so when the ladybugs themselves are already shaped.

Layers of ink - Ladybug Tag Tutorial by Anna-Karin Evaldsson.

The tag could also be done with little flowers instead of ladybugs, or how about butterflies?


Thank you for visiting my blog! 

Happy crafting!

Anna-Karin

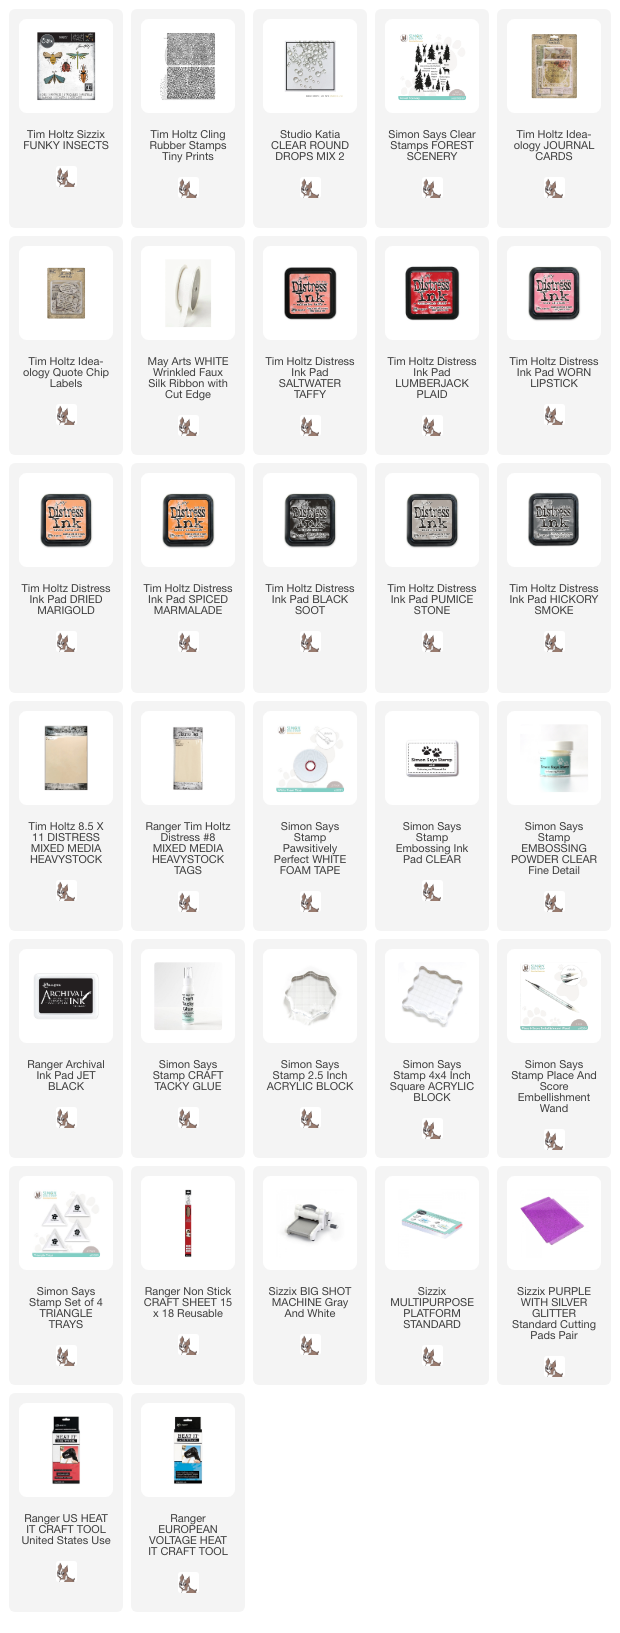
Supplies:

* Please note: the links are affiliate links, for which I receive a small percentage of sales generated by the link, at no extra cost to you.


Monday, July 17, 2023

Vintage Transportation Tag

Hello stampers! I hope you are enjoying summer, or winter if you are in the southern hemisphere. It is Monday and we are back with a new Simon Says Stamp Monday Challenge.

Please note: this post has affiliate links, for which I receive a small percentage of sales generated by the link, at no extra cost to you.


This week our theme is Transport It at the Simon Says Stamp Monday Challenge Blog. I hope you will join us and don't miss the gorgeous project by our July guest designer Natasha Vacca aka Natasha's Colorful Creations.

Layers of ink - Vintage Vehicles Tag Tutorial by Anna-Karin Evaldsson.

I went on an imaginary voyage. It has a vintage transportation theme in the form a train and a beautiful ship. The images were colored with pencils and the stamps come from Tim Holtz Travel Ways set. It is an older set and one of my favorites.

Layers of ink - Vintage Vehicles Tag Tutorial by Anna-Karin Evaldsson. Stamp with Tim Holtz Travel Ways set.

Start by stamping the train and the ship with Archival Jet Black on a tag. Ink with Antique Linen.

Layers of ink - Vintage Vehicles Tag Tutorial by Anna-Karin Evaldsson. Color with Prismacolor pencils.

Color the stamped images with colored pencils. I used Prismacolor. I added bits of red and blue to both the train and the ship. Use the white pencil on the smoke, the sea foam and other areas which you want to keep light-colored.

Layers of ink - Vintage Vehicles Tag Tutorial by Anna-Karin Evaldsson. Ink with Distress Ink.

Ink with Distress Ink. The pencil marks will resist the ink.

Layers of ink - Vintage Vehicles Tag Tutorial by Anna-Karin Evaldsson.

The large ticket stamp comes from Tim Holtz Artful Voyage.The sentiment was stamped with Simon Says Stamp Pawsitively Saturated Royal ink.

Layers of ink - Vintage Vehicles Tag Tutorial by Anna-Karin Evaldsson.

I also added three strips of Design Tape Trims.

Layers of ink - Vintage Vehicles Tag Tutorial by Anna-Karin Evaldsson. Tickets stamped with Travel Ways.

The two small tickets were stamped with a stamp from Travel Ways on Tim's Backdrops Vol. 4 paper, inked and attached with a paper clip.

Layers of ink - Vintage Vehicles Tag Tutorial by Anna-Karin Evaldsson.

I really like this ship stamp and it was fun to use it again. There is also a larger version of it in the Artful Voyage set.

Layers of ink - Vintage Vehicles Tag Tutorial by Anna-Karin Evaldsson.

I also added a Game Spinner since the arrow shape works well with the voyage theme.

Layers of ink - Vintage Vehicles Tag Tutorial by Anna-Karin Evaldsson.

This beautiful steam train has such great details and it is fun to color.

I hope you will join us this week in our Transport It challenge. You have a chance to win a $25 gift voucher to do some fun shopping at Simon Says Stamp. You have until Monday 8am Ohio time. 1pm UK time, 2 pm CET to join in.


Do you use Instagram? If so please add #sssmchallenge so we can see your entries there too.


Thank you so much for stopping by here today!

Happy crafting!

Anna-Karin

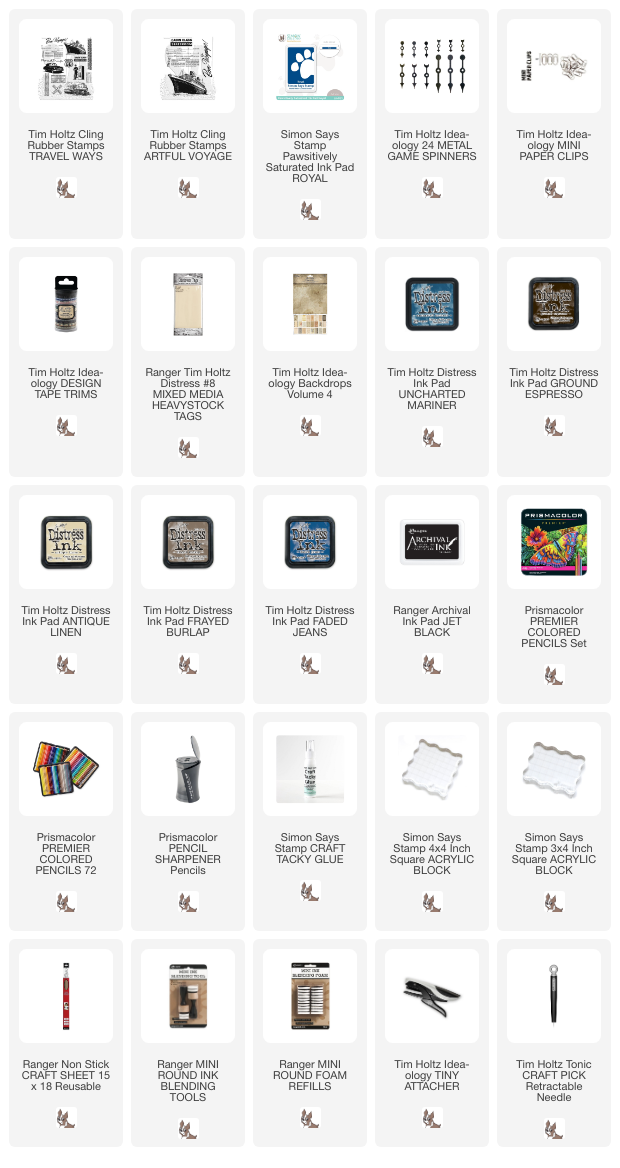
Supplies:

* Please note: the links are affiliate links, for which I receive a small percentage of sales generated by the link, at no extra cost to you.


Sunday, July 16, 2023

Nature Collage Panel Tutorial

Hi crafters! Today I am happy to have a tutorial on Simon Says Stamp Store blog. I made a collage panel inspired by nature. 

Layers of ink - Nature Collage Panel Tutorial by Anna-Karin Evaldsson.

Here is a sneak peak. This panel is inspired by Tim Holtz new idea-ology products and in particular the Quote Chip Labels. I love the different quotes, sizes and distressed finish of these chips and wanted to use many of them on one project. The background is fabric and there is also some stamping and coloring with colored pencils. 

You can find the whole project and the tutorial on Simon Says Stamp Store Blog

Thank you so much for stopping by here today! 

Happy crafting!

Anna-Karin


Wednesday, July 12, 2023

Watercolor Flowers

Hi crafters! Today I have a no-line watercolor tutorial to share, using a gorgeous flower stamp.

Please note: this post has affiliate links, for which I receive a small percentage of sales generated by the link, at no extra cost to you.


Layers of ink - Watercolored Flowers no-line coloring tutorial by Anna-Karin Evaldsson.

I used the Simon Says Stamp Beautiful Bouquet flower stamp, which is a large stamp. I need some gifts for the summer and decided to frame it. But you can also make a card or use it in an art journal. The watercoloring is loose and without aiming for perfection, but letting the watercolor paint do its magic. I used Zig Kuretake Gansai Tambi watercolors.

Layers of ink - Watercolored Flowers no-line coloring tutorial by Anna-Karin Evaldsson.

Start by stamping the Beautiful Bouquet with Antique Linen ink on watercolor paper. Lightly mist the inked stamp with water before stamping.

Layers of ink - Watercolored Flowers no-line coloring tutorial by Anna-Karin Evaldsson. Watercolor with Zig Kuretake Gansai Tambi watercolor paint.

This Zig Kuretake Gansai Tambi 24 set is inspired by Art Nouveau and the colors are gorgeous. I mixed the paints on a palette, but at times also took the color directly from the pans. You can also use their 48 color set, which has different colors.

Layers of ink - Watercolored Flowers no-line coloring tutorial by Anna-Karin Evaldsson.

Continue painting the flowers until you are happy with the look. Let darker shades or different colors drop into wet paint to get wet-in-wet effects.

Layers of ink - Watercolored Flowers no-line coloring tutorial by Anna-Karin Evaldsson.

When the paint is dry, add highlights and details with a white gel pen.

Layers of ink - Watercolored Flowers no-line coloring tutorial by Anna-Karin Evaldsson. Stamp sentiment with Simon Says Stamp Anna's Flowers.

Stamp sentiments with Potting Soil ink. The sentiments come from Simon Says Stamp Anna's Flowers and Forest Scenery.

Layers of ink - Watercolored Flowers no-line coloring tutorial by Anna-Karin Evaldsson.

Splatter paint on the background. Avoid getting too many splatters on the sentiments. 

Layers of ink - Watercolored Flowers no-line coloring tutorial by Anna-Karin Evaldsson.

The smaller flowers are colored very loosely. 

Layers of ink - Watercolored Flowers no-line coloring tutorial by Anna-Karin Evaldsson.

I usually stamp sentiments before splattering paint, to make sure that there are areas which are clean enough for the sentiment to stand out. 

Layers of ink - Watercolored Flowers no-line coloring tutorial by Anna-Karin Evaldsson.

The stamp had stamen around this flower center, but after I dropped in the yellow paint, I liked how it blended with the pink paint and decided to skip the stamen. 

Layers of ink - Watercolored Flowers no-line coloring tutorial by Anna-Karin Evaldsson.

Don't worry if some of the Antique Linen lines show. They can form slight shadows or outlines, or might even give a hint of flowers further in the background.

Layers of ink - Watercolored Flowers no-line coloring tutorial by Anna-Karin Evaldsson.

When I do no-line coloring I find that it helps to keep the stamp's plastic backing next to me, where I can see the outlines of the stamp in black, since it is sometimes a little hard to see the details in the soft Antique Linen stamping. 

Layers of ink - Watercolored Flowers no-line coloring tutorial by Anna-Karin Evaldsson.

I added thin veins to the leaves, both with paint and with the white gel pen.

Layers of ink - Watercolored Flowers no-line coloring tutorial by Anna-Karin Evaldsson.

I hope this project inspired you to try some no-line watercoloring with your stamps. For more examples check out my Watercolor Peonies and Watercolor Floral Garden.


Thank you so much for stopping by here today! 

Happy crafting!

Anna-Karin

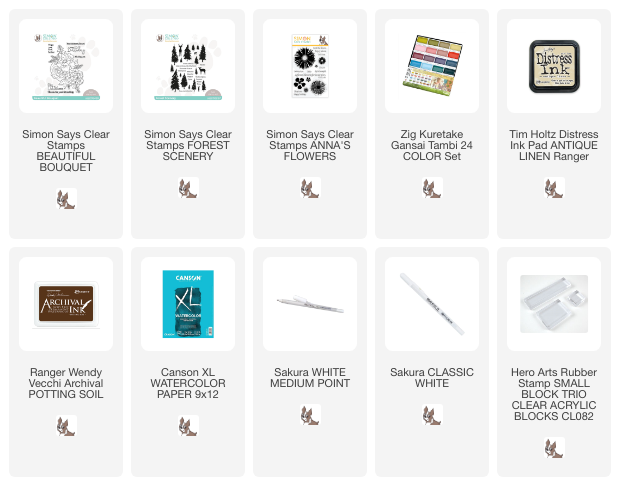
Supplies:

* Please note: the links are affiliate links, for which I receive a small percentage of sales generated by the link, at no extra cost to you.


Monday, July 10, 2023

Circle Card Tutorial

Hi friends! It is a new beautiful Monday. Mondays happen to be one of my favorite days of the week, since I like the start of a week, but also since it is time for the Simon Says Stamp Monday Challenge.

Please note: this post has affiliate links, for which I receive a small percentage of sales generated by the link, at no extra cost to you.


This week our theme is We are going around in circles at the Simon Says Stamp Monday Challenge Blog. Circles have always been one of my favorite shapes. I hope you will join us in the challenge! Don't miss the gorgeous project by our July guest designer Natasha Vacca aka Natasha's Colorful Creations.

Layers of ink - Circle Shaker Card Tutorial by Anna-Karin Evaldsson.

I haven't made a circle card in quite a while and thought it would be fun to make one with a shaker in the middle. The card was inspired by the beautiful printed circle from Tim Holtz Transparent Layers. I also used circle stamps and a circle stencil.

Layers of ink - Circle Shaker Card Tutorial by Anna-Karin Evaldsson.

I used Simon Says Stamp Nested Circles to die cut the card. I started with the largest circle, which was die cut from heavystock paper and then die cut the window in the center. Simon Says Stamp Very Very Low Tack Tape was used to hold the smaller die in place.

Layers of ink - Circle Shaker Card Tutorial by Anna-Karin Evaldsson.  Ink through Simon Says Stamp Mix and Match Circles Stencil.

Ink the circle with Antique Linen. Then ink through the Simon Says Stamp Mix and Match Circles Stencil with Guava ink and an ink-blending brush.

Layers of ink - Circle Shaker Card Tutorial by Anna-Karin Evaldsson.

I die cut another circle from heavystock paper to place behind the shaker window. Ink with Antique Linen and Pumice Stone. Ink the edges of the larger circle with Pumice Stone too.

Layers of ink - Circle Shaker Card Tutorial by Anna-Karin Evaldsson. Stamp with Simon Says Stamp Halftone Background.

Stamp a sentiment from Simon Says Stamp Laugh In Flowers with Watering Can ink. Stamp dots with Simon Says Stamp Halftone Background using the same ink.

Layers of ink - Circle Shaker Card Tutorial by Anna-Karin Evaldsson. Stamp with Simon Says Stamp Mix and Match Circles stamp set.

Stamp circles and dots from Simon Says Stamp Mix and Match Circles stamp set, with Pumice Stone and Simon Says Stamp Pawsitively Saturated Guava ink.

Layers of ink - Circle Shaker Card Tutorial by Anna-Karin Evaldsson.

The cardbase is Simon Says Stamp Cotton Candy cardstock, which was folded and die cut with the largest circle. Place the folded edge slightly inside the die as seen here.

Layers of ink - Circle Shaker Card Tutorial by Anna-Karin Evaldsson.

Folded up, the cardbase looks like this.

Layers of ink - Circle Shaker Card Tutorial by Anna-Karin Evaldsson. Fill the shaker card with mica flakes and sequins.

Glue the printed acetate in place and die cut another acetate circle for the sandwich. Add Simon Says Stamp Pawsitively Perfect Foam Tape around the edges and fill with mica flakes and sequins. Place the second acetate circle on top to close the sandwich.

Layers of ink - Circle Shaker Card Tutorial by Anna-Karin Evaldsson. Add a sentiment with Tim Holtz Quote Chip Labels.

I also used a Tim Holtz Quote Chip Label. The background circle was placed so that one of the stamped dotted circles, frames the little white flower.

Layers of ink - Circle Shaker Card Tutorial by Anna-Karin Evaldsson.

The Transparent Layers are so pretty and I like the bright colors. 

Layers of ink - Circle Shaker Card Tutorial by Anna-Karin Evaldsson.

I like a mix of mica flakes and sequins in a shaker.

Layers of ink - Circle Shaker Card Tutorial by Anna-Karin Evaldsson.


I hope you will join us this week in our We are going around in circles challenge. You have a chance to win a $25 gift voucher to do some fun shopping at Simon Says Stamp. You have until Monday 8am Ohio time. 1pm UK time, 2 pm CET to join in.


Do you use Instagram? If so please add #sssmchallenge so we can see your entries there too.


Thank you so much for stopping by here today! 

Happy crafting!

Anna-Karin

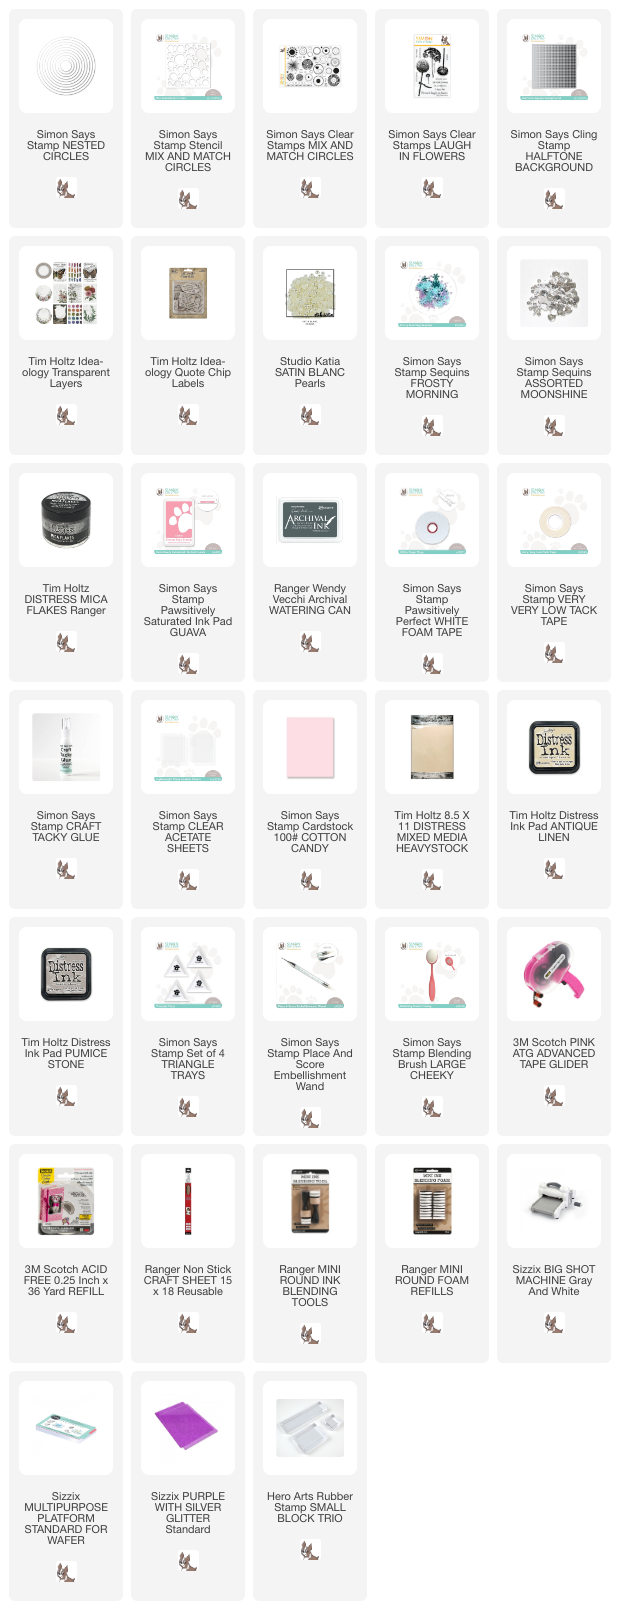
Supplies:

* Please note: the links are affiliate links, for which I receive a small percentage of sales generated by the link, at no extra cost to you.