Sunday, February 21, 2021

Funky Forest Tutorial

Hi friends! I hope you are well! I have a fun and funky forest tutorial to share with you today. I made a little wall-hanger, but the design and techniques works perfect for cardmaking too.

Layers of ink - Funky Forest Tutorial by Anna-Karin Evaldsson.

I love the fun tree designs in Tim Holtz Funky Trees set. There are six different trees in the set and you can of course mix them too. I wanted to create a magical forest to hang on the wall, since I love trees. For this project, I used easy techniques with Distress Ink, Distress Oxide Ink and Distress Paint.

Layers of ink - Funky Forest Tutorial by Anna-Karin Evaldsson.

Start by die cutting the Bubbling die from heavystock paper. I used the Sizzix Precision Base Plate, which makes it easier to die cut a panel that is this intricate.

Layers of ink - Funky Forest Tutorial by Anna-Karin Evaldsson.

Attach it to a piece of Little Sizzles mat board with matte gel. Add a layer of gel on top of the design too.

Layers of ink - Funky Forest Tutorial by Anna-Karin Evaldsson.

When dry, coat with gesso.

Layers of ink - Funky Forest Tutorial by Anna-Karin Evaldsson.

Paint the panel with Distress Paints and mist with water. Leave to dry on its own.

Layers of ink - Funky Forest Tutorial by Anna-Karin Evaldsson.

When the panel is dry, the paint, water and textured background will have created a really cool look. I glued it to a piece of cardboard from a box.

Layers of ink - Funky Forest Tutorial by Anna-Karin Evaldsson.

Finally, I dry-brushed a little white paint on the raised areas.

Layers of ink - Funky Forest Tutorial by Anna-Karin Evaldsson.

Smear various combinations of green and turquoise Distress Ink on a non-stick craft sheet. Mist with water and press pieces of heavystock paper into the ink. Let dry.

Layers of ink - Funky Forest Tutorial by Anna-Karin Evaldsson.

Die cut the six trees from Funky Trees from the various papers.

Layers of ink - Funky Forest Tutorial by Anna-Karin Evaldsson.

Add more texture and interest to the pieces with Distress Oxide Ink. Smear the ink on a non-stick craft sheet, mist with water. Just touch the paper to the ink, don't press, to get splotches of oxide ink here and there. By inking the paper once first, then die cutting, and then inking again, you save time by not having to ink the individual pieces from scratch. At the same time, you can make them all different in this second step, when you add additional ink to each piece. 

Layers of ink - Funky Forest Tutorial by Anna-Karin Evaldsson.

The trunks were completely pressed into the oxide ink. Assemble the trees. I used foam tape and also shaped some of the pieces slightly to make them look curved. Aren't these cool? Most of my trees have a darker piece in the background and a lighter piece as the front leaf layer. This adds dimension.

Layers of ink - Funky Forest Tutorial by Anna-Karin Evaldsson.

The sentiment comes from Paper Artsy's The Magic & Wonder Edition by Alison Bomber. I also added some fibers.

Layers of ink - Funky Forest Tutorial by Anna-Karin Evaldsson.

Move the trees around until you are happy with the placement. The texture on this large turquoise tree is my favorite.

Layers of ink - Funky Forest Tutorial by Anna-Karin Evaldsson.

You can assemble the trees in different ways. I moved some of the pieces so that they would work better when the trees overlapped.

Layers of ink - Funky Forest Tutorial by Anna-Karin Evaldsson.

I also added just a few sequins in the same shades as the background.

Layers of ink - Funky Forest Tutorial by Anna-Karin Evaldsson.

The bubble texture is so cool. I like anything with circles or bubbles, as you might know.

Layers of ink - Funky Forest Tutorial by Anna-Karin Evaldsson.

Mixing the transparent Distress Ink with the opaque Oxide Ink gives a layered and textured look, which works well for trees and leaves.

Layers of ink - Funky Forest Tutorial by Anna-Karin Evaldsson.

Here you can see the dimension created by the layering of the various pieces and the foam tape.

Layers of ink - Funky Forest Tutorial by Anna-Karin Evaldsson.

Try making the trees in different color combinations. These funky trees will look great in any color. 


Thank you so much for taking the time to stop by here today! 

Happy crafting!

Anna-Karin

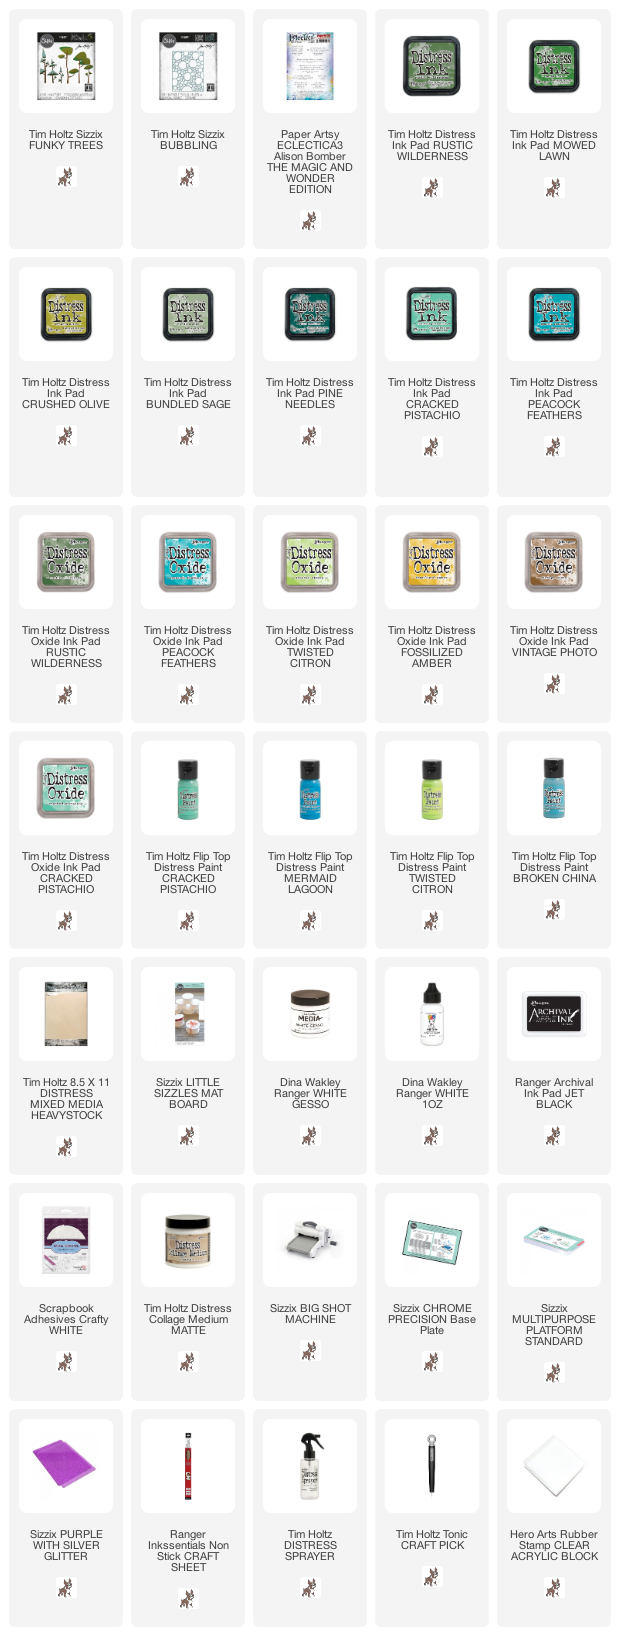
Supplies:

* Please note: the links are affiliate links, for which I receive a small percentage of sales generated by the link, at no extra cost to you.
Wednesday, February 17, 2021

Floral Folio Tutorial

 Hello crafters! Today I have a floral folio notebook, journal or sketchbook to share with you.

Layers of ink - Floral Folio Tutorial by Anna-Karin Evaldsson.

The Eileen Hull Inspiration Team is sharing projects made with the new Folio Journal die this month and this is also the first time I used the die. Such a fun and versatile die! And I so love to make my own mini books, journals and sketchbooks.

Layers of ink - Floral Folio Tutorial by Anna-Karin Evaldsson.

Start by die cutting two Folio Journal pieces from mat board. This is an XL die so you need the Extended Cutting Pads, but it fits perfectly in an ordinary Big Shot or Vagabond.

Layers of ink - Floral Folio Tutorial by Anna-Karin Evaldsson.

Smear Distress Inks on a nonstick craft sheet, mist with water and press the covers into the ink. Let dry.

Layers of ink - Floral Folio Tutorial by Anna-Karin Evaldsson.

Repeat, but using Distress Oxide ink this time, but don't cover the Distress Ink completely. Let dry.

Layers of ink - Floral Folio Tutorial by Anna-Karin Evaldsson. Stamp with Simon Says Stamp Anna's Flowers.

Stamp the cover with stamps from Simon Says Stamp Anna's Flowers using various Distress Oxide inks. Mist lightly with water.

Layers of ink - Floral Folio Tutorial by Anna-Karin Evaldsson. Stamp with Simon Says Stamp Crackle Background.

Stamp a sentiment with Dark Chocolate ink and stamp the Simon Says Stamp Crackle Background here and there with Khaki ink.

Layers of ink - Floral Folio Tutorial by Anna-Karin Evaldsson.

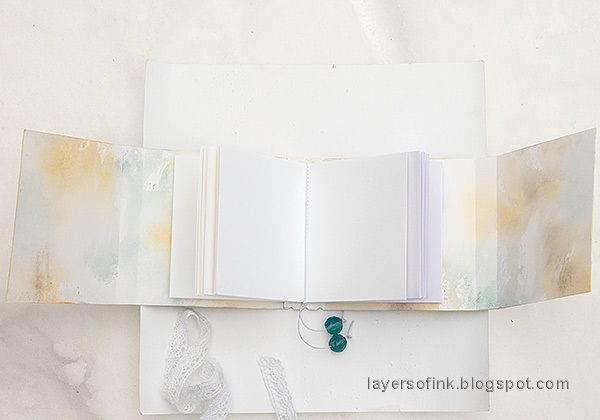
You can make the folio journal very chunky or thin. If you want it thinner cut off one or two of the spine sections. If you want it thicker, don't overlap all the entire spine, as I did here.

Layers of ink - Floral Folio Tutorial by Anna-Karin Evaldsson.

Use a piece of elastic string as a binder.

Layers of ink - Floral Folio Tutorial by Anna-Karin Evaldsson.

This is what it looks like on the outside of the spine.

Layers of ink - Floral Folio Tutorial by Anna-Karin Evaldsson.

Cut paper for inserts. The best thing with making your own journals or sketchbooks is that you can pick your favorite papers for the inside. I made three signatures and stitched them down the center. I used different papers for each signature.

Layers of ink - Floral Folio Tutorial by Anna-Karin Evaldsson.

Slip the signature through the elastic strings.

Layers of ink - Floral Folio Tutorial by Anna-Karin Evaldsson.

You can bind the folio journal in different ways. I like how quick and simple it is to use an elastic string and you can also easily add new signatures when you have filled up the journal.

Layers of ink - Floral Folio Tutorial by Anna-Karin Evaldsson.

I tied two glass beads at the end of the elastic strings, but you can skip this too. My journal is tied with a piece of lace. I also added a few more sentiments.

Layers of ink - Floral Folio Tutorial by Anna-Karin Evaldsson.

The combination of transparent Distress Ink and opaque Distress Oxide Ink makes for an interesting look and adds a sense of depth.

Layers of ink - Floral Folio Tutorial by Anna-Karin Evaldsson.

You can use any color combo for the folio. Make it in your own favorite colors or give it to a friend.

Layers of ink - Floral Folio Tutorial by Anna-Karin Evaldsson.

This happens to be one of my favorite sentiments and I am looking forward to spring when the earth really does laugh in flowers. The stamp comes from the Simon Says Stamp Laugh In Flowers set.

Layers of ink - Floral Folio Tutorial by Anna-Karin Evaldsson.

Don't worry if some of your stamping isn't perfect. In fact, the imperfect teal flower that you see here, might be my favorite flower on the whole book.

Layers of ink - Floral Folio Tutorial by Anna-Karin Evaldsson.

The back cover was kept simple, with just one sentiment.

Layers of ink - Floral Folio Tutorial by Anna-Karin Evaldsson.

The book is pretty chunky, but you could fit quite a few more papeers in there.

Layers of ink - Floral Folio Tutorial by Anna-Karin Evaldsson.

The papers are kept safe with the two folded flaps. You can also cut these off, or turn them into pockets.

Layers of ink - Floral Folio Tutorial by Anna-Karin Evaldsson.

There is just something with crackles that I really like.

Layers of ink - Floral Folio Tutorial by Anna-Karin Evaldsson.

If you fold the entire folio open, it looks like this. As you can see, I only used Distress Ink on the inside covers.

Layers of ink - Floral Folio Tutorial by Anna-Karin Evaldsson.

I like that the spine and edges on the front are so thick that you can stamp and add details to them too.

Layers of ink - Floral Folio Tutorial by Anna-Karin Evaldsson.


Thank you so much for taking the time to stop by here today! 

Happy crafting!

Anna-Karin

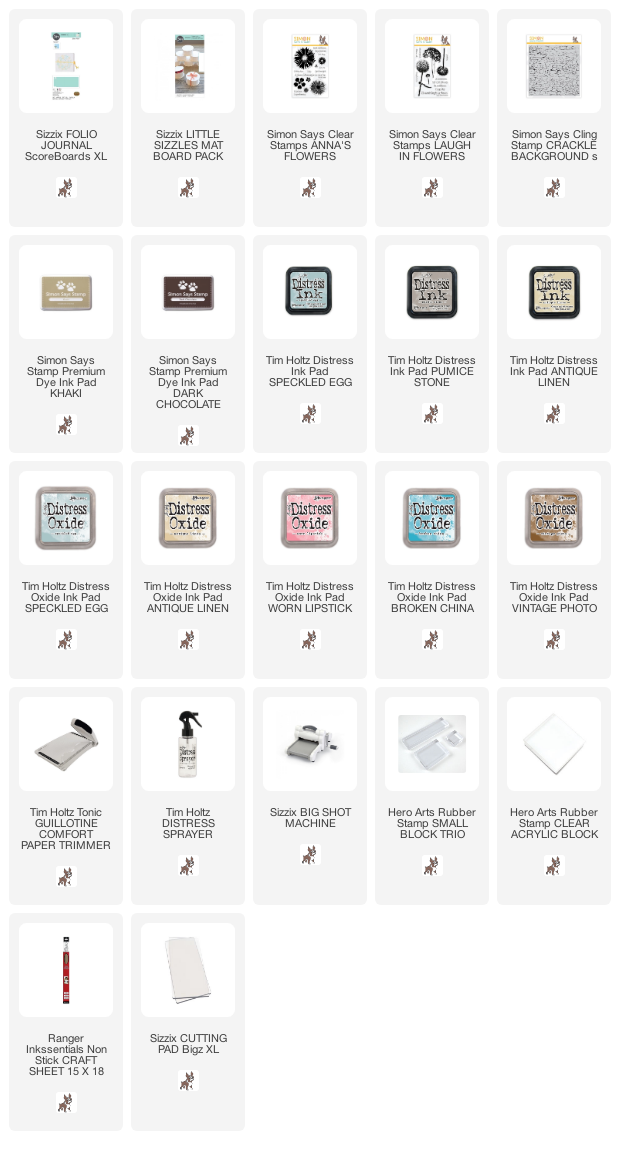
Supplies:

* Please note: the links are affiliate links, for which I receive a small percentage of sales generated by the link, at no extra cost to you.

Monday, February 15, 2021

Textured Snowflake Card

Hello friends! I hope you are well and that you had a good weekend. We had our third weekend in a row with lots of snow and sunshine.


This week we have an Add a little texture challenge at the Simon Says Stamp Monday Challenge Blog. I hope you will join us! Texture is one of my favorite things and it can be created in so many different ways. 

Don't miss the project by our February guest designer Estelle Palumbo.

Layers of ink - Textured Snowflake Card Tutorial by Anna-Karin Evaldsson.

I was inspired by our very beautiful winter weather to do another winter project and I really wanted to use the beautiful Simon Says Stamp Filigree Snowflakes embossing folder. It has got such intricate and pretty snowflakes. 

Layers of ink - Textured Snowflake Card Tutorial by Anna-Karin Evaldsson.

I used a paper from my scrap folder. It was done by smearing Distress Inks on an acrylic block and misting with water. Then stamp the block on watercolor paper. I think I used Antique Linen, a little Frayed Burlap, Tumbled Glass and Mermaid Lagoon.

Layers of ink - Textured Snowflake Card Tutorial by Anna-Karin Evaldsson.  Emboss in the Filigree Snowflake folder.

Mist the paper with water. This gives a crisper and deeper look when you use 3-D embossing folders. For my Sizzix Big Shot I used this sandwich: Multipurpose Platform without any tab, embossing folder, one cutting pad. 

Layers of ink - Textured Snowflake Card Tutorial by Anna-Karin Evaldsson. Ink with Distress Ink.

When dry, ink lightly with Distress Inks, concentrating on the embossed parts.

Layers of ink - Textured Snowflake Card Tutorial by Anna-Karin Evaldsson.

I applied Cosmic Shimmer Teal Raspberry Opal Blaze Polish with my finger to all the snowflakes. I forgot to take a photo of that step. Then I dipped a blue and a brown Scribble Stick in water and flicked a paint brush against them to create splatters.

Layers of ink - Textured Snowflake Card Tutorial by Anna-Karin Evaldsson.  Die cut Simon Says Stamp Eliza snowflake.

Snowflakes were die cut with the Eliza Snowflake die and the Snow Flurries set. I die cut them from Whimsy Stamps Blurry Flurries paper and Simon Says Stamp Silver Holographic paper.

Layers of ink - Textured Snowflake Card Tutorial by Anna-Karin Evaldsson. Stamp with Simon Says Stamp Thoughtful Flowers tutorial.

Stamp the frame circle from Simon Says Stamp Mix and Match Circles with Deep Sea ink on one of the Whimsy papers. Stamp the dot circle inside. The stamp set is designed so that many of the circles fit inside one another. You can create numerous different designs. Stamp the sentiment in the middle with Soft Navy ink.

Layers of ink - Textured Snowflake Card Tutorial by Anna-Karin Evaldsson.

Layer the holographic, patterned paper and circle sentiment together. I used a foam dot for the sentiment circle.

Layers of ink - Textured Snowflake Card Tutorial by Anna-Karin Evaldsson.

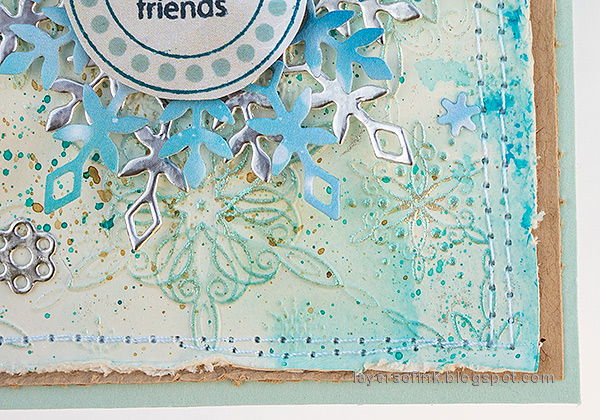
For even more texture, distress the edges of the panel and stitch it to kraft cardstock with a sewing machine.

Layers of ink - Textured Snowflake Card Tutorial by Anna-Karin Evaldsson.

The combination of the Teal Raspberry Polish and the holographic paper is very cool, since the snowflakes shine and change color as you angle the card differently.

Layers of ink - Textured Snowflake Card Tutorial by Anna-Karin Evaldsson.

The embossed snowflakes have beautiful intricate details.

Layers of ink - Textured Snowflake Card Tutorial by Anna-Karin Evaldsson.

The smaller snowflakes were layered and glued here and there.

I hope you will join us this week in our Add A Little Texture challenge. You have a chance to win a $25 gift voucher to do some fun shopping at Simon Says Stamp. You have until Monday 8am Ohio time. 1pm UK time, 2 pm CET to join in.

Don't forget to follow Simon Says Stamp on Instagram, where they post great stuff daily. 


Do you use Instagram? If so please add #sssmchallenge so we can see your entries there too.


Thank you so much for taking the time to stop by here today! 

Happy crafting!

Anna-Karin

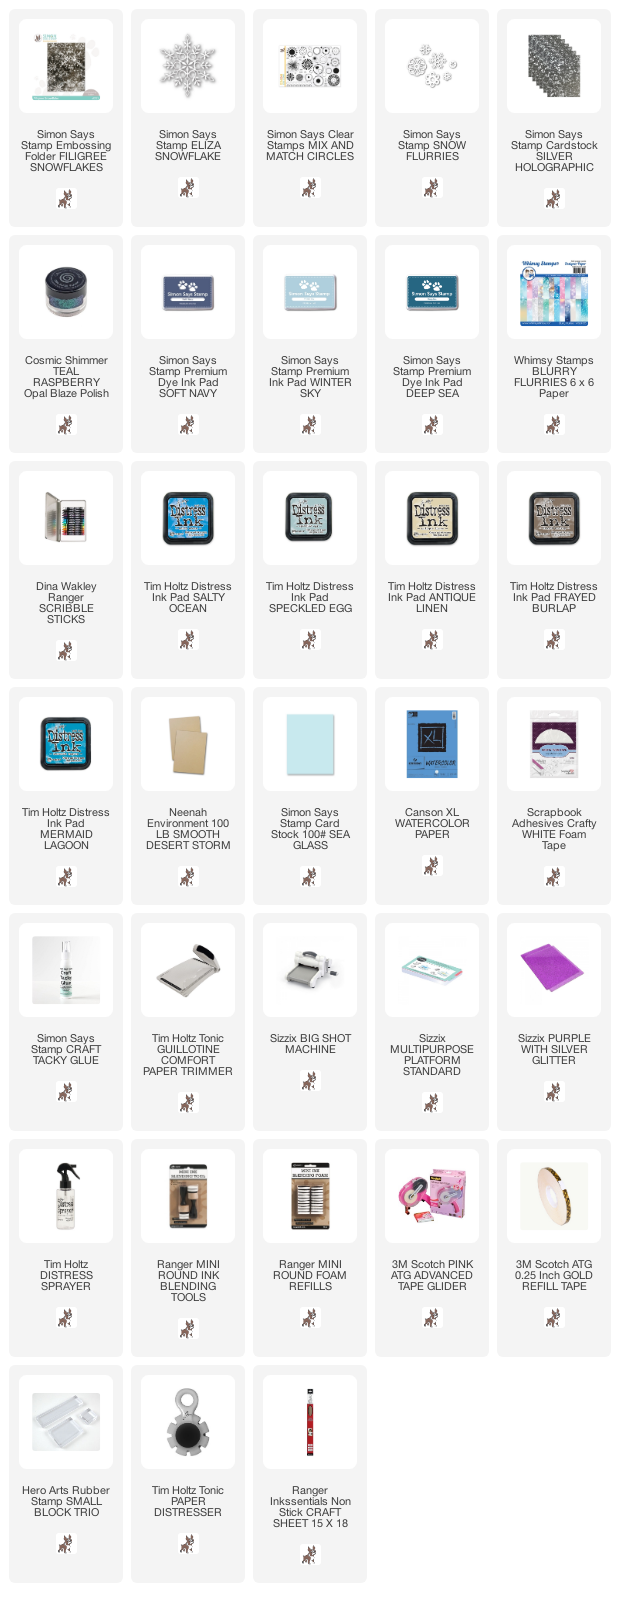
Supplies:

* Please note: the links are affiliate links, for which I receive a small percentage of sales generated by the link, at no extra cost to you.