Thursday, August 17, 2023

Color Chart Art Journal Page

Hi friends! Today I have an art journal page tutorial to share, using collage paper and lots of stamps.

Please note: this post has affiliate links, for which I receive a small percentage of sales generated by the link, at no extra cost to you.

Layers of ink - Color Chart Art Journal Page Tutorial by Anna-Karin Evaldsson.

I had this idea of a colorful life, but with those black and white images from Tim Holtz Photographic Collage Paper, combined with the Palette Collage Paper. This double-page was made in the large Dylusions Journal, so it is pretty large. I enjoy switching between larger and smaller formats.  

Layers of ink - Color Chart Art Journal Page Tutorial by Anna-Karin Evaldsson.

Start by coating the page with gesso and when dry, add gloss medium where you want the collage paper to be. Place the collage paper into the medium and add another layer on top. When dry, paint around the collage paper with Lost Shadow.

Layers of ink - Color Chart Art Journal Page Tutorial by Anna-Karin Evaldsson.

Repat the process for the images from the Photographic Collage Paper. Tear around the images instead of cutting, since a torn edge disappears better on the background.

Layers of ink - Color Chart Art Journal Page Tutorial by Anna-Karin Evaldsson. Color with Distress Inks.

I wanted a large title since the page is large and die cut squares from watercolor paper with Tim's Stacked Squares set. Smear Distress Ink on a non-stick craft sheet, mist with water and press the squares into the ink.

Layers of ink - Color Chart Art Journal Page Tutorial by Anna-Karin Evaldsson. Die cut with Tim Holtz Emporium.

Die cut the squares one more time from black paper. Die cut the letters with Tim's Alphabetic Emporium set. I held the die in place with Simon Says Stamp Very Very Low Tack Tape.

Layers of ink - Color Chart Art Journal Page Tutorial by Anna-Karin Evaldsson.

Off-set the black squares and glue the little pieces to the 'O' and 'R', and you have colorful alphabet tiles.

Layers of ink - Color Chart Art Journal Page Tutorial by Anna-Karin Evaldsson.

Stamp sentiments from Tim Holtz and Simon Says Stamp with black ink. I also stamped Simon Says Stamp Old Letter Background here and there with Watering Can ink.

Layers of ink - Color Chart Art Journal Page Tutorial by Anna-Karin Evaldsson.

Stamp a background stamp from Tim Holtz Ultimate Grunge with Cobalt ink.

Layers of ink - Color Chart Art Journal Page Tutorial by Anna-Karin Evaldsson.

The Simon Says Stamp Circle Loops were die cut from left over inky papers.

Layers of ink - Color Chart Art Journal Page Tutorial by Anna-Karin Evaldsson.

These birds are a favorite stamp from Tim's Mini Ornates.

Layers of ink - Color Chart Art Journal Page Tutorial by Anna-Karin Evaldsson.

The wind mill made me think of South Africa, since they are common there on the country side.

Layers of ink - Color Chart Art Journal Page Tutorial by Anna-Karin Evaldsson. Stamp with Simon Says Stamp All Seasons Tree.

Such a great photo. The stamped trees help to unify the images with the background. I used them in a similar way on my Architecture canvas

Layers of ink - Color Chart Art Journal Page Tutorial by Anna-Karin Evaldsson.

Most of the images on the Photographic Collage Paper come from old postcards and I like the dates, place names and postal images here and there.

Layers of ink - Color Chart Art Journal Page Tutorial by Anna-Karin Evaldsson.

To make the stamped title stand out better, I framed it with a Circle Loop.

Layers of ink - Color Chart Art Journal Page Tutorial by Anna-Karin Evaldsson.

The alpha tiles fit well with the color chart in the background.

Layers of ink - Color Chart Art Journal Page Tutorial by Anna-Karin Evaldsson.

I also doodled a border around the page.

Layers of ink - Color Chart Art Journal Page Tutorial by Anna-Karin Evaldsson.

These small sentiments come from Tim's Odds & Ends set.


Thank you so much for stopping by here today! See you soon again.

Happy crafting!

Anna-Karin

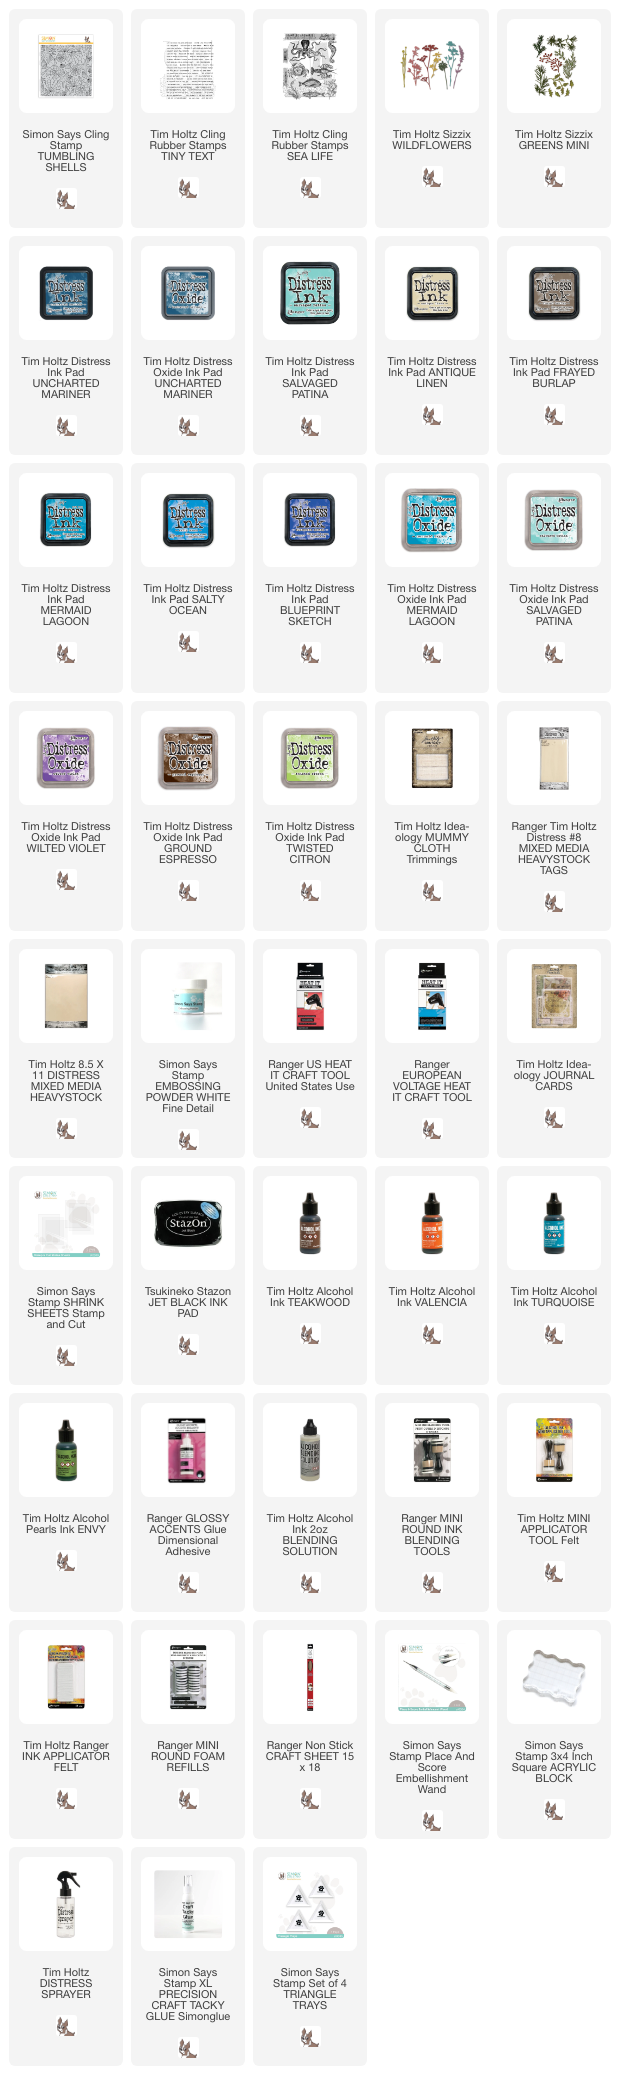
Supplies:

* Please note: the links are affiliate links, for which I receive a small percentage of sales generated by the link, at no extra cost to you.


Monday, August 14, 2023

Calm and Stormy Seas Tag

Hi stampers! It is Monday and this week school starts again. I hope summer will still last a little longer.

Please note: this post has affiliate links, for which I receive a small percentage of sales generated by the link, at no extra cost to you.


This week at the Simon Says Stamp Monday Challenge Blog we have a Use your Favorite Technique theme. I have way too many favorite techniques to pick just one or two, but ended up using a bunch of favorites such as resist and texture created by layers of Distress Ink and Distress Oxide Ink. 

Don't miss the project by our August guest designer Carrie Swift aka Redfire Studios.

Layers of ink - Calm and Stormy Seas Tag by Anna-Karin Evaldsson.

We have had a week and a half in a cabin at the sea and it was the inspiration for this tag. We had some calm days, but also quite a few very stormy days, with a wild sea and trees falling. The background is inspired by the storm, while the plants are inspired by the calm weather and the beautiful moor we walked through to the sea. These flowers as well as pine trees could be found at the sea. There are also some shells that I picked on the beach.

Layers of ink - Calm and Stormy Seas Tag by Anna-Karin Evaldsson. White emboss Simon Says Stamp Tumbling Shells.

Start by white embossing the Simon Says Stamp Tumbling Shells on a tag. Drag the embossing ink pad around the edges and emboss them too.

Layers of ink - Calm and Stormy Seas Tag by Anna-Karin Evaldsson. Ink with Distress Ink.

Smear Distress Inks on a non-stick craft sheet, mist with water and press the paper into the ink.

Layers of ink - Calm and Stormy Seas Tag by Anna-Karin Evaldsson. Add more ink.

When dry, repeat until you are happy with the look.

Layers of ink - Calm and Stormy Seas Tag by Anna-Karin Evaldsson.

Continue adding more Distress Ink in the same way, but this time, don't press the tag into the ink, just touch the ink with the tag, to get a splattered look.

Layers of ink - Calm and Stormy Seas Tag by Anna-Karin Evaldsson.

Finally, add a last layer of Distress Oxide Ink, again just touching the paper to the ink. 

Layers of ink - Calm and Stormy Seas Tag by Anna-Karin Evaldsson. Die cut Tim Holtz Wildflowers.

Die cut flowers and pine branches from heavystock paper. I used Tim Holtz Wildflowers and Mini Holiday Greens.

Layers of ink - Calm and Stormy Seas Tag by Anna-Karin Evaldsson. Ink with Distress Inks in various colors.

Smear Distress Inks on a non-stick craft sheet and color the flowers in the same way as the background.

Layers of ink - Calm and Stormy Seas Tag by Anna-Karin Evaldsson.

Finish with a last layer of Distress Oxide Ink.

Layers of ink - Calm and Stormy Seas Tag by Anna-Karin Evaldsson. Stamp on shrink plastic.

I needed some crabs on the tag too, since there were lots at the sea. The stamp from Tim Holtz Sea Life was too large so I stamped it on Simon Says Stamp Shrink Film. Shrink plastic is also an old favorite of mine.

ink with alcohol ink.

Color on the back with alcohol ink.

Layers of ink - Calm and Stormy Seas Tag by Anna-Karin Evaldsson. Add Glossy Accents.

Shrink the crabs and add a layer of Glossy Accents on top. Let dry (it takes a while).

Layers of ink - Calm and Stormy Seas Tag by Anna-Karin Evaldsson. Stamp a sentiment.

The sentiments was stamped on a Tim Holtz Journal Card and cut into strips (another favorite of mine). I also added some sequins, which is also something I enjoy doing as a finishing touch to projects.

Layers of ink - Calm and Stormy Seas Tag by Anna-Karin Evaldsson.

These flowers are meant to be heather, the most common plant on the moor.

Layers of ink - Calm and Stormy Seas Tag by Anna-Karin Evaldsson.

And some clover flowers. 

Layers of ink - Calm and Stormy Seas Tag by Anna-Karin Evaldsson. Add real shells.

I dyed cheese cloth with Frayed Burlap Ink. The shells were picked on the beach and made a good home for the three crabs.

Layers of ink - Calm and Stormy Seas Tag by Anna-Karin Evaldsson.

The crabs are pretty dark, since the colors intensify as you shrink them and since they aren't placed on a white surface.

Layers of ink - Calm and Stormy Seas Tag by Anna-Karin Evaldsson.

The Glossy Accents give a really nice look to shrink plastic.

Layers of ink - Calm and Stormy Seas Tag by Anna-Karin Evaldsson. Resist texture.

The embossing resists the ink and gives great texture. I also added dots with a white gel pen.

Layers of ink - Calm and Stormy Seas Tag by Anna-Karin Evaldsson.

The shells and crabs are pretty dimensional, if you want to make a flatter project, stamp shells instead.

Layers of ink - Calm and Stormy Seas Tag by Anna-Karin Evaldsson.

I remember well when I bought my first Distress Ink, which was Walnut Stain, many years ago in Johannesburg. Now there are so many more wonderful colors, and Oxide inks too. 

Layers of ink - Calm and Stormy Seas Tag by Anna-Karin Evaldsson.

I hope you enjoyed this tutorial! 

I hope you will join us this week in our Use Your Favorite Technique challenge. You have a chance to win a $25 gift voucher to do some fun shopping at Simon Says Stamp. You have until Monday 8am Ohio time. 1pm UK time, 2 pm CET to join in.

We also have our annual Kid's Vacation Challenge, with an Anything Goes theme. It is open for kids ages 2-16 years old. You can read more here.


Do you use Instagram? If so please add #sssmchallenge so we can see your entries there too.


Thank you so much for stopping by here today! 

Happy crafting!

Anna-Karin

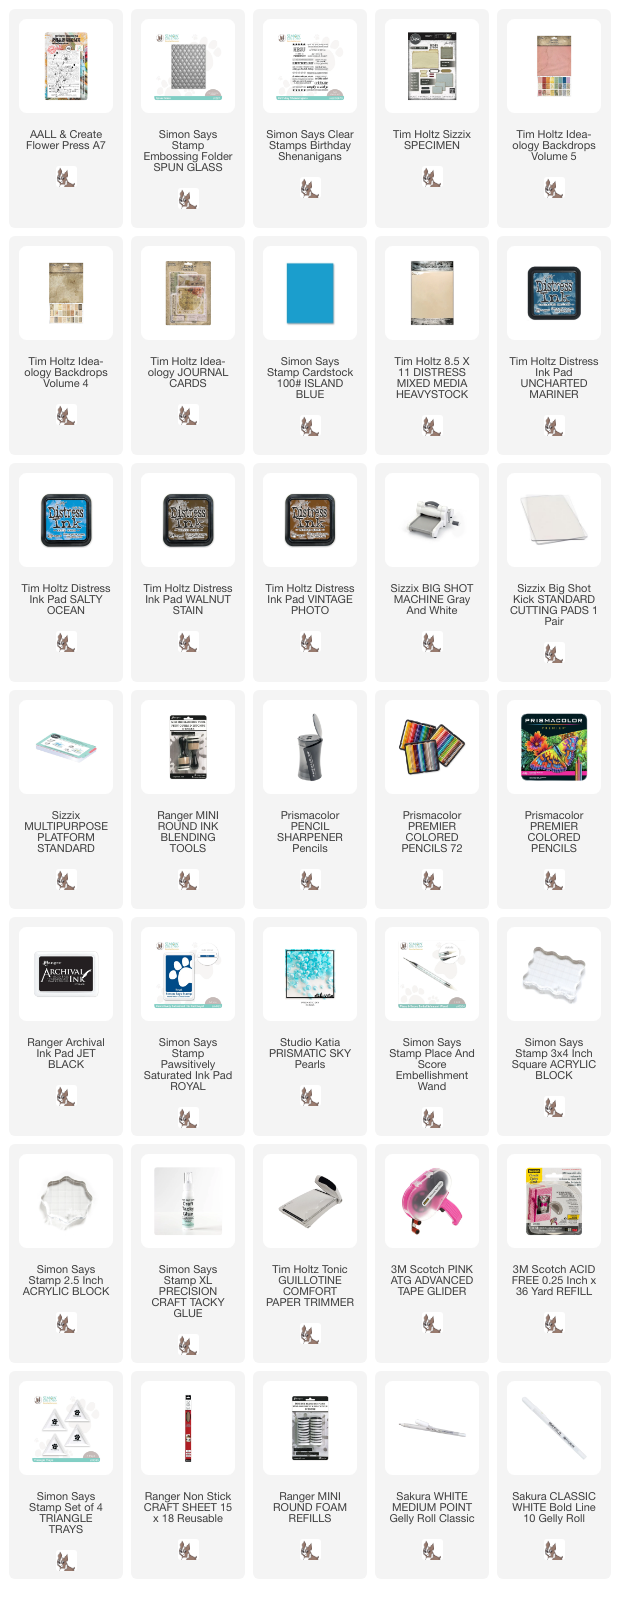
Supplies:

* Please note: the links are affiliate links, for which I receive a small percentage of sales generated by the link, at no extra cost to you.


Monday, August 7, 2023

Floral Birthday Card

Hello friends! I hope you had a good weekend. It is Monday and we have a new Simon Says Stamp Monday Challenge for you. Simon Says Stamp celebrates its 13th birthday. Turning teenager! 13 years of wonderful inspiration and creativity. We are celebrating with a Birthday theme.

Please note: this post has affiliate links, for which I receive a small percentage of sales generated by the link, at no extra cost to you.


It is already August and it is the first Monday of a new month, which means that we are showcasing a specific company/designer. This week it is AALL & Create. You can find their wonderful range of stamps and other products here. You don't have to use their products to join us, but it is fun if you do. 

We also have a new guest designer and during August is Carrie Swift aka Redfire Studios. I hope you will have a look at her Instagram page to see the gorgeous project she has created. 

Layers of ink - Floral Birthday Card Tutorial by Anna-Karin Evaldsson.

I made a birthday card for my Mom this week and used the AALL & Create Flower Press stamp designed by Tracy Evans. The flowers were colored with pencils and the background is dry embossed.

Layers of ink - Floral Birthday Card Tutorial by Anna-Karin Evaldsson. Stamp the AALL and Create Flower Press stamp.

Start by stamping the Flower Press on Tim Holtz Backdrops Vol. 4 paper.

Layers of ink - Floral Birthday Card Tutorial by Anna-Karin Evaldsson. Color with colored pencils.

Color with colored pencils. I used Prismacolors.

Layers of ink - Floral Birthday Card Tutorial by Anna-Karin Evaldsson. Add highlights with a white gel pen.

Add highlights with a white gel pen and ink the the paper with Distress Ink.

Layers of ink - Floral Birthday Card Tutorial by Anna-Karin Evaldsson. Emboss in Simon Says Stamp Spun Sugar folder.

For the background I embossed a piece of Tim Holtz Backdrops Vol. 5 paper in the Simon Says Stamp Spun Glass folder. I carefully sanded the embossed paper to reveal some of the white core.

Layers of ink - Floral Birthday Card Tutorial by Anna-Karin Evaldsson. Flower close-up.

Stamping on patterned paper gives an interesting background very quickly. The edges of the paper were distressed and I folded down on corner. I stamped 'you' behind the folded corner.

Layers of ink - Floral Birthday Card Tutorial by Anna-Karin Evaldsson.

I die cut a file folder from heavystock paper using Tim Holtz Specimen set and inked it with blue shades of Distress Ink. Stamp a small sentiment on the tab. I also added some pearls to the card.

Layers of ink - Floral Birthday Card Tutorial by Anna-Karin Evaldsson.

The larger sentiment was stamped with Simon Says Stamp Royal Pawsitively Saturated ink on a Tim Holtz Journal Card. It was matted on blue paper and placed on a piece of lace trim.

Layers of ink - Floral Birthday Card Tutorial by Anna-Karin Evaldsson. Ink the file folder.

The Spun Glass folder has a very pretty pattern. I distressed and inked the edges.

I hope you will join us this week in our Birthday challenge. THe prize is increased this week to celebrate and you have a chance to win a $50 gift voucher to do some fun shopping at Simon Says Stamp. You have until Monday 8am Ohio time. 1pm UK time, 2 pm CET to join in.


We also have our annual Kid's Vacation Challenge, with an Anything Goes theme. It is open for kids ages 2-16 years old. You can read more here.


Do you use Instagram? If so please add #sssmchallenge so we can see your entries there too.


Thank you so much for stopping by here today! 

Happy crafting!

Anna-Karin

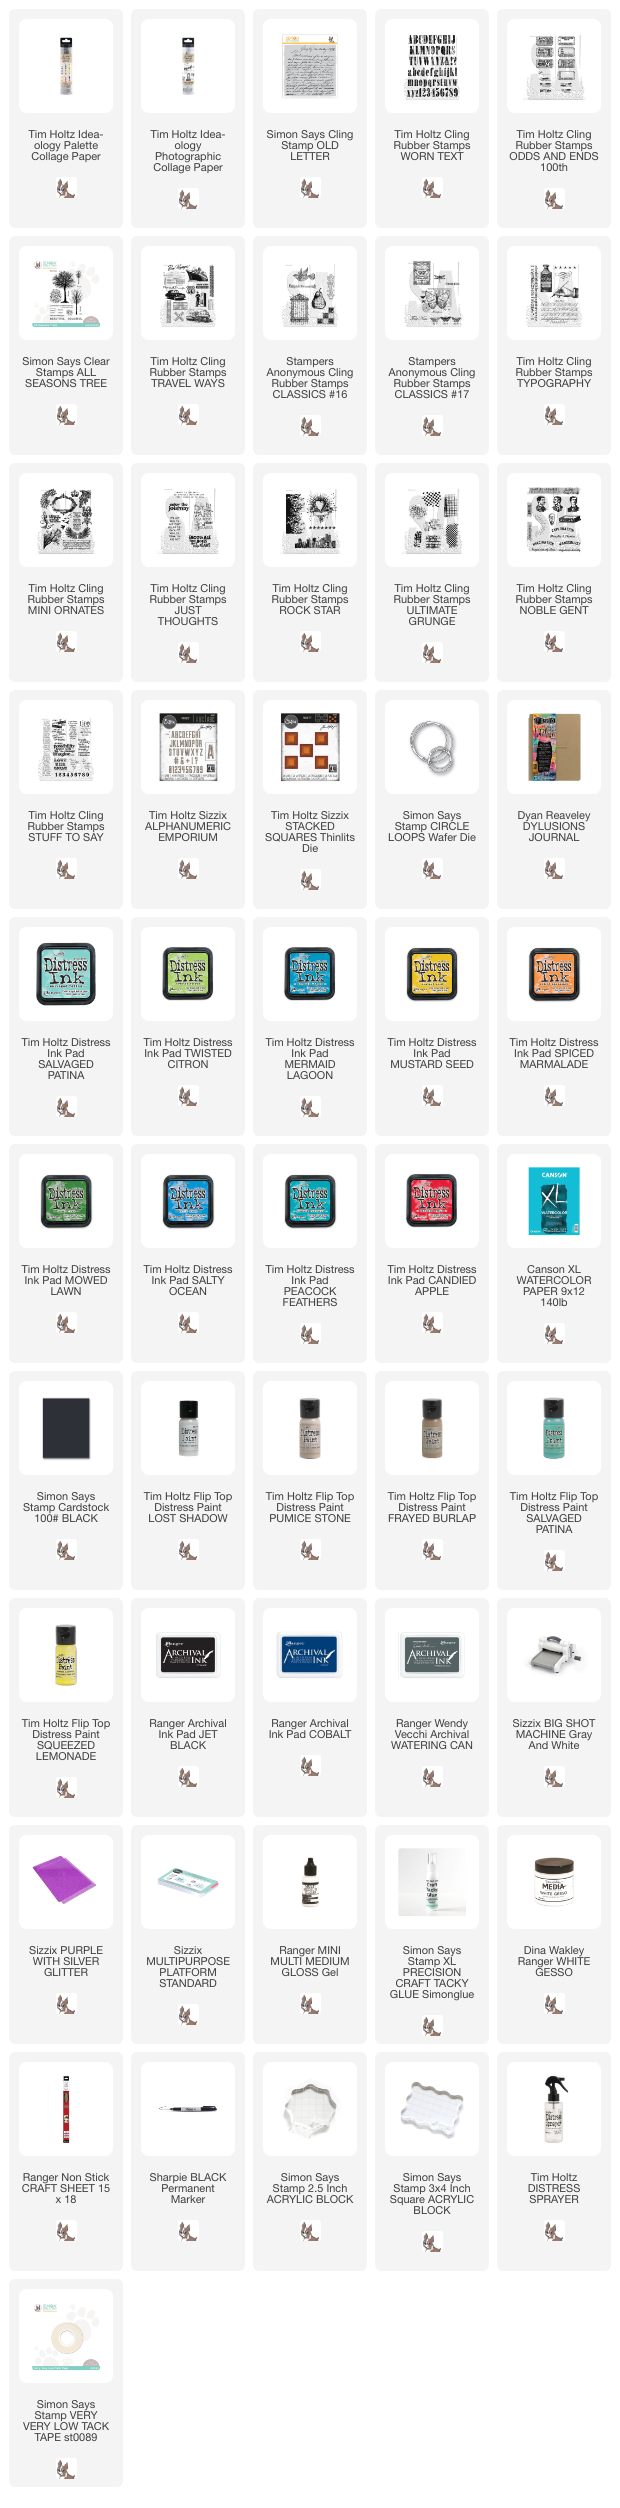
Supplies:

* Please note: the links are affiliate links, for which I receive a small percentage of sales generated by the link, at no extra cost to you.